In the third and final part, I am going to futureproof the Sidecar and finally test it. Will it work after all the hours and patience I put into the repair?
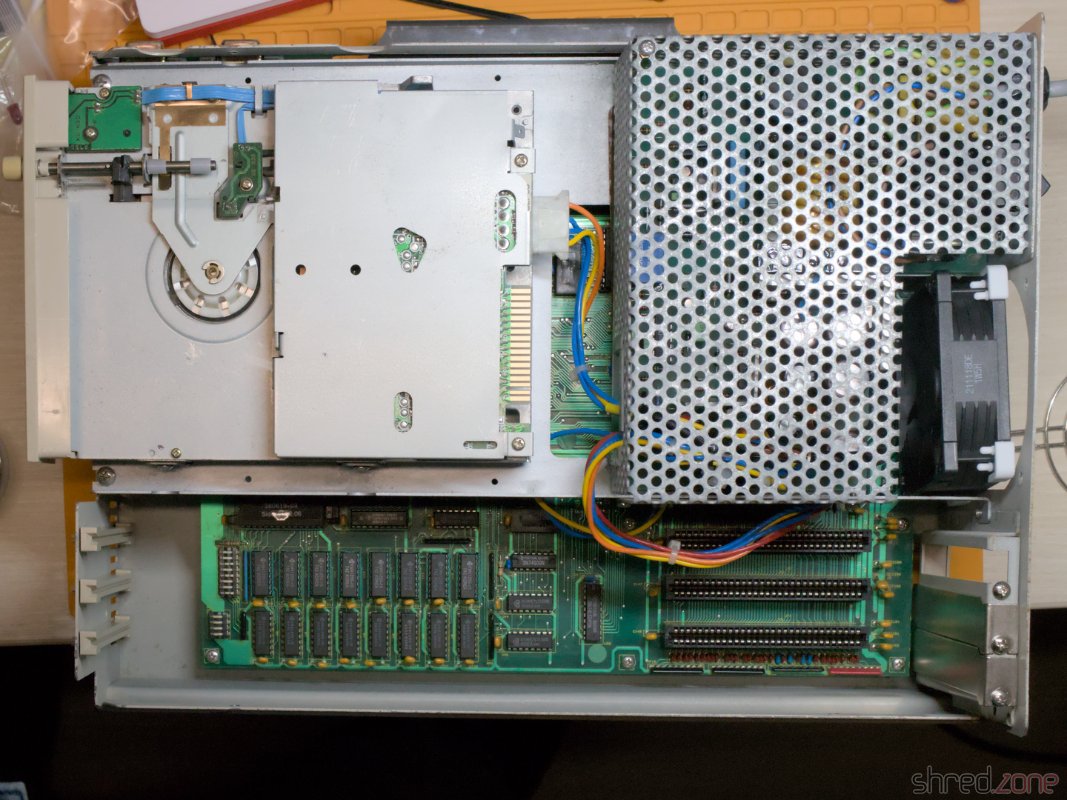
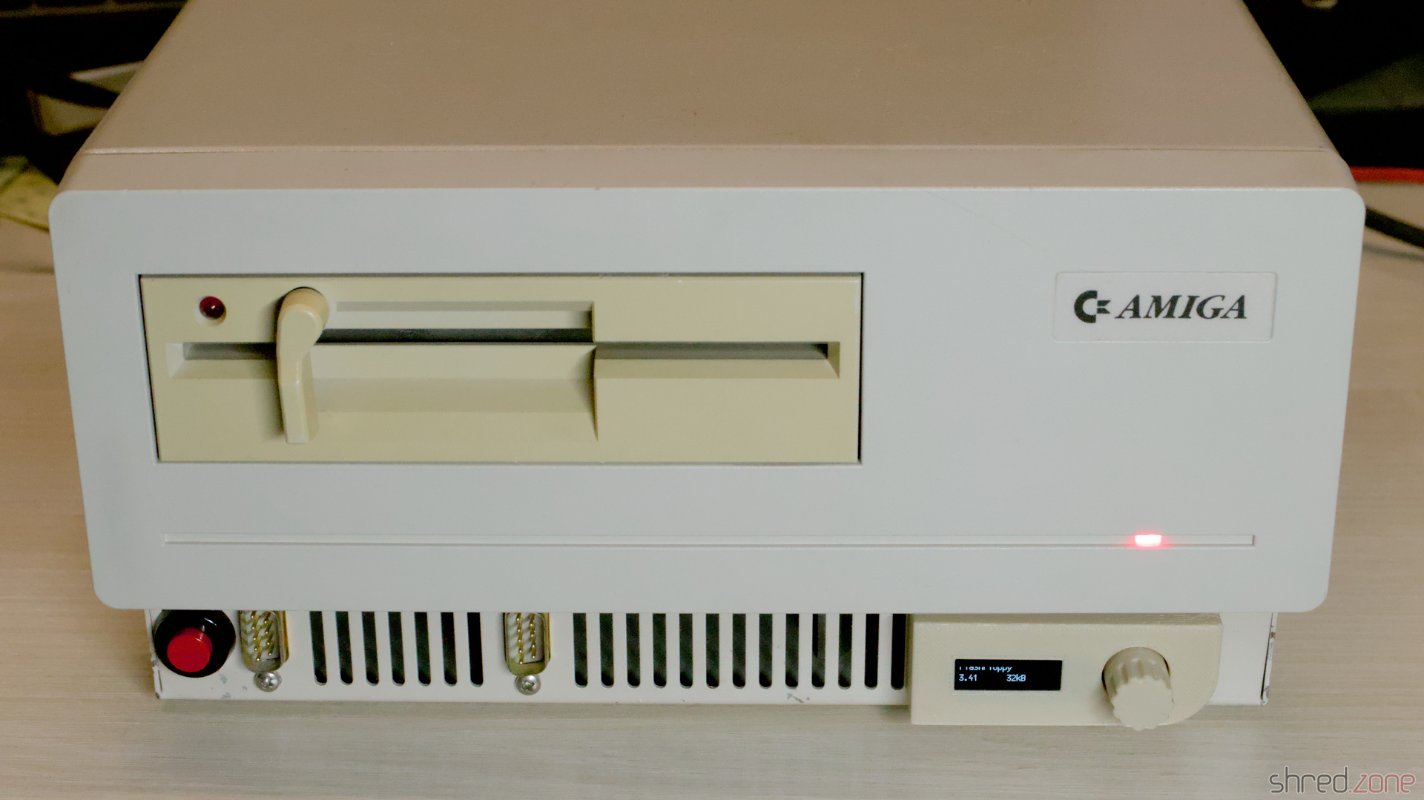
Gotek Drive
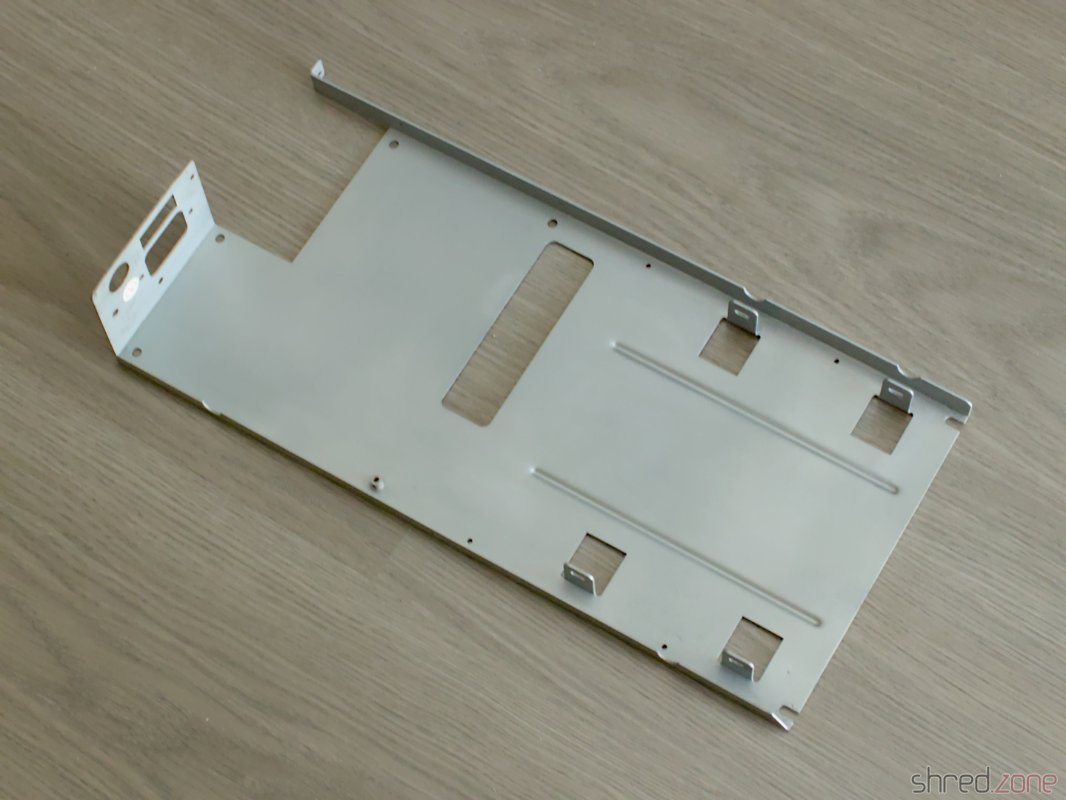
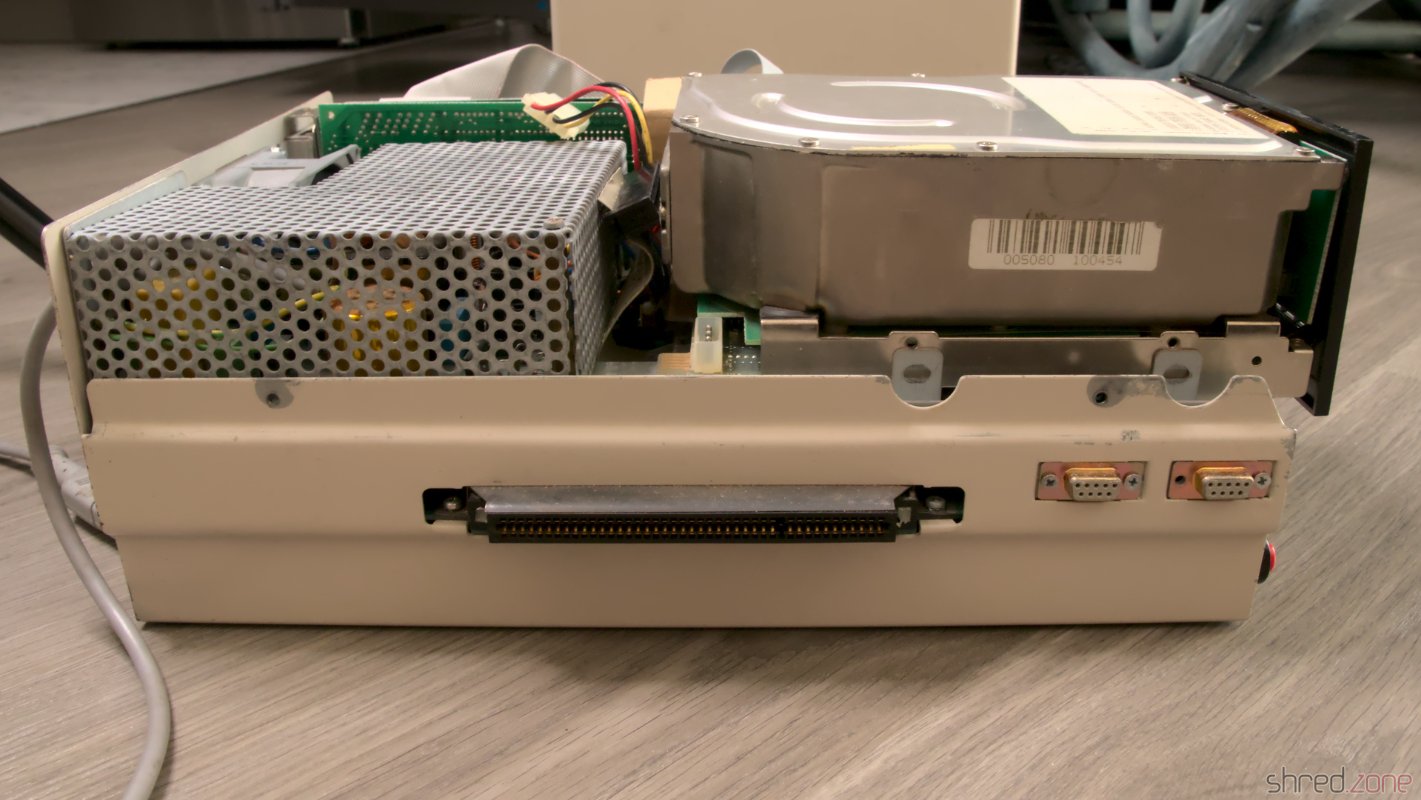
I probably only own a single 5¼" floppy disk, back from my time at school. However the Sidecar won't do much without floppies, so I decided to add a Gotek drive.
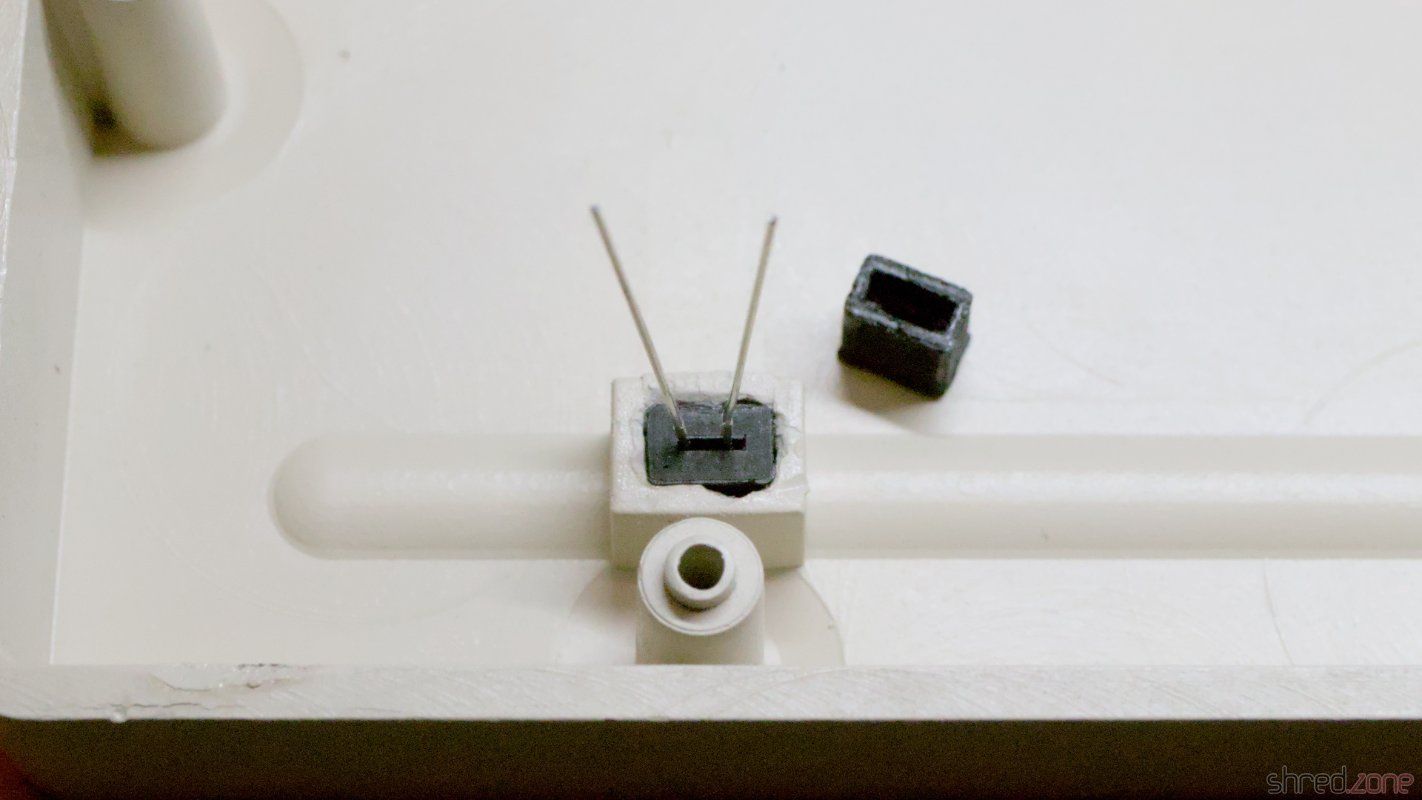
The modification must be fully reversible, and I also wanted to keep the original look of the Sidecar with its floppy drive. I designed a Gotek bracket for the expansion slot and a control panel with OLED display and encoder. The panel is screwed to the front air grille, so no holes need to be drilled into the case.


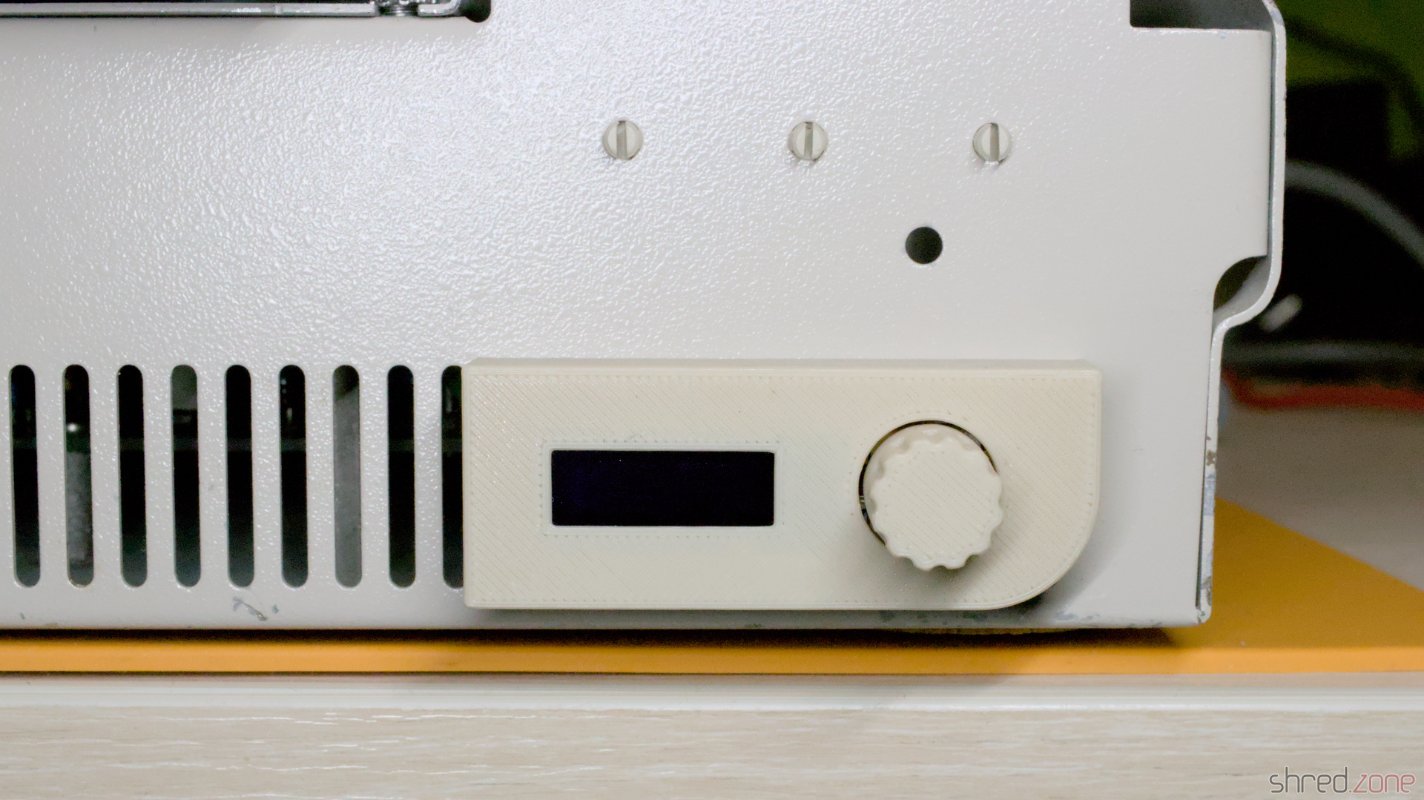
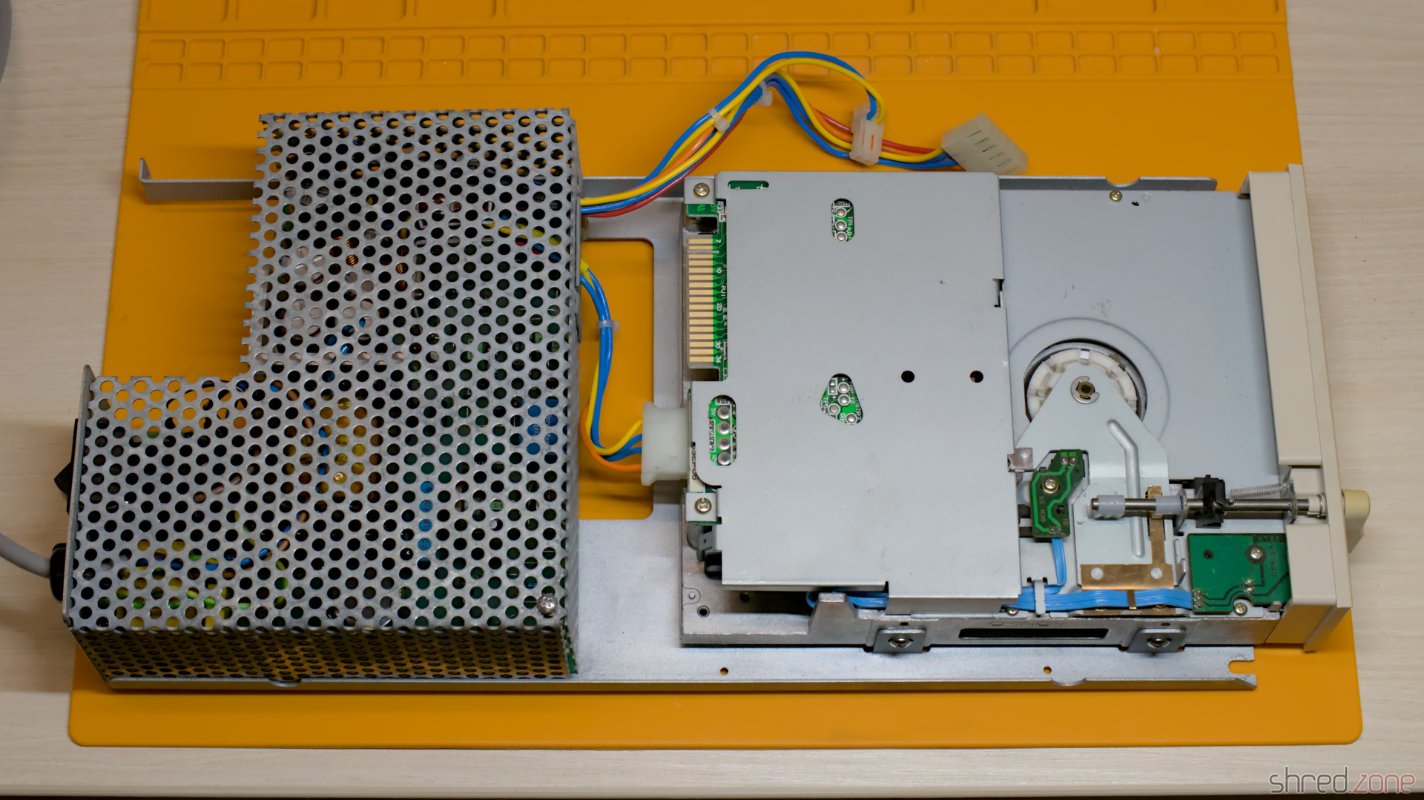
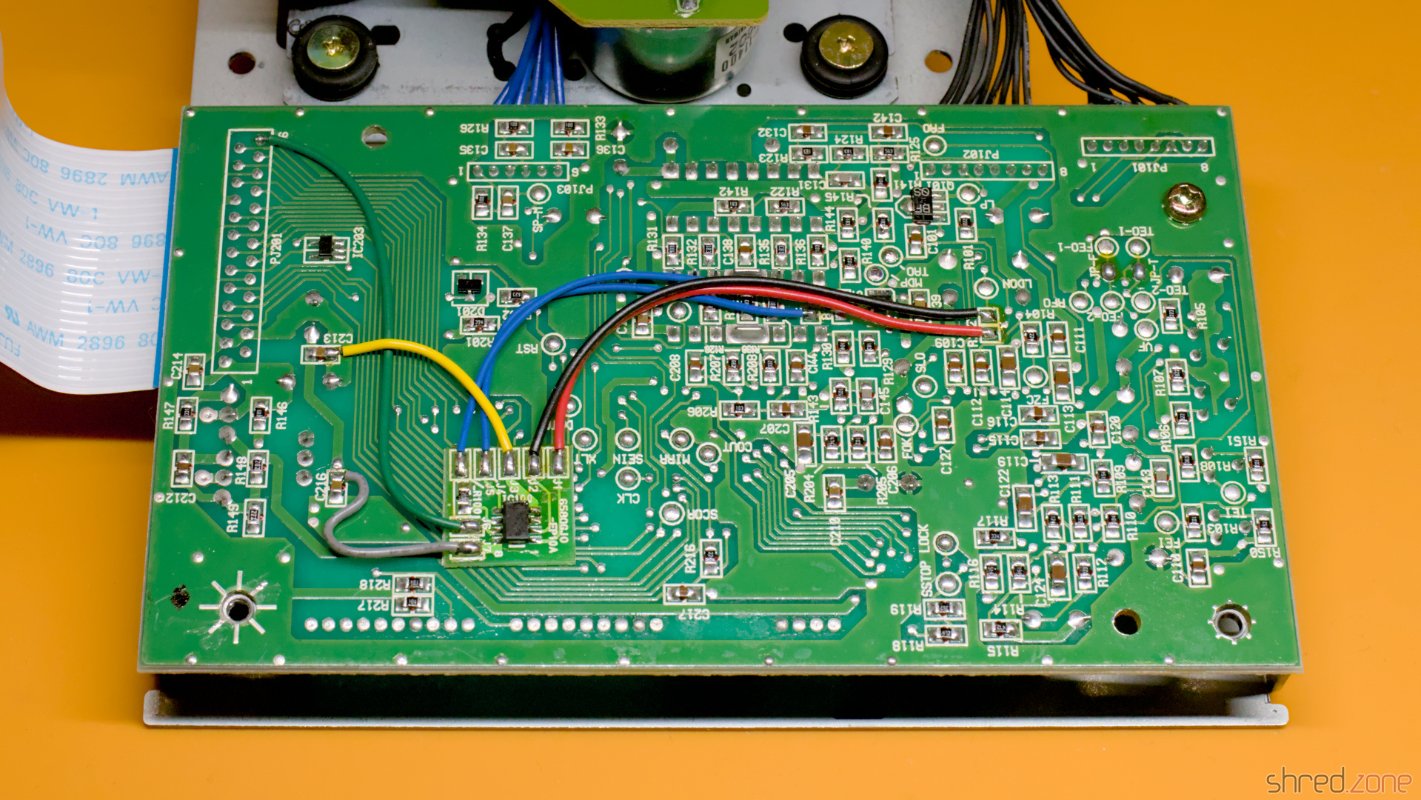
I made a new flat cable to connect the Gotek drive and the floppy drive to the mainboard. The Gotek drive is supposed to be drive A:, while the floppy drive should be B:. Both drives can be configured with jumpers, so there is no need to make a twisted floppy cable.
First Test Run
For the first test run I did not connect the Sidecar to the Amiga yet. If something on the Sidecar was badly broken, it wouldn't damage the Amiga that way.
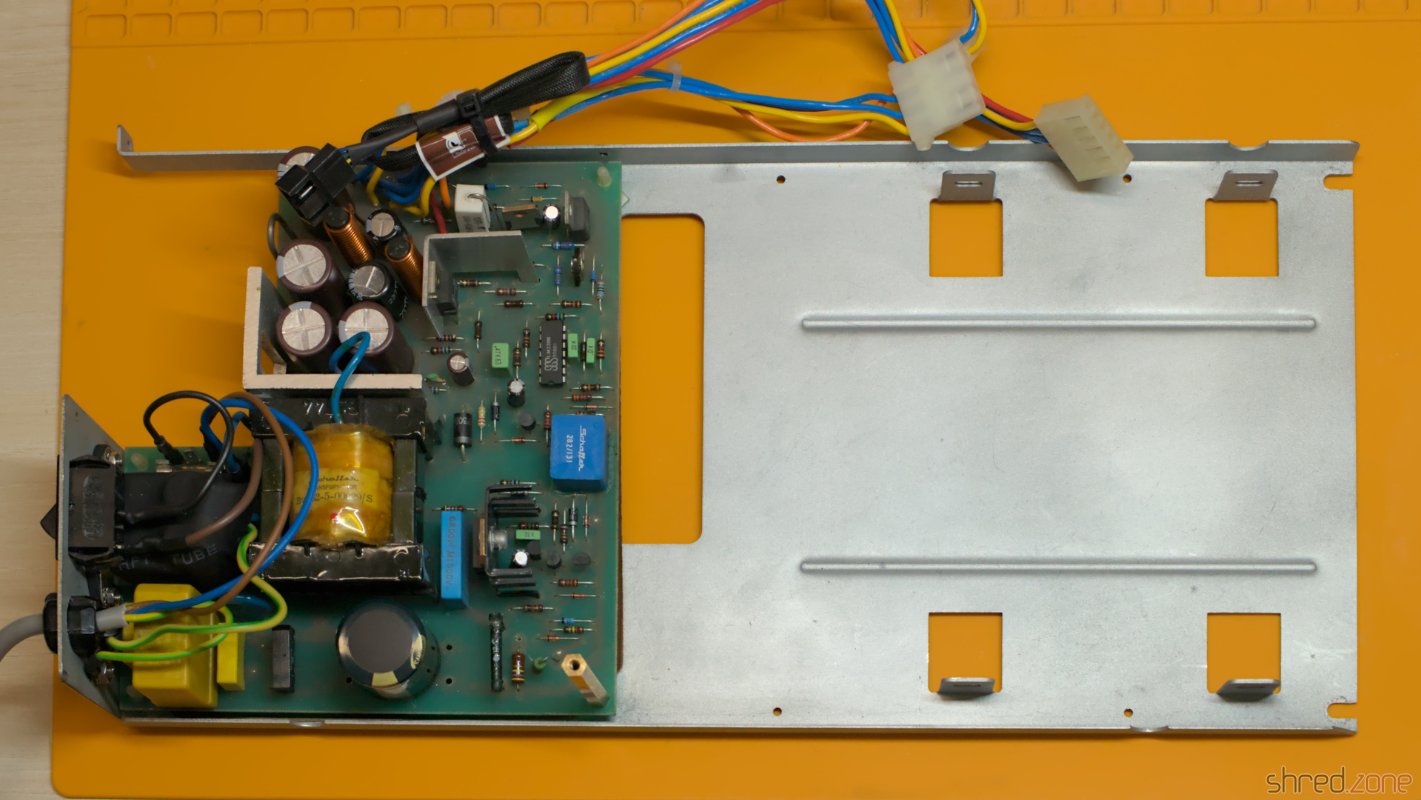
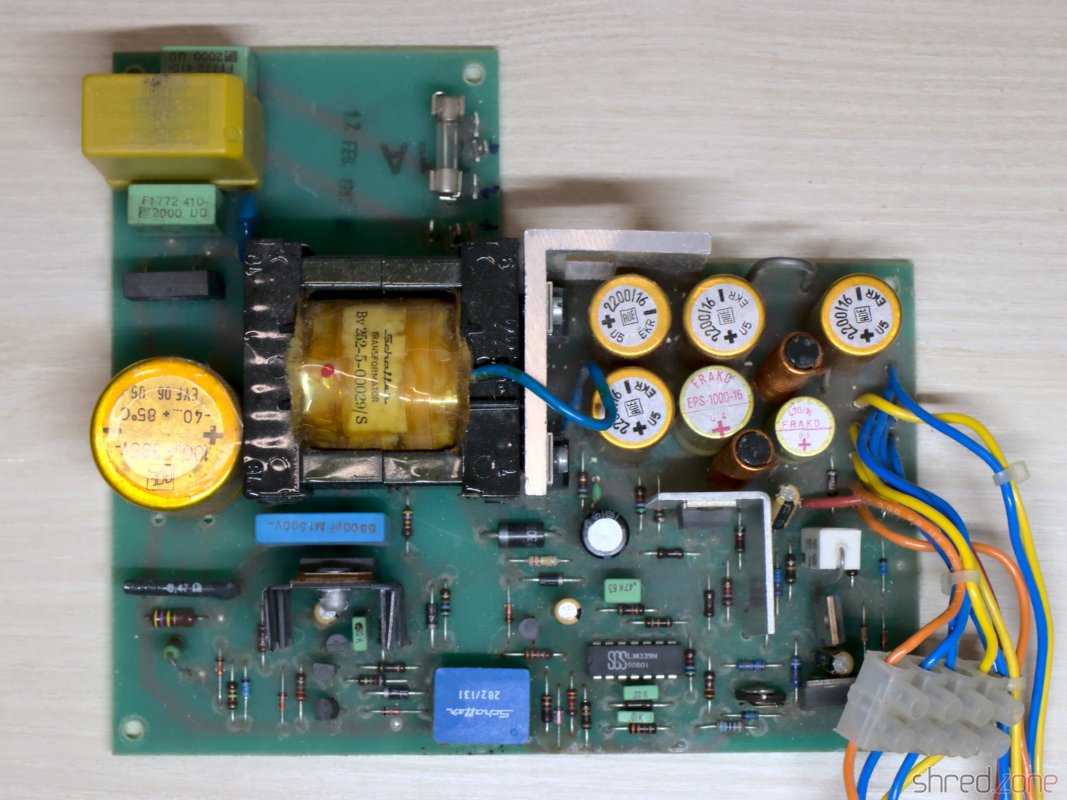
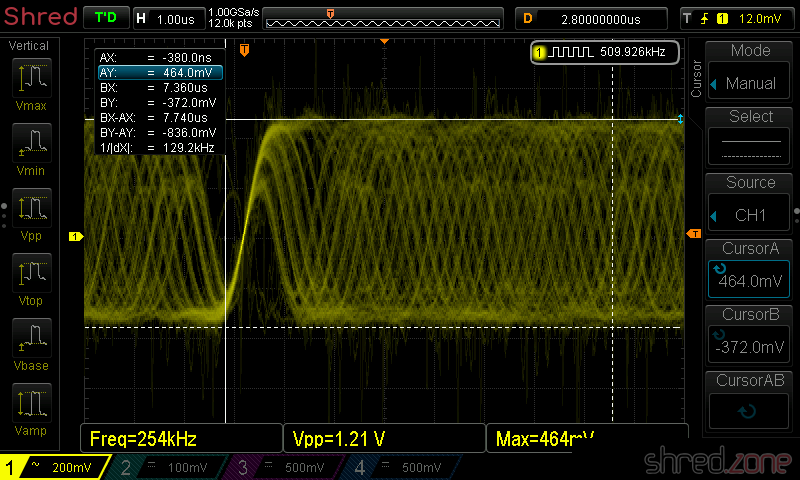
So I turned on the power. The fan spun up, the power LED lit up, but nothing else happened. Well, since the Sidecar is not meant to work as a standalone PC, this is probably normal. At least there was no magic smoke and no smell of smoldering electronics. I took the opportunity to check the voltages, and they were all correct and stable.
Things looked pretty good.
Making a Janus Workbench
The Sidecar is controlled by the Amiga. It has no connectors for a monitor or keyboard. Fortunately, the driver disk can still be found on the internet. For installation, I first had to make a copy of the original Workbench 1.2 disk, and then run the installer from the install disk.
On my Amiga 1000 however, the installation failed because the RAM disk ran out of memory. My Amiga is equipped with the maximum 512KB of Chip RAM, so it was supposed to work. I tried it multiple times, but always got this strange error.
I gave up and set up a UAE instance of an Amiga 500 with Kickstart 1.2 and 2 MB of Fast RAM. On this machine I was finally able to complete the installation.
The installer is a bit strange and not based on the Amiga installer tool that came later. It is best to use the default options and wait patiently for each step to complete.
Test Runs and Fixes
 It's finally time for a real test run.
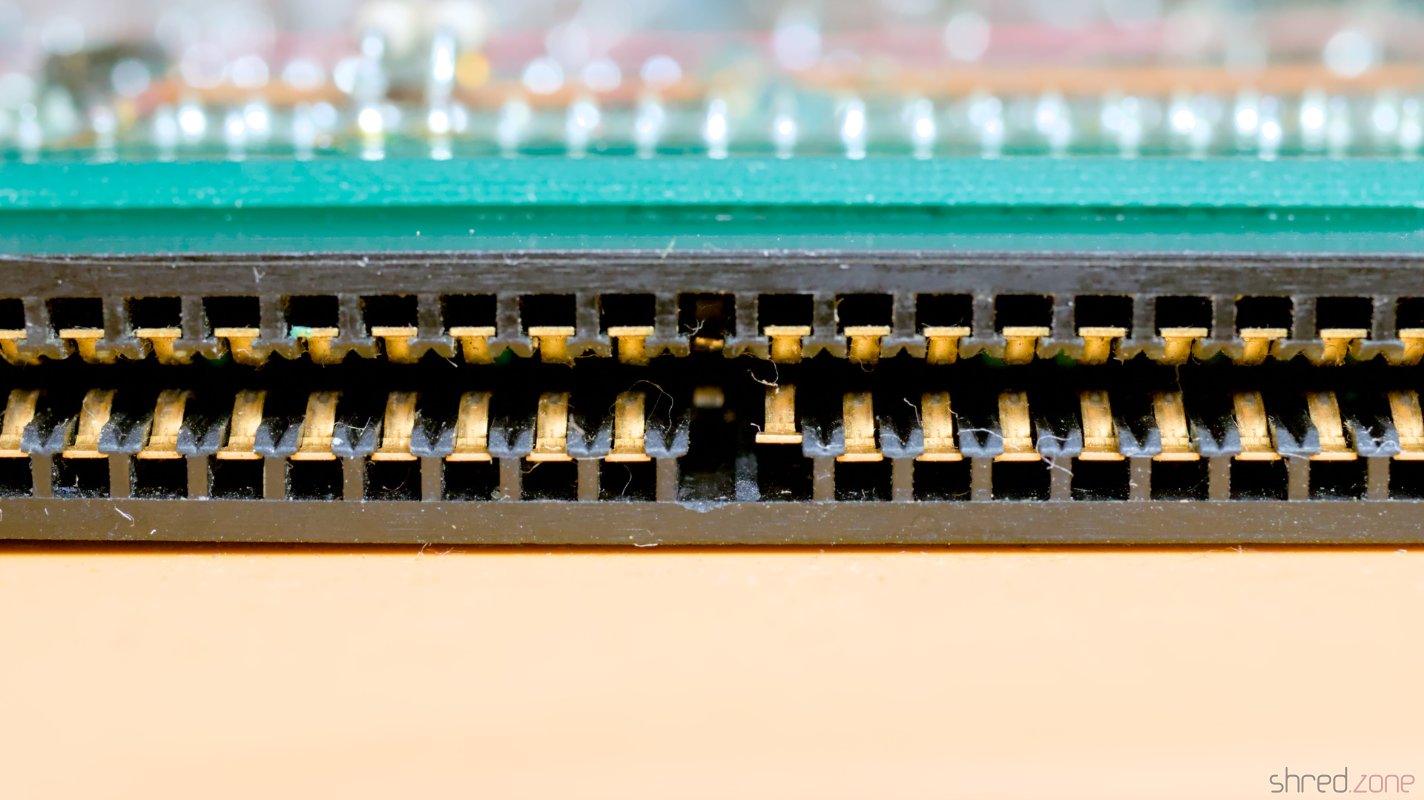
Connecting the two devices isn't easy and can damage the hardware if done wrong. First I unplugged the power cords from the Sidecar and the Amiga. Then I connected the Sidecar to the expansion port of the Amiga. It's a bit tricky to find the correct position, but the joystick and mouse connectors are a good orientation guide. There is no need to use force.
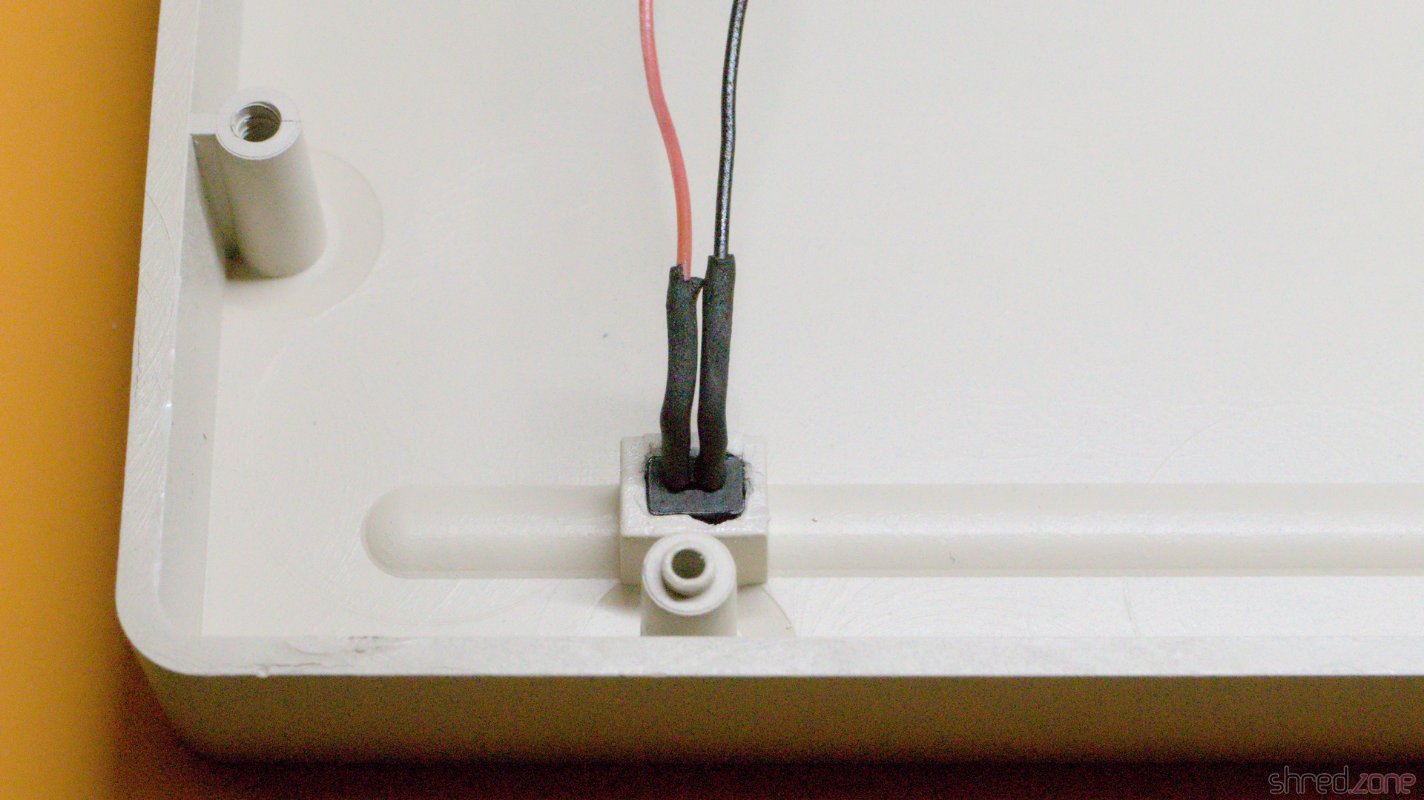
The Sidecar also has a power cord extender. I plugged it into the Amiga's power connector and made sure that the Amiga's power switch was turned on. Both devices can now be controlled with the power switch of the Sidecar.
CAUTION: You must never turn on power to the Sidecar unless the Amiga is already powered up. Otherwise you will damage your Amiga! You can avoid this problem by using the power cord extender and making sure that the Amiga's power switch is always on.
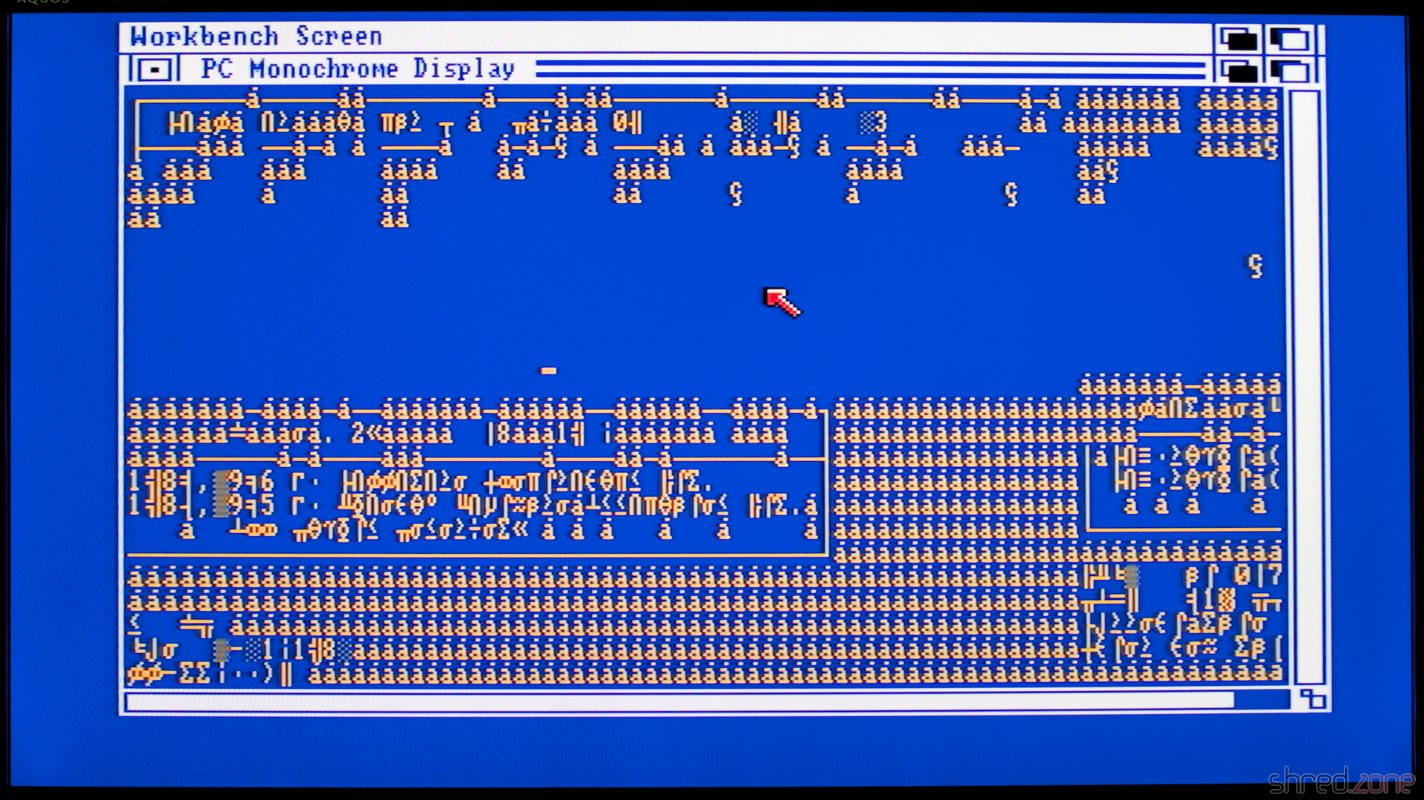
Now it was time for the truth. I booted the Janus Workbench I prepared above, but got a Guru Meditation during startup. I tried other driver versions and other floppy disk images I could find, but it always ended with the flashing red square.
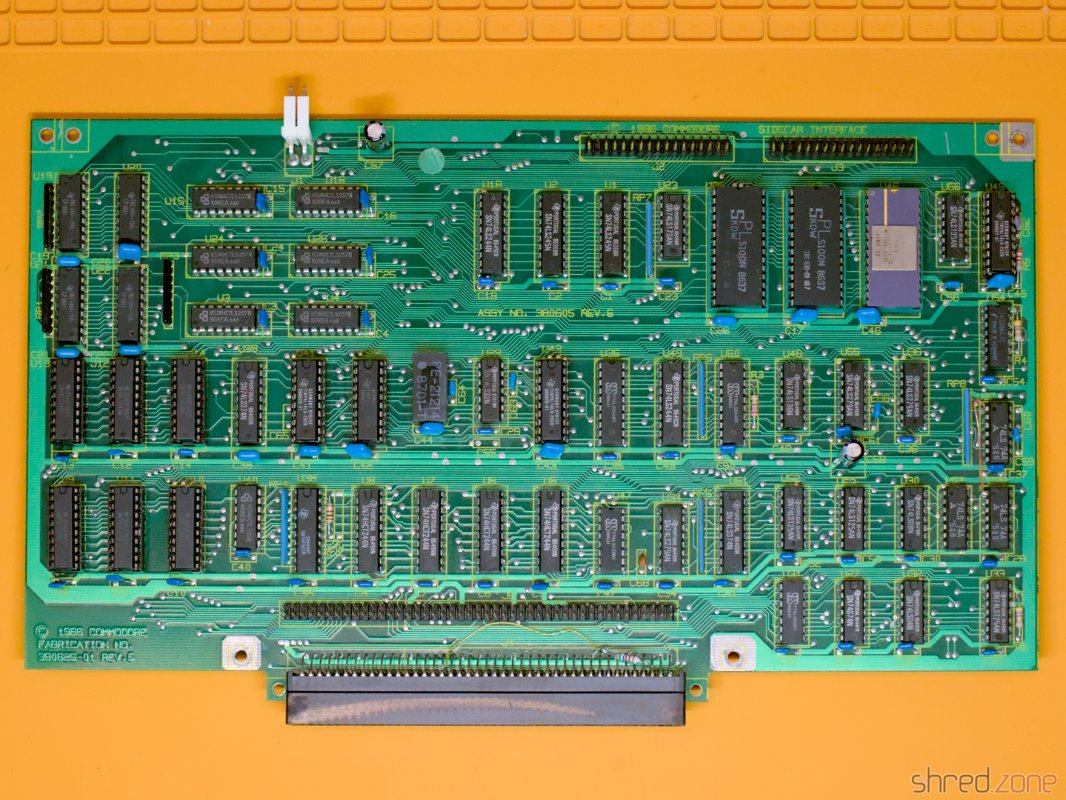
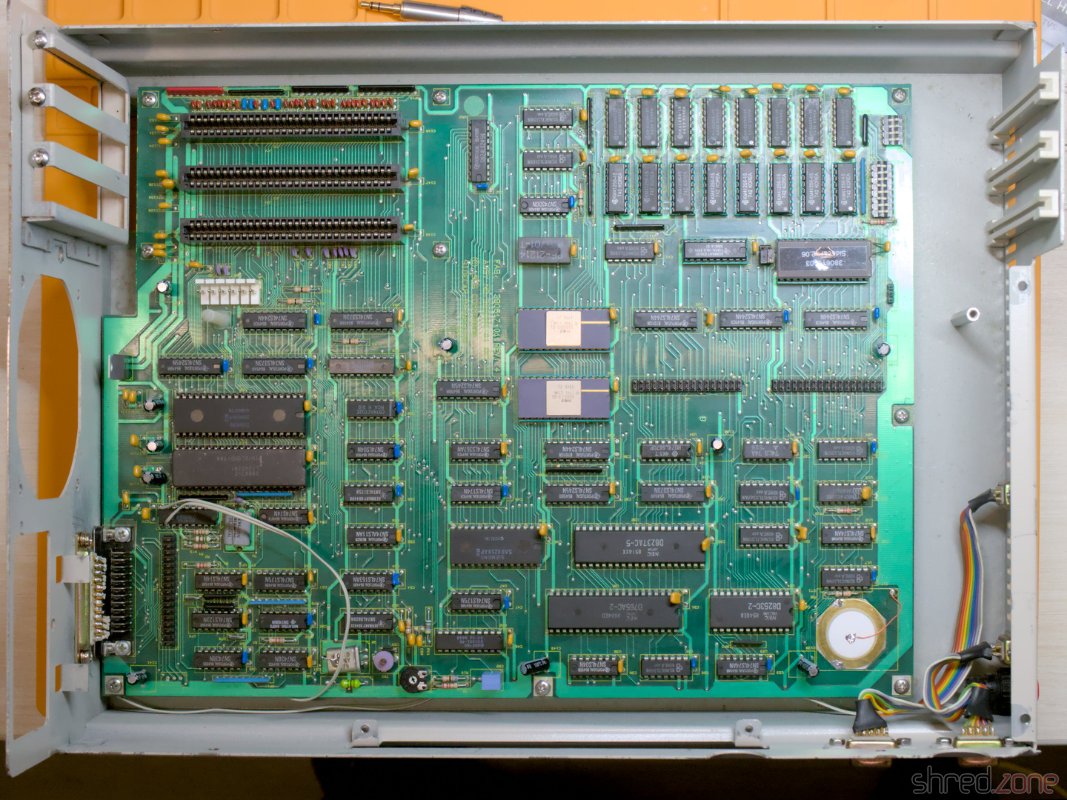
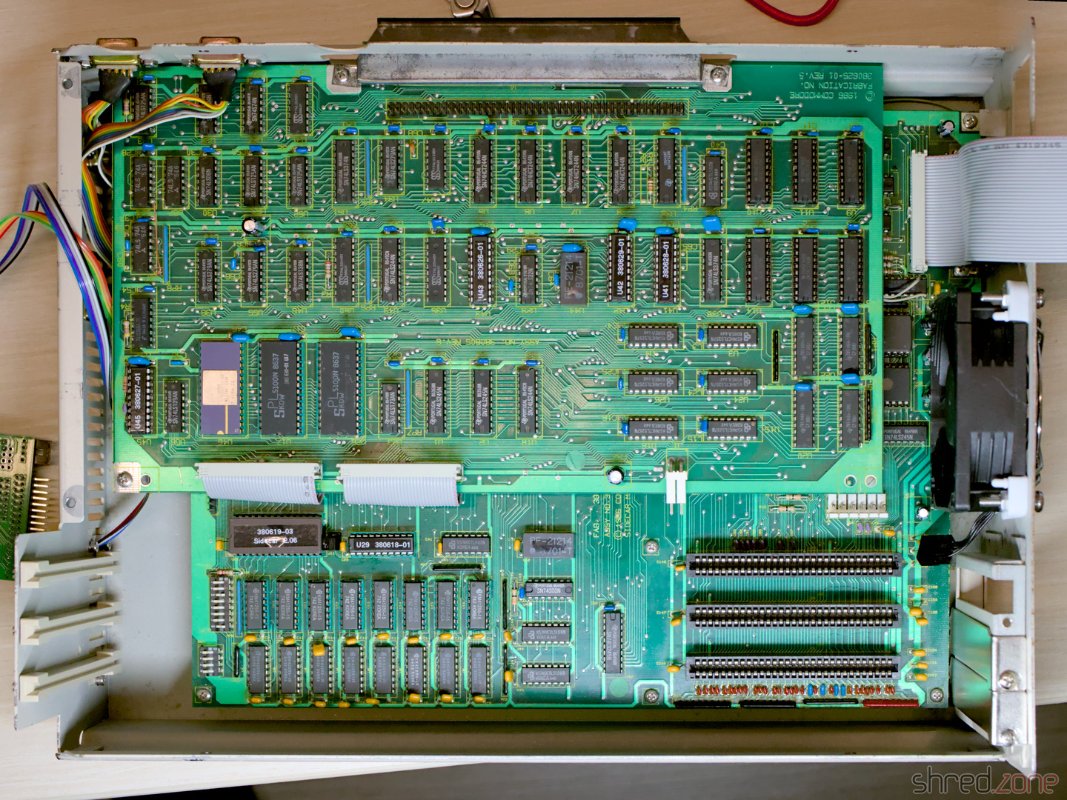
Fortunately, the hardware registers are well described in the A500/A2000 Technical Reference Manual, Section 4.1. The description is for the A2088XT bridge board, but it is very similar to the Sidecar.
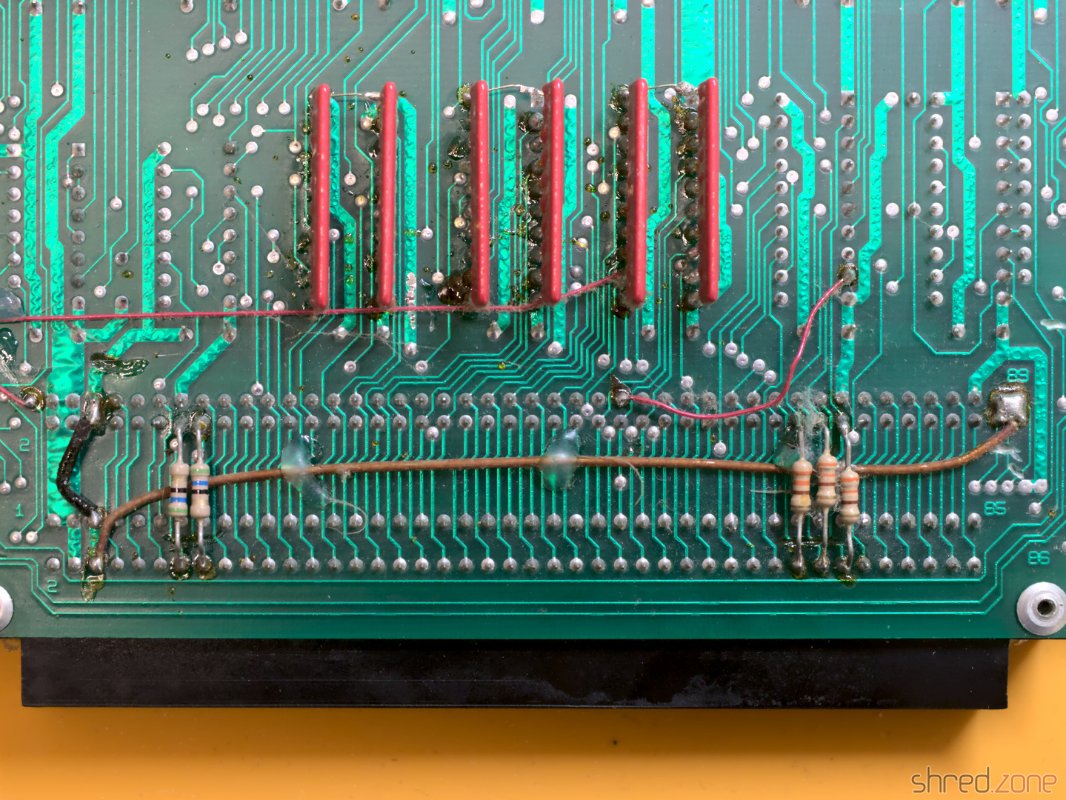
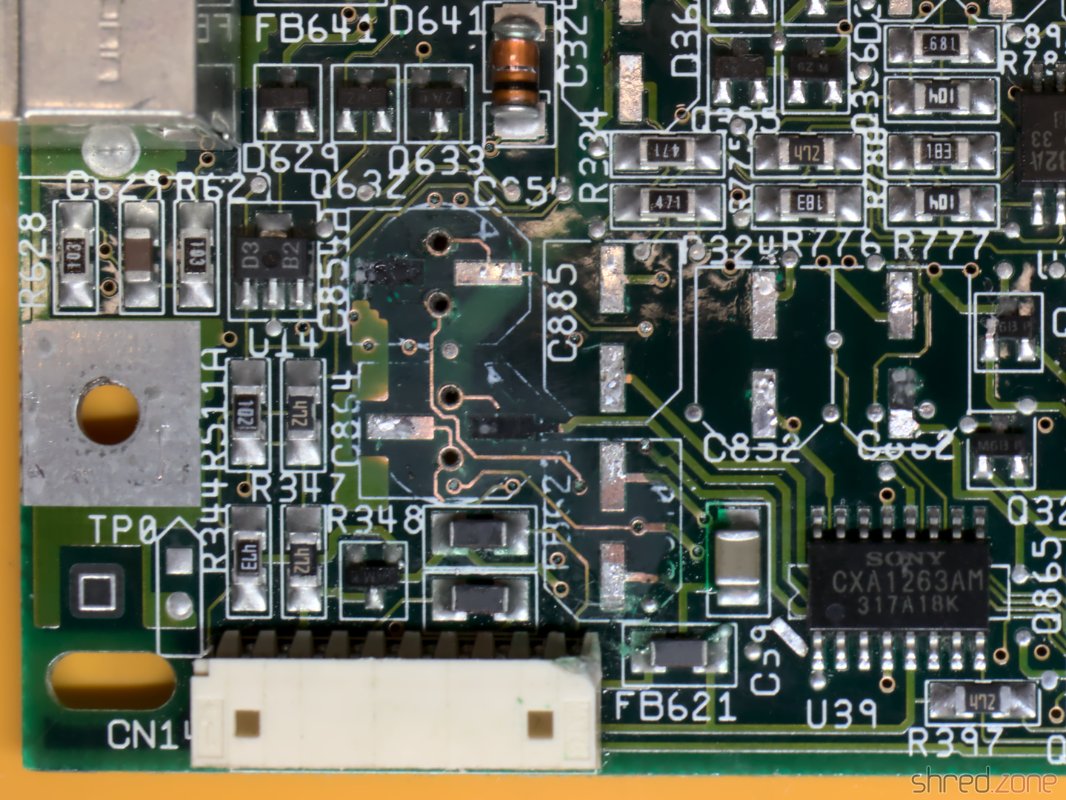
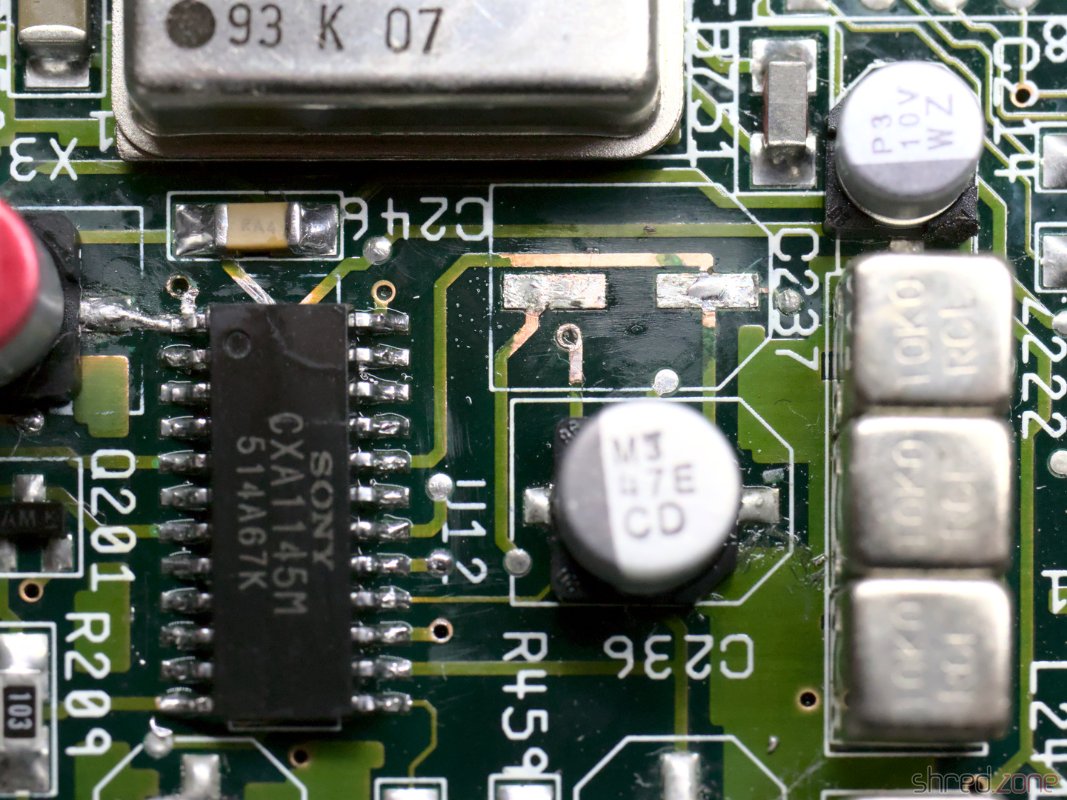
I quickly hacked some small diagnostic tools. They confirmed that the 128KB bridge RAM and the six replaced bus drivers were working fine.
I also found that the PC reset did not work. I only managed to actually reset the PC once. It played a chime and then actually accessed the MS-DOS disk I had in the Gotek drive. This means that the PC side was basically working, but the bridge board was having problems.
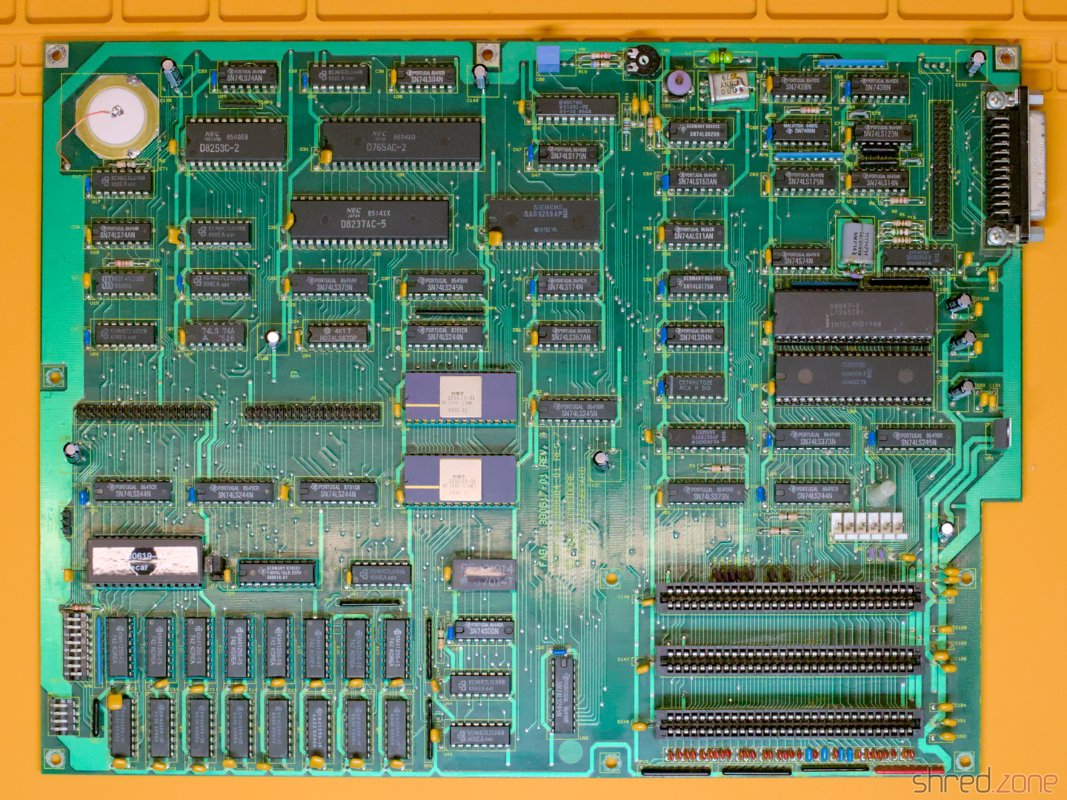
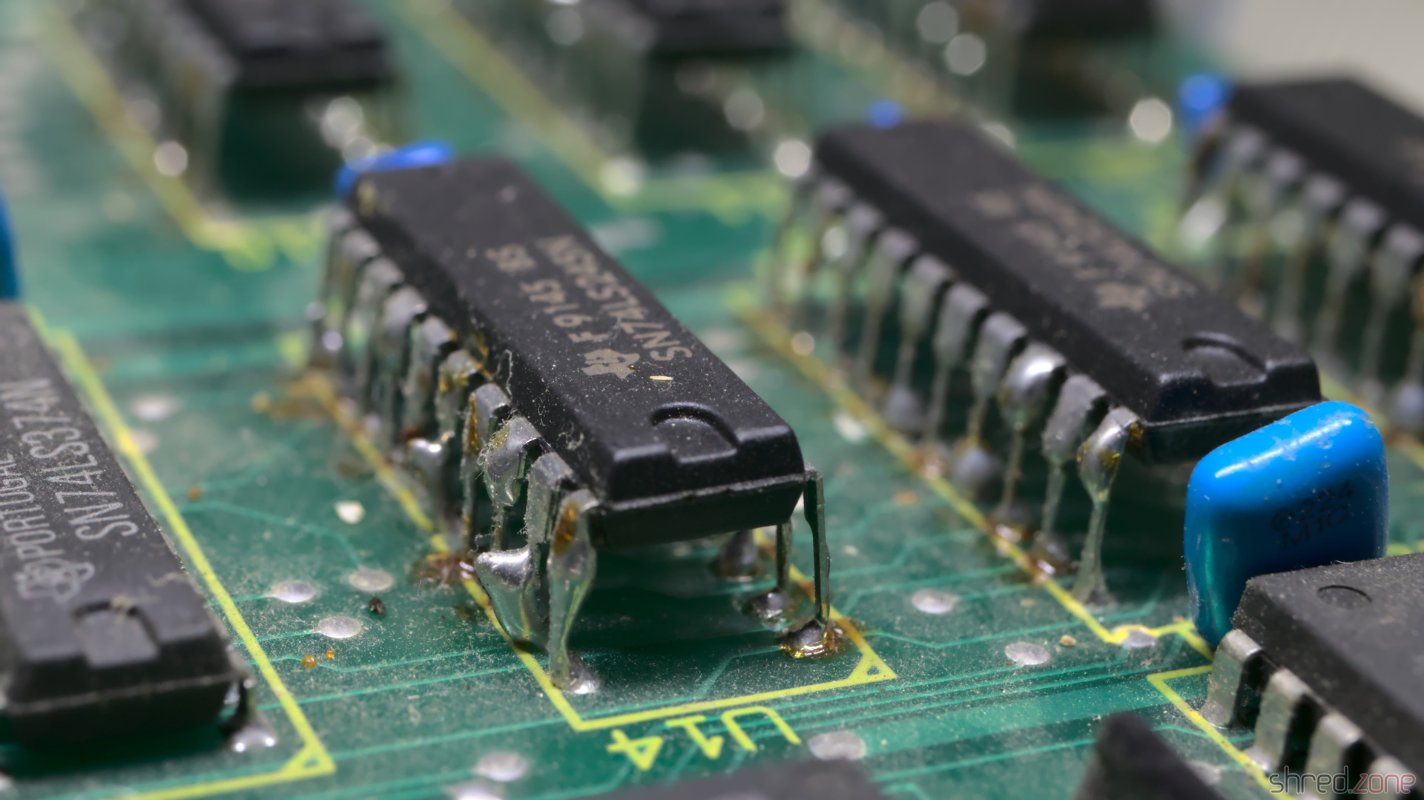
There are four PALs and three FPLAs on the upper board. The PALs have a specified memory retention time of about 20 years, which is long past. I remembered that the PALs on my MaestroPro were already having memory problems due to old age.
The fusemaps of the PALs can be found on the Amiga Wiki. I replaced the four PALs with modern ATF16V8C-7PU GALs.
After that I was able to reset the machine reliably. The Guru Meditation was also gone when I booted the Janus Workbench. But the Sidecar still refused to come back out of retirement. What I got now was a garbled PC screen.
But I was on the right track! There is also a single PAL (and two FPLAs) on the lower board. I replaced this PAL as well, and also replaced the ribbon cables that are connecting both boards. The original cables still looked good, but the wires may have been damaged or corroded, and replacement is cheap.
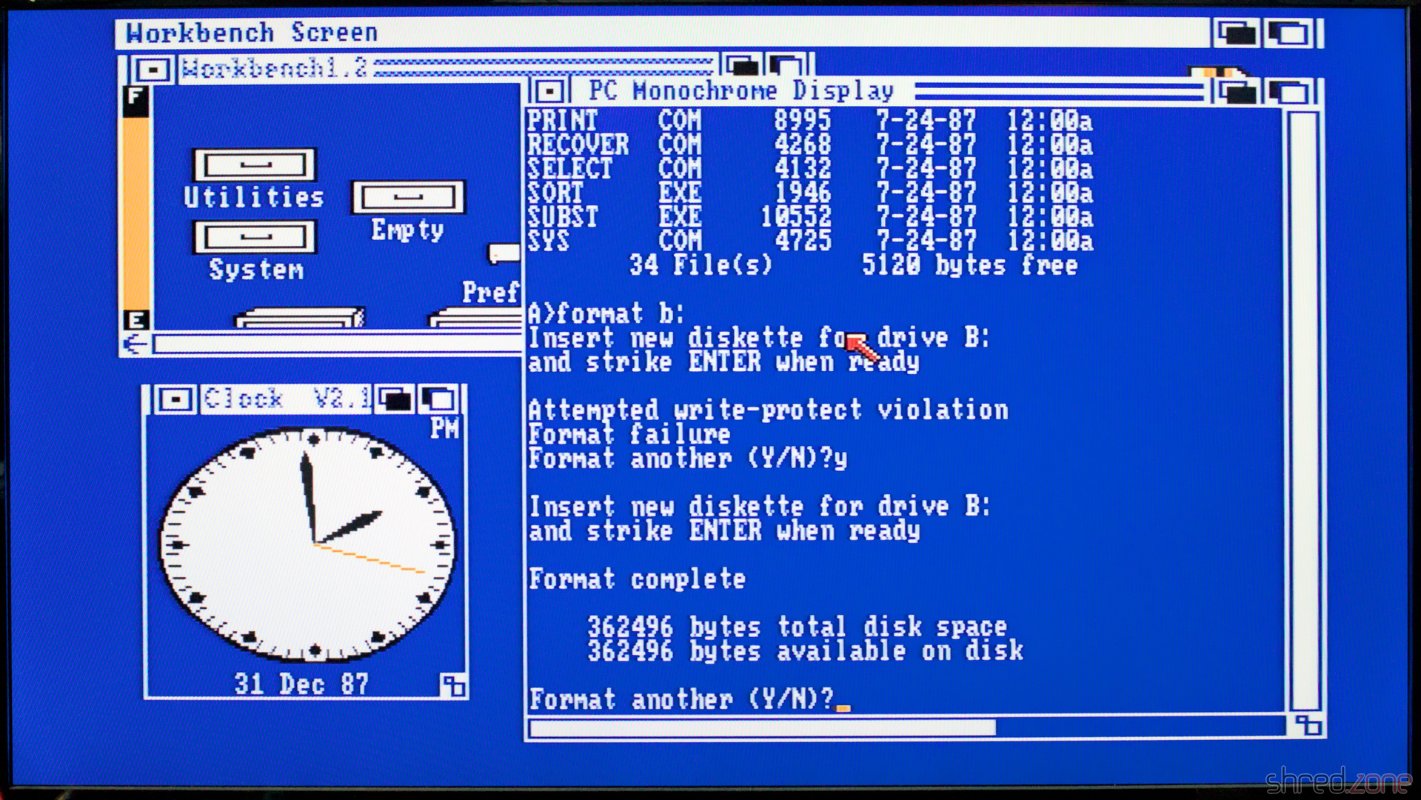
Next attempt. And finally, this time I was successful! I tested the machine for about an hour, formatted some floppy disks I bought somewhere, started Turbo Pascal. Everything worked reliably, and it was impressive to see MS-DOS running in one Amiga window and still have the full power of Amiga's multitasking to run Amiga software.
I was lucky. The PALs were easy to replace, as compatible GALs are still being produced today. The FPLAs can also potentially lose their programming, but there are no modern replacements. Mattis Lind designed a replacement board that uses a modern CPLD, but there are no corresponding JED files for programming them.
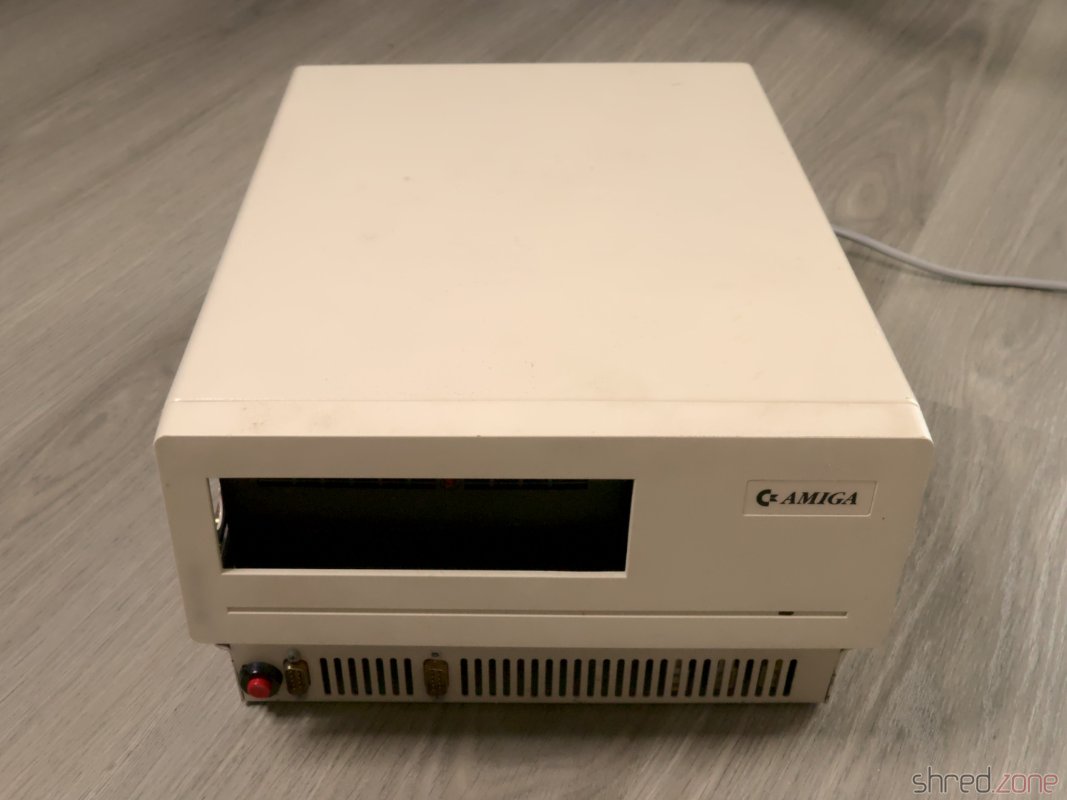
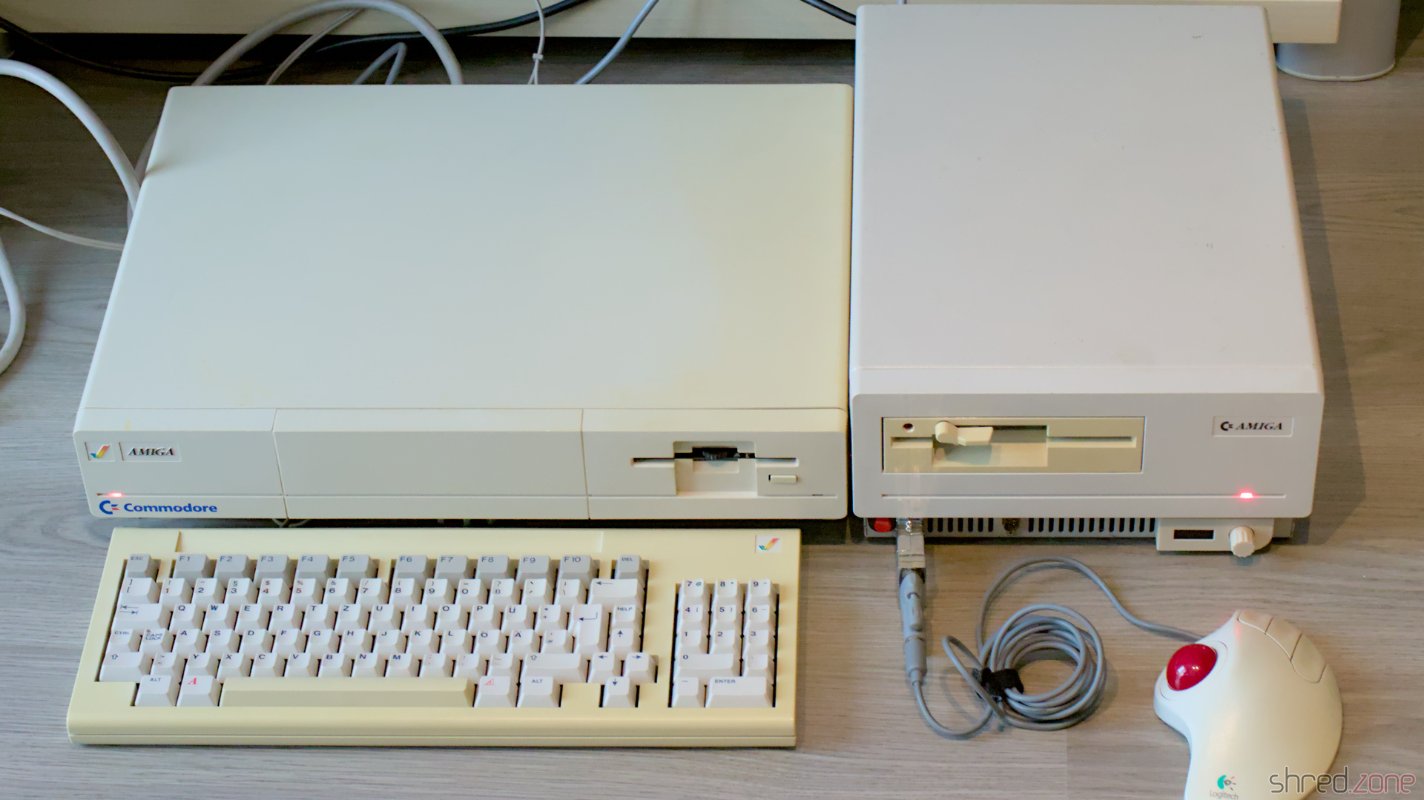
And there it is, my fully restored and futureproofed Commmodore A1060 Sidecar!
The restoration was much more difficult than I expected. There were many bad surprises waiting for me, and more than once I was close to giving up the project and storing the Sidecar away for later.
This beast is difficult to repair. First of all because of its size. The Amiga 1000 plus Sidecar was too big for the table in my tiny workshop, so I could not use my scope. Also there is not much use in running the Sidecar alone, so you always need a running Amiga 1000 for troubleshooting. Third, it's hard to find a place to put the Sidecar's PSU while probing the boards. The open nature of the PSU also poses a risk of electrocution if accidentally touched. All in all it was an interesting experience and I have learned a lot about Commodore bridgeboards in general and the Sidecar in special, but I probably wouldn't do it again.