I still own two ZX Spectrum 48K from my very early days of home computing. The first is my own one, I got it from my parents as a Christmas present back in 1985. The other one was owned by a friend. It was broken and couldn't be repaired, so he first intended to throw it away, but then gave it to me instead.
So here are the two sisters…
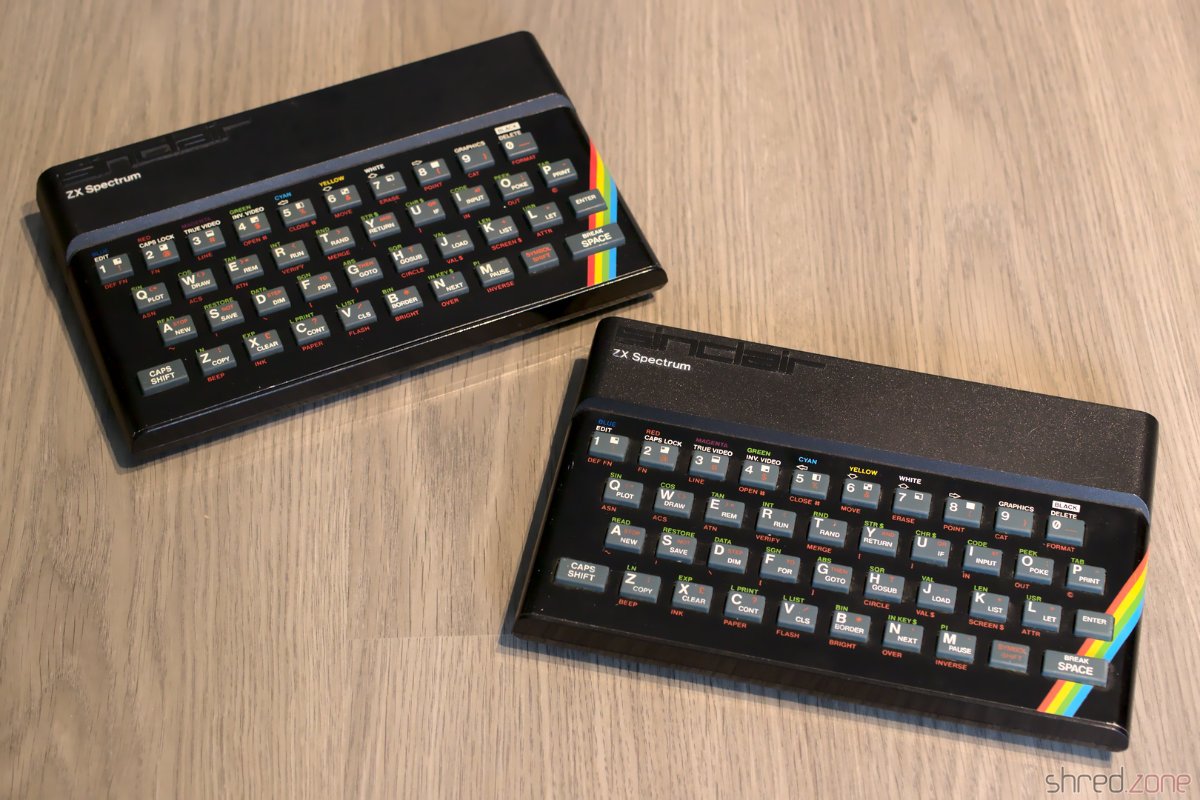
This article is about the restauration of my own ZX Spectrum. There will be a follow-up for the other one.
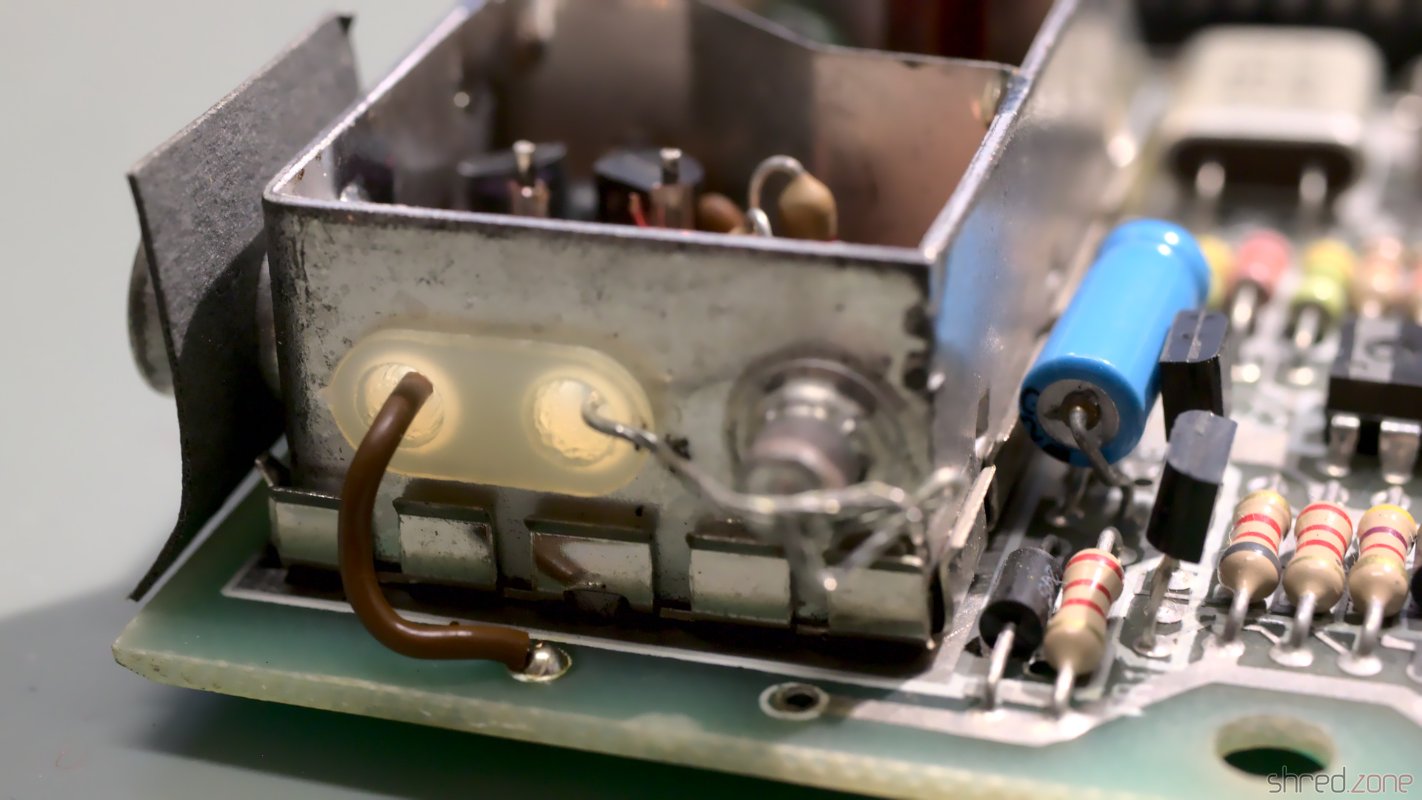
Let's have a look under the hood. This Speccy has a standard Issue Two board, with a floating transistor on the CPU as an usual factory modification of that board.

It looks alright so far. Let's find out if it is still working.
Composite Mod
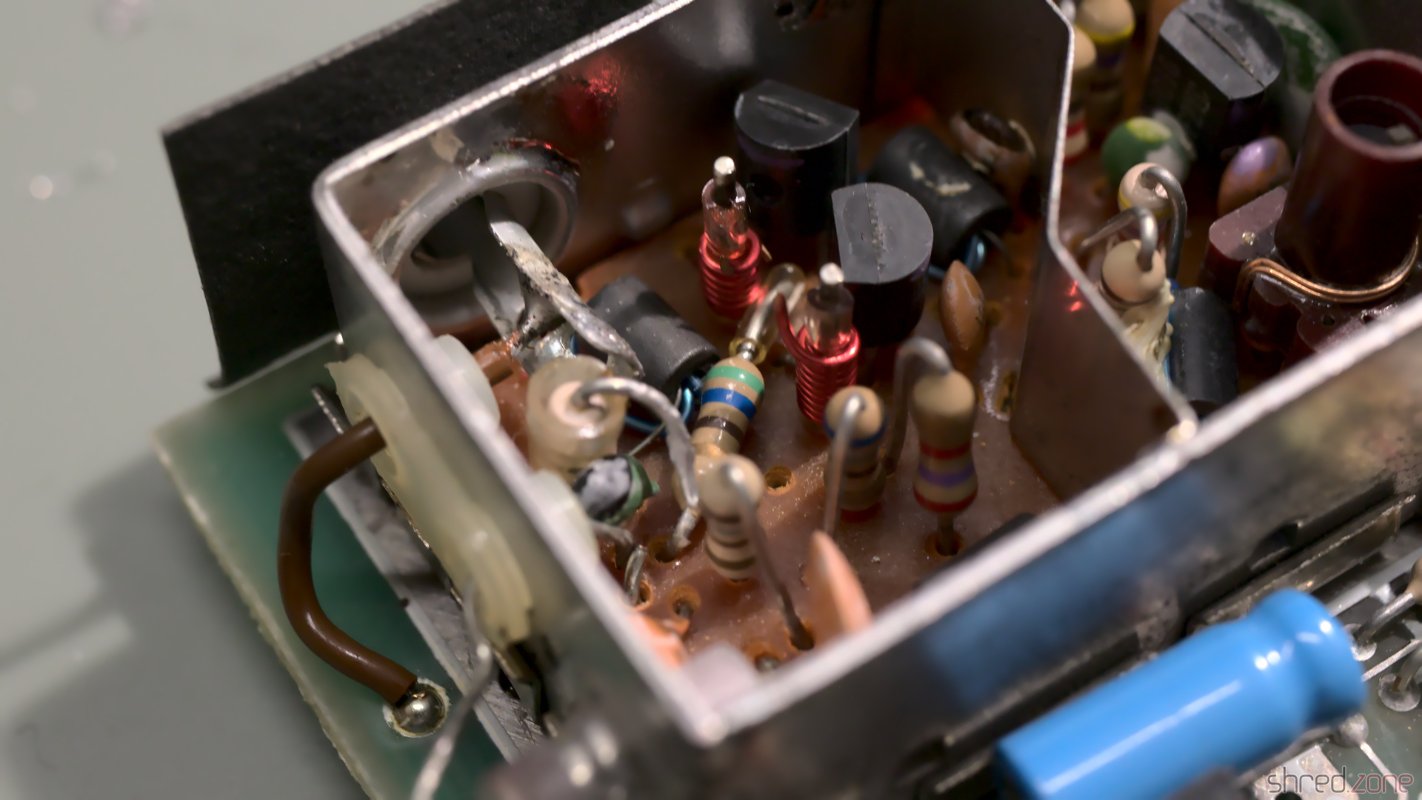
All home computers of that era were designed to be connected to the "antenna in" of an ordinary color TV. The TV was tuned to UHF channel 36 to receive the signal. The picture quality was quite okay back in those days, but poor for today's standards.
Today, almost all TVs have a composite input, so there is no need for modulating the signal any more. Luckily the ZX Spectrum can be easily modified to give a composite signal. First, the two existing wires on the side of the TV modulator are unsoldered and just bent to the side (so the mod can be reversed if desired). Inside the modulator, the resistor is disconnected from the RCA jack. Then a new wire is connected from the outside's former signal pad straight to the RCA jack.
After that modification, the Spectrum can be directly connected to the TV's "composite in". The modification can be easily reverted, and there is no need to drill an additional hole into the case.
Testing
I have lost the original ZX Spectrum PSUs, but any stabilized 9 V PSU with at least 1.5 A will do as a replacement. It is very important to check the polarity of the barrel plug! Most modern PSUs have the positive pole at the inside of the plug, while the ZX Spectrum expects the positive pole at the outside:
Many Speccys certainly have been killed by using a replacement PSU with the wrong polarity.
I powered it up, and to my surprise it was still working!
All I would need to do now is giving it the usual technical overhaul.
Recapping
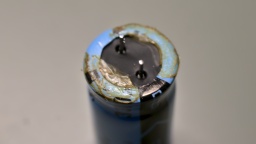
The first thing is to replace the electrolytic capacitors. The old ones dry out over the years, and lose their capacity. Some may even leak and damage the PCB.
To keep the old look, many people prefer axial caps with the classic shape and a blue (or at least black) color.
High quality axial caps are difficult to find and quite expensive. I chose to use Vishay capacitors with an expected lifetime of 2,000 h. However the reference photos of the retailer deceived me. The nice black "classic" caps turned out to have an odd shape, and an aluminum or plastic grey color. They are not of an inferior quality, quite the contrary, but they just don't look vintage. I still decided to use them.
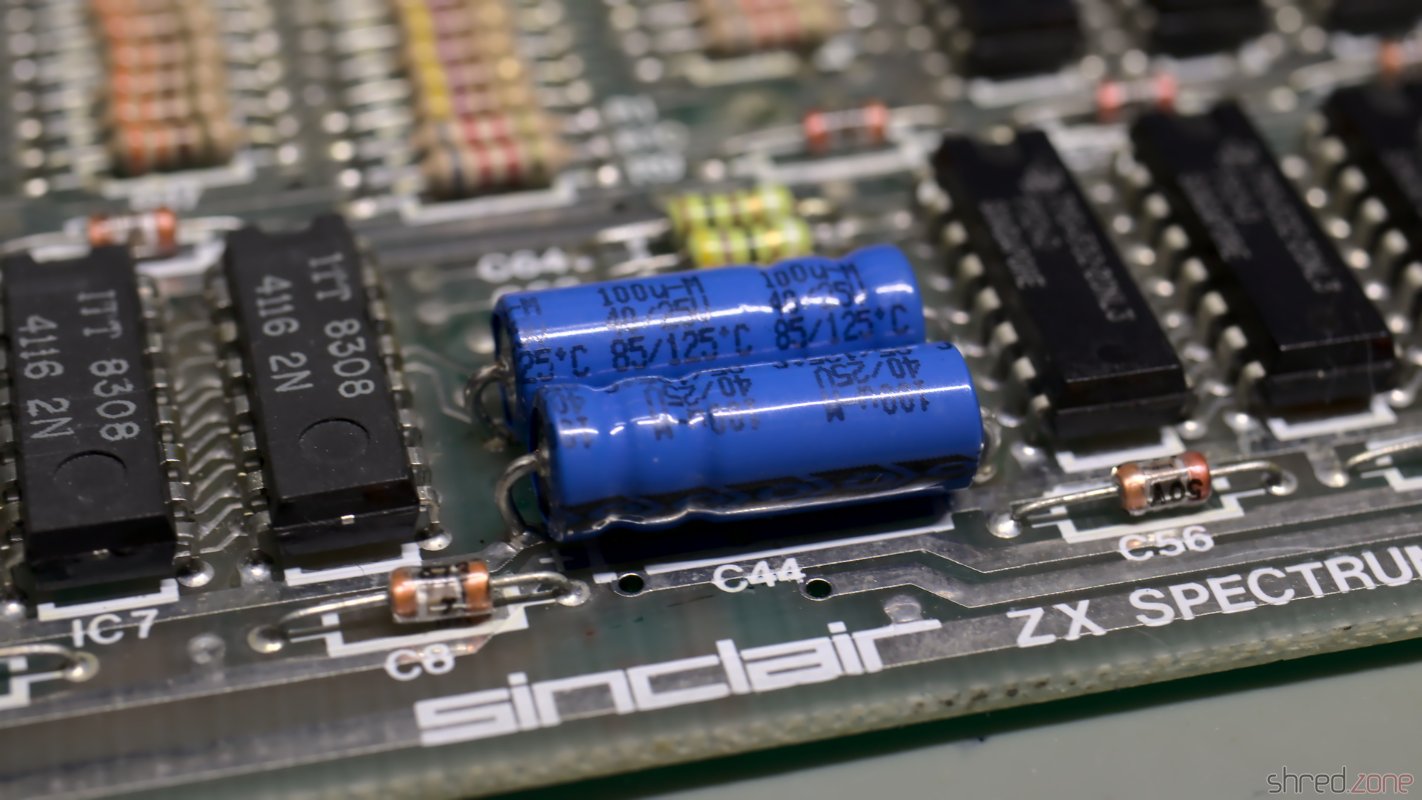
There is a trap on the Issue 2 boards: the polarity of C46 is indicated backwards on the silkscreen. The capacitor must be installed with the positive end to the left.

After the recapping, I thoroughly washed the board with IPA and a toothbrush. Then it was time for another test.
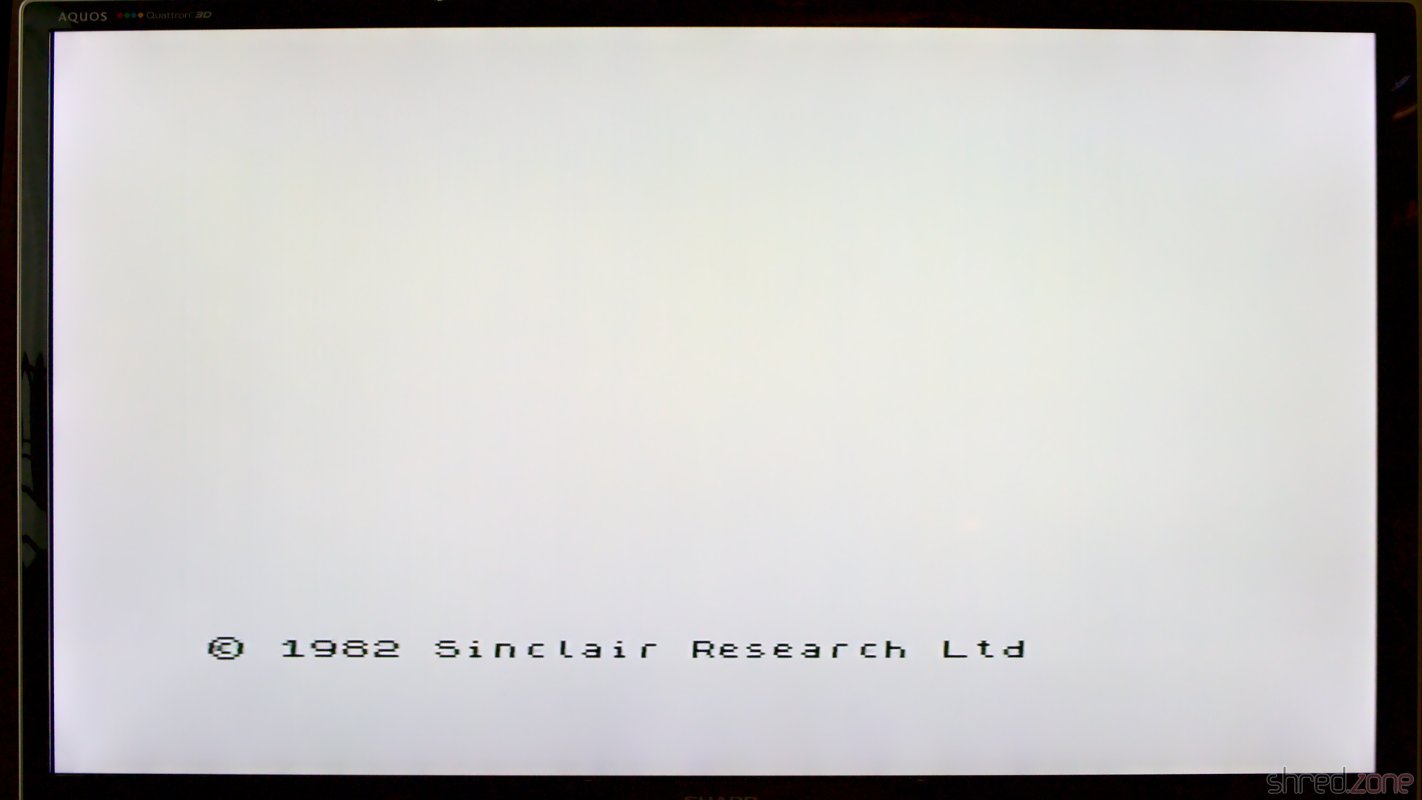
Operation Successful…
…but the patient died. This is what I saw when I powered it up again:
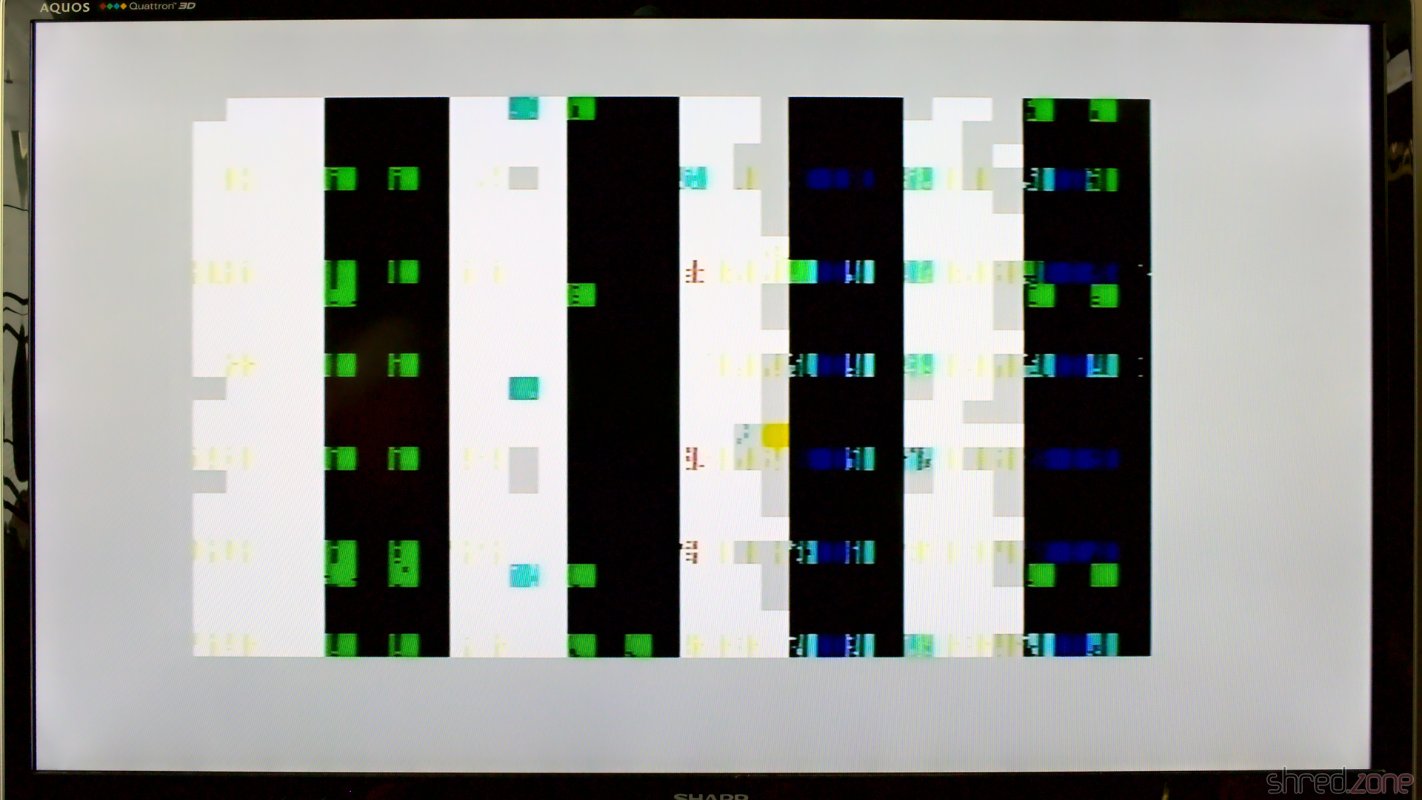
Obviously I broke something. 😯 But what?
I first checked the voltages, but they were all right. No chip was getting hot, except of the ULA, but that's normal.
The ROM chip is socketed, so I removed it. Without the ROM, the CPU always executes the same instruction (RST 38h), which fills the memory and results in a distinct screen pattern.

The pattern was there, so the CPU was fine, but it had some noise in it. I suspected a broken RAM chip, and the signal on the data bus actually looked a bit strange on the scope. I started to replace a few suspicious RAM chips, but to make a long story short, it didn't change anything. I was clearly on the wrong track.
I tested the ROM, but it was fine. I swapped the ULA with the one from the other Speccy, but it didn't help either. I checked all the capacitors I had replaced, but they had the correct values and orientation, even that infamous C46.
What has just happened that damaged a previously working Spectrum so badly?
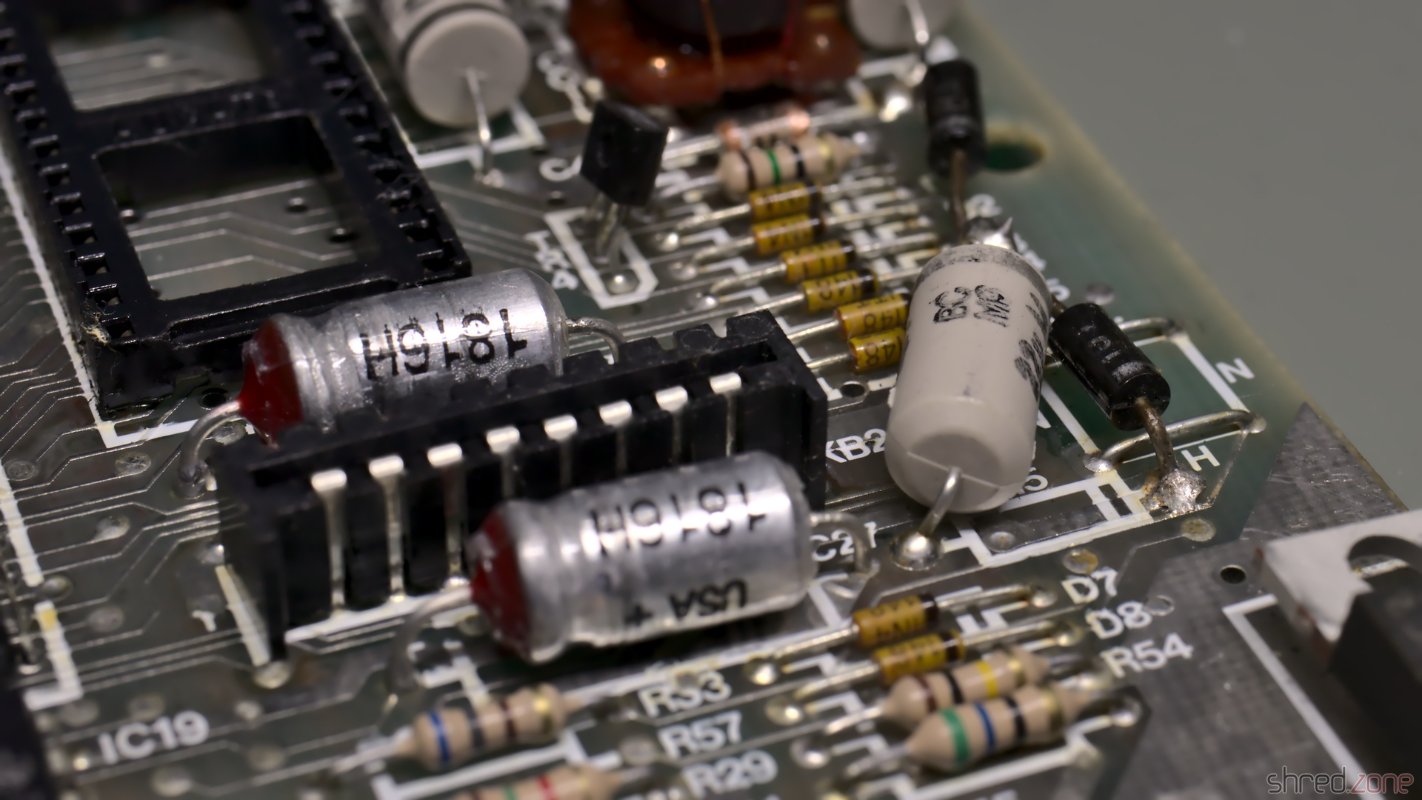
I noticed that, as the only standard chip, IC23 was socketed on that machine. It must have been from a previous repair, because unlike all the other soldering joints, the lead was yellowish there. When I touched the joints with the tip of my soldering iron, they were also sizzling. This was just scrap. I completely removed the old lead, and soldered in a new socket.
Could this have been the problem? I gave power to the Speccy. And yes, it was working again! 😄
I guess that when I cleaned the board with IPA, I partially dissolved the flux in these old soldering joints, making them cold. IC23 is used for the proper access timing of the upper RAM. With a bad timing, the upper RAM might just have disturbed the entire data bus.
Finishing Works
With the Speccy brought back to live, I did some final cleanups.
A defective TR4 is a common cause for a broken power converter. It was still working here, but I precautionary replaced it with a ZTX651, which is the more reliable successor type.
I also preemptively replaced the 7805 voltage regulator by a fresh one, and used thermal paste for better cooling. It's common in the retro scene to replace the 7805 with a modern step-down converter that does not need any cooling, but I decided against it. I like to feel the heat of a working ZX Spectrum.
The ribbons of the keyboard membrane got brittle over the years, and already started to break. Luckily there are new membranes available on the market. And since I was on it, I also ordered a transparent replica case, a black rubber keyboard mat, and a chrome faceplate. I especially like the idea of a transparent case making the inside of this old computer visible.

The first of both sisters is restored now. The other one might be more difficult to restore though, as it was said to be "broken beyond repair". Let's find out.
Addendum
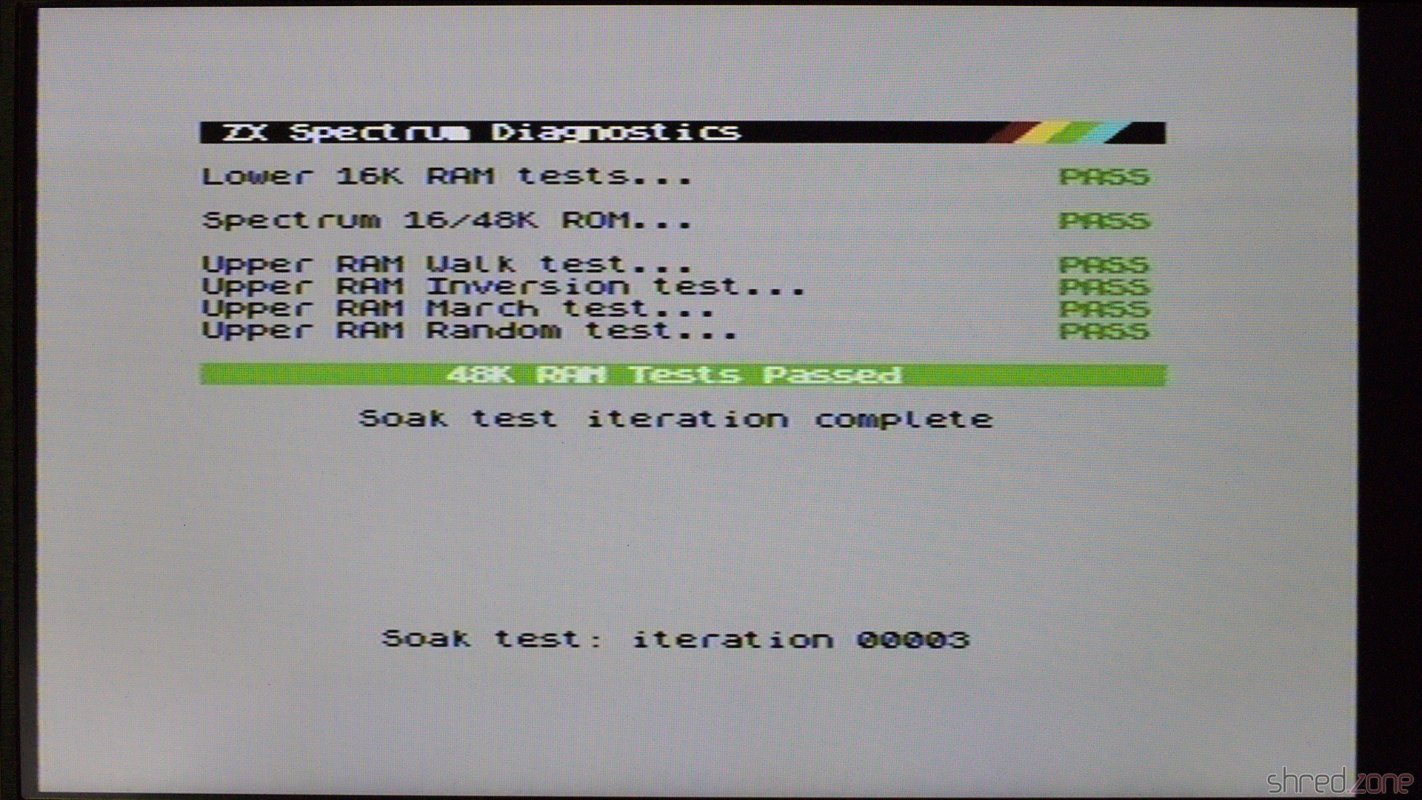
Never claim a repair is done before you ran some diagnostics. Some months later, I tested this Speccy with a Diag ROM and found that three upper RAM chips are defective.

Fortunately the Diag ROM gives exact advice about what RAM chips need replacement. It was also fortunate that I had a sufficient number of spare chips on stock.
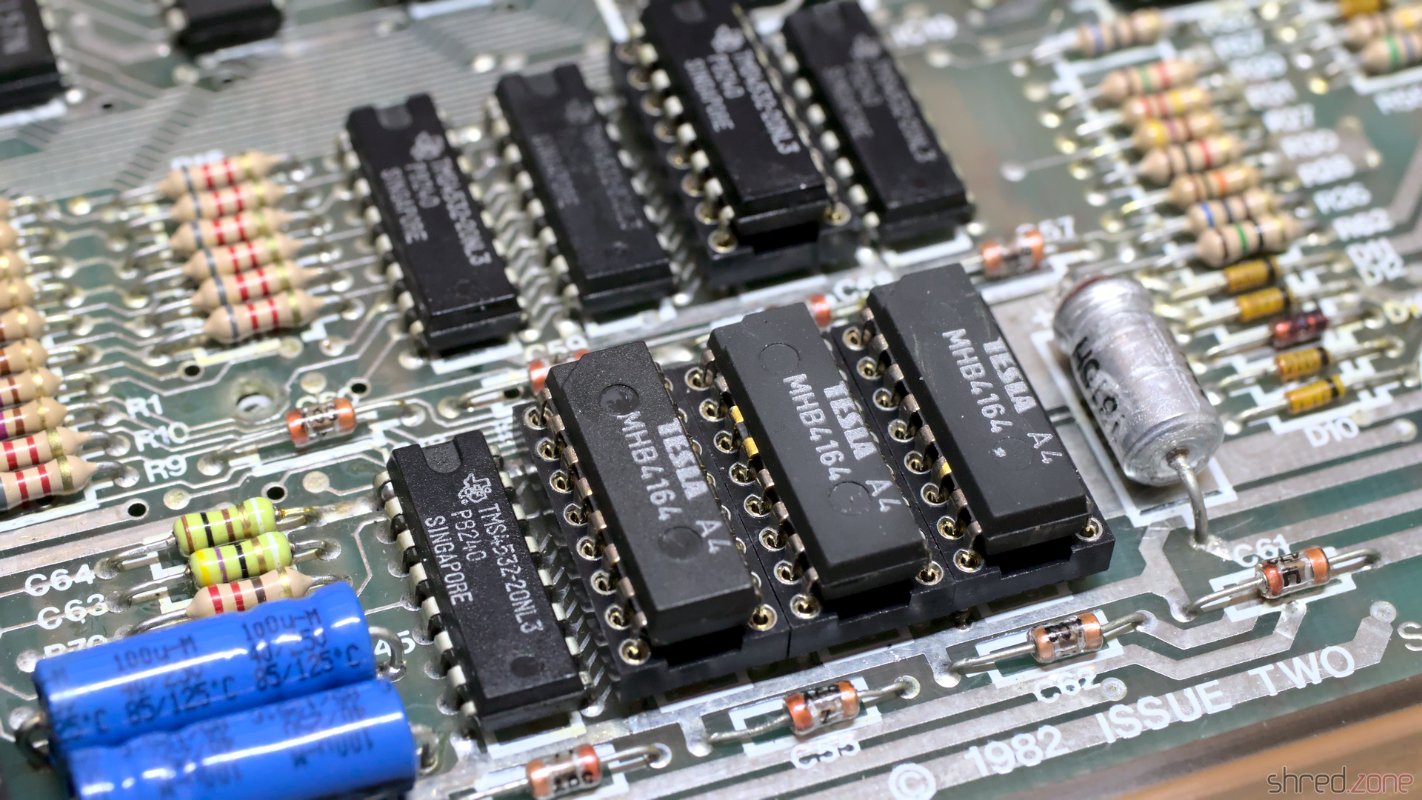
The advantage of the MHB6164 chips I used is that they are true 64KBit RAMs, so I don't need to take care that they match the other TMS4532 RAM types. After replacement, all diagnostic checks were finally green.


