Cold Water

#A1200

Amiga 1200 Black Edition

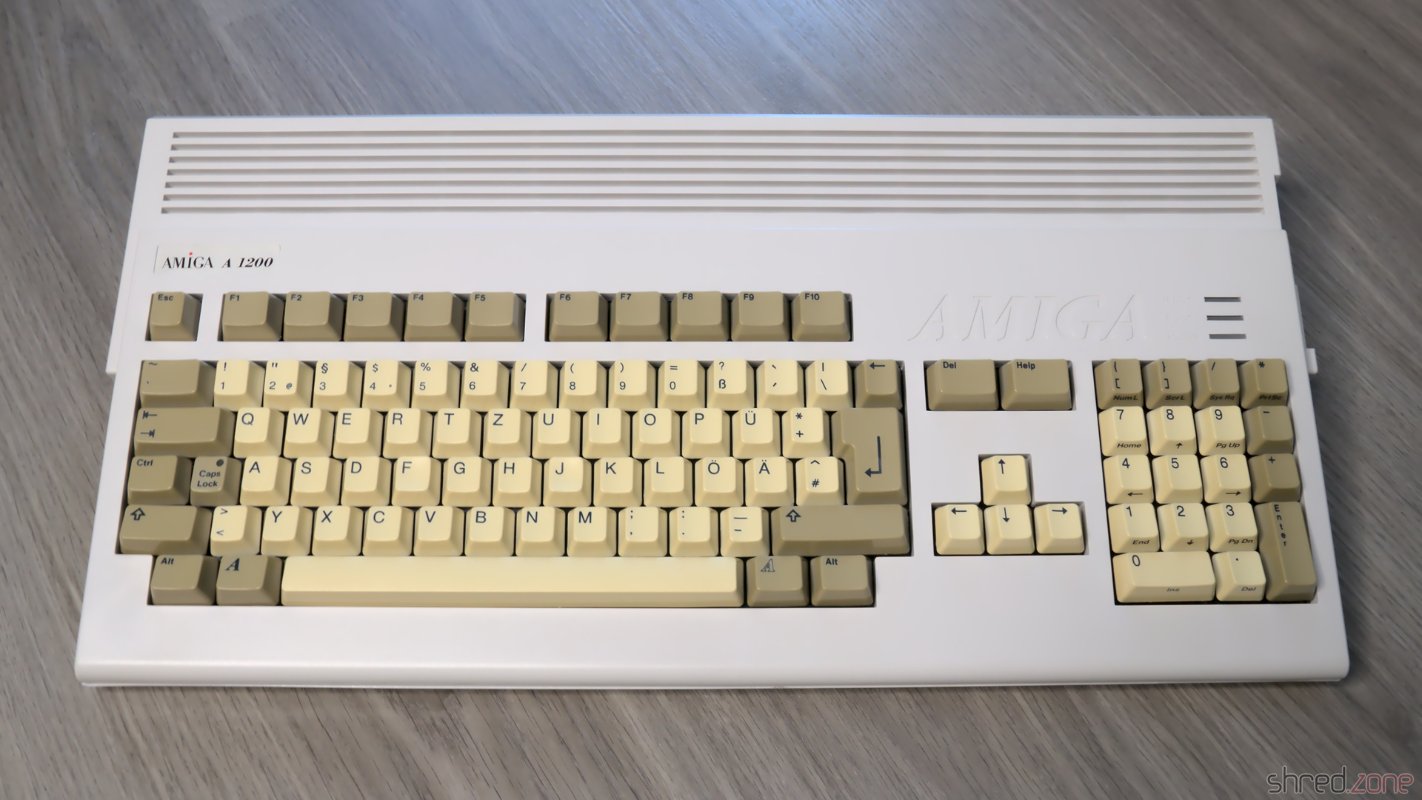
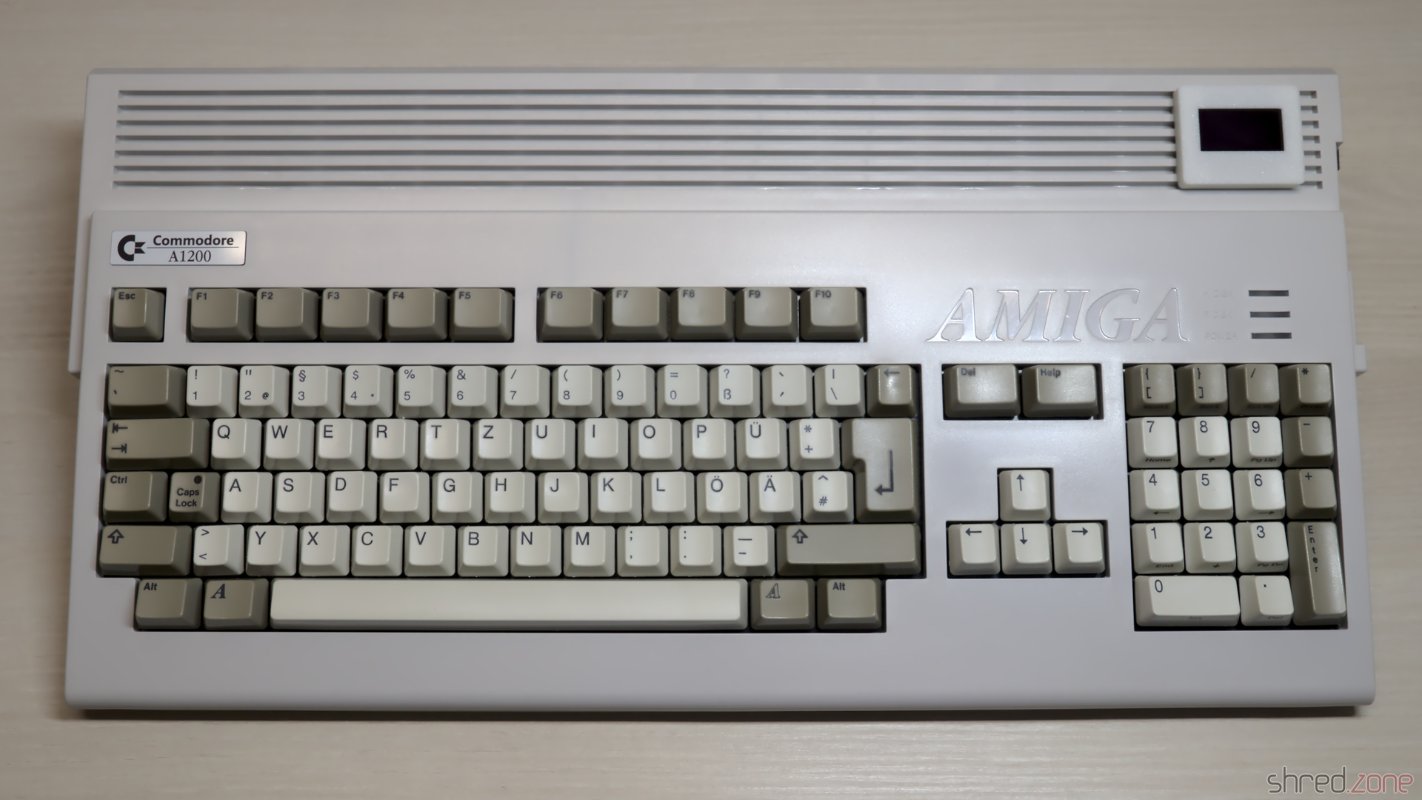
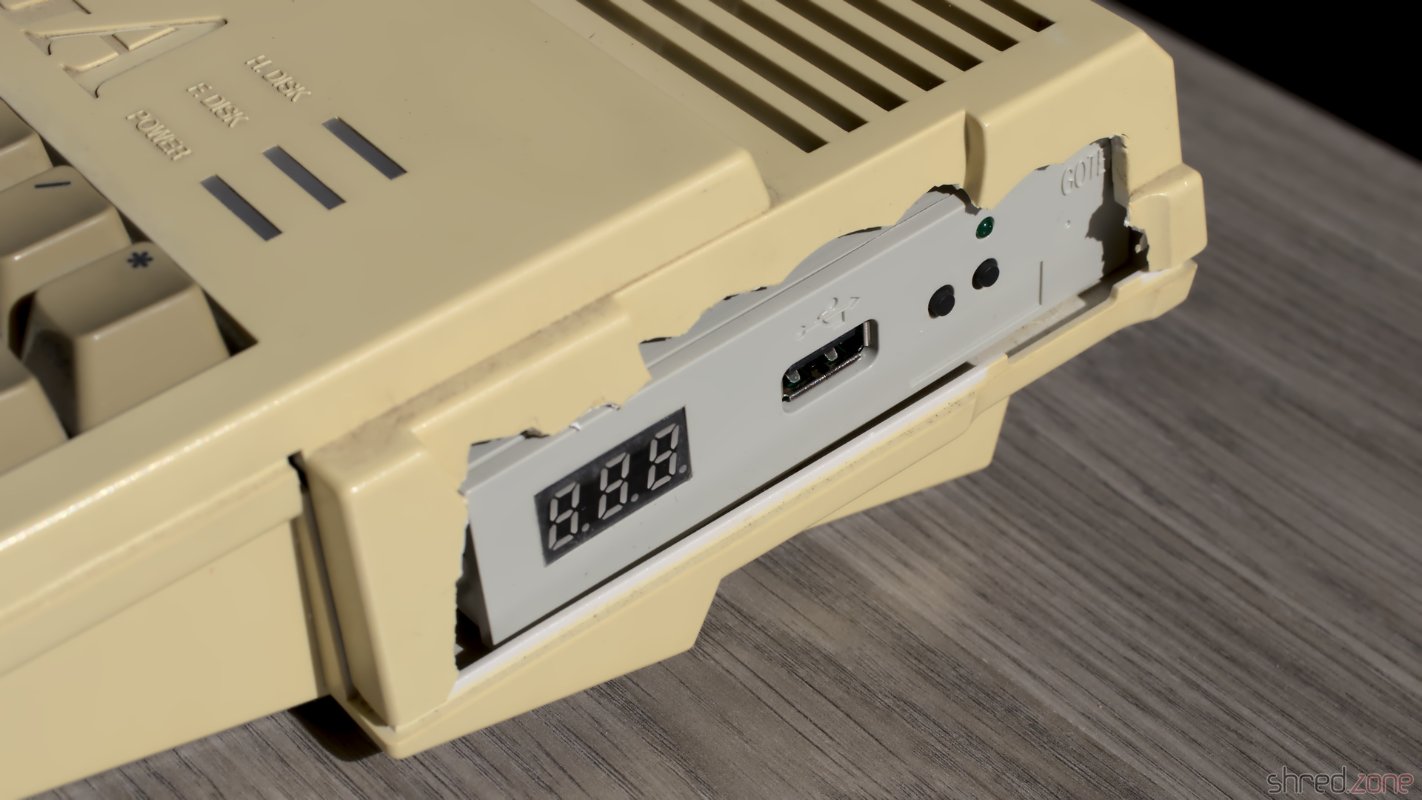
When I found this Amiga 1200, I felt pity for it. The case and keyboard was very yellowed, but what was even worse was the screwed up attempt to fit a Gotek drive into the case. The previous owner obviously tried to open the floppy disk area with some kind of cutter pincers, essentially ruining the case.

The Amiga 1200 was very yellowed. The floppy drive was coarsely cut out, to make room for a Gotek drive.

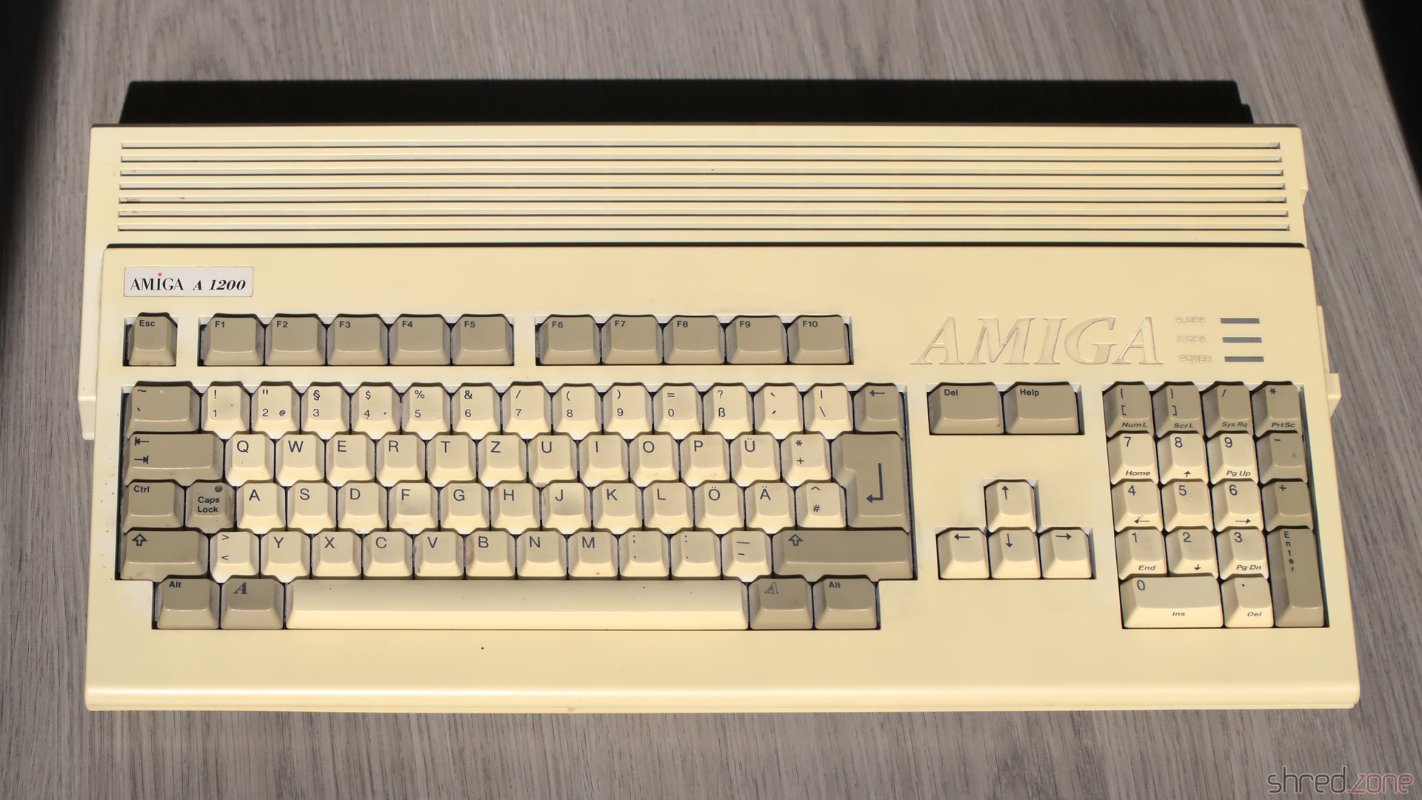
My initial plan was to whiten the case and keyboard, clean the botched cut at the floppy drive with a rotary tool, and nicely close it again with a 3D-printed part. But then I got a better idea. 😁
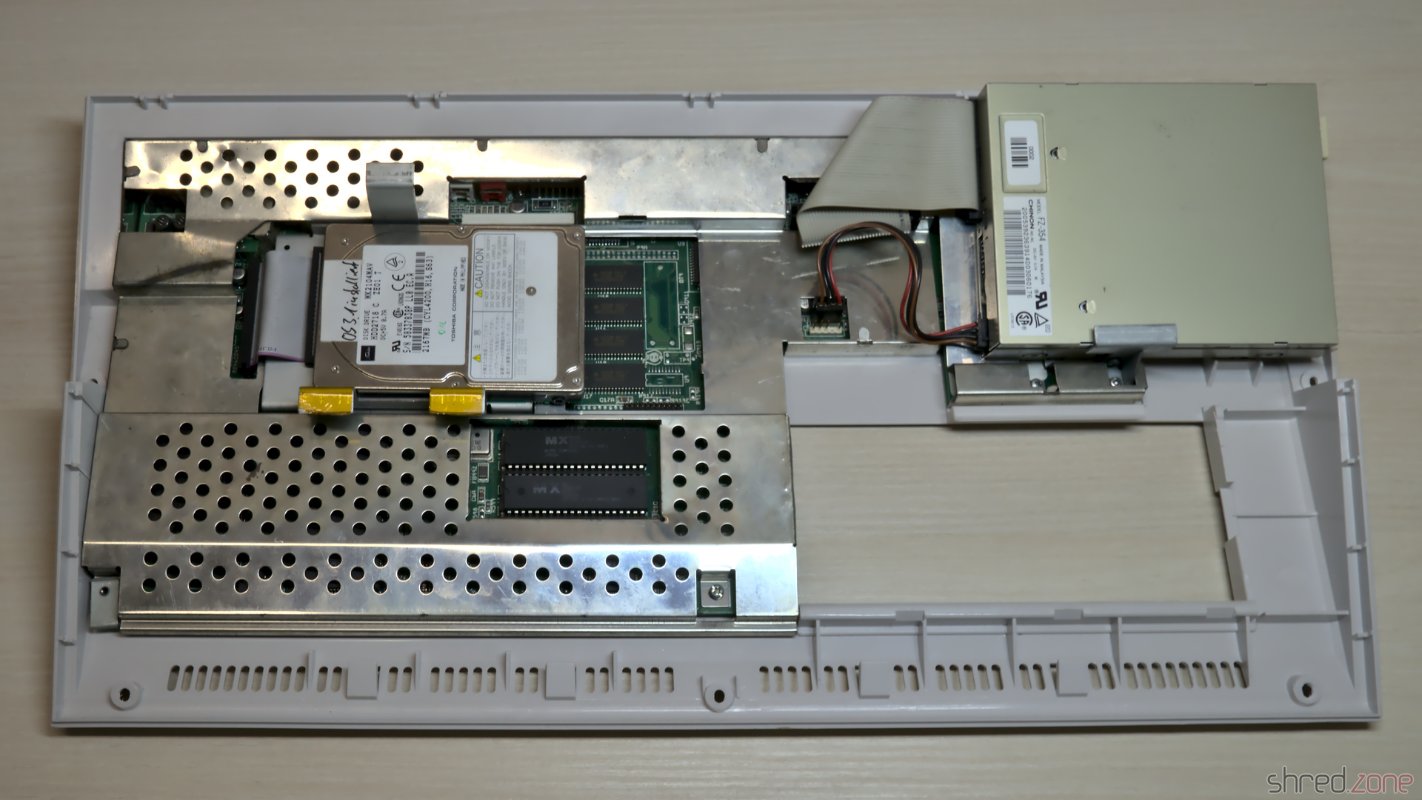
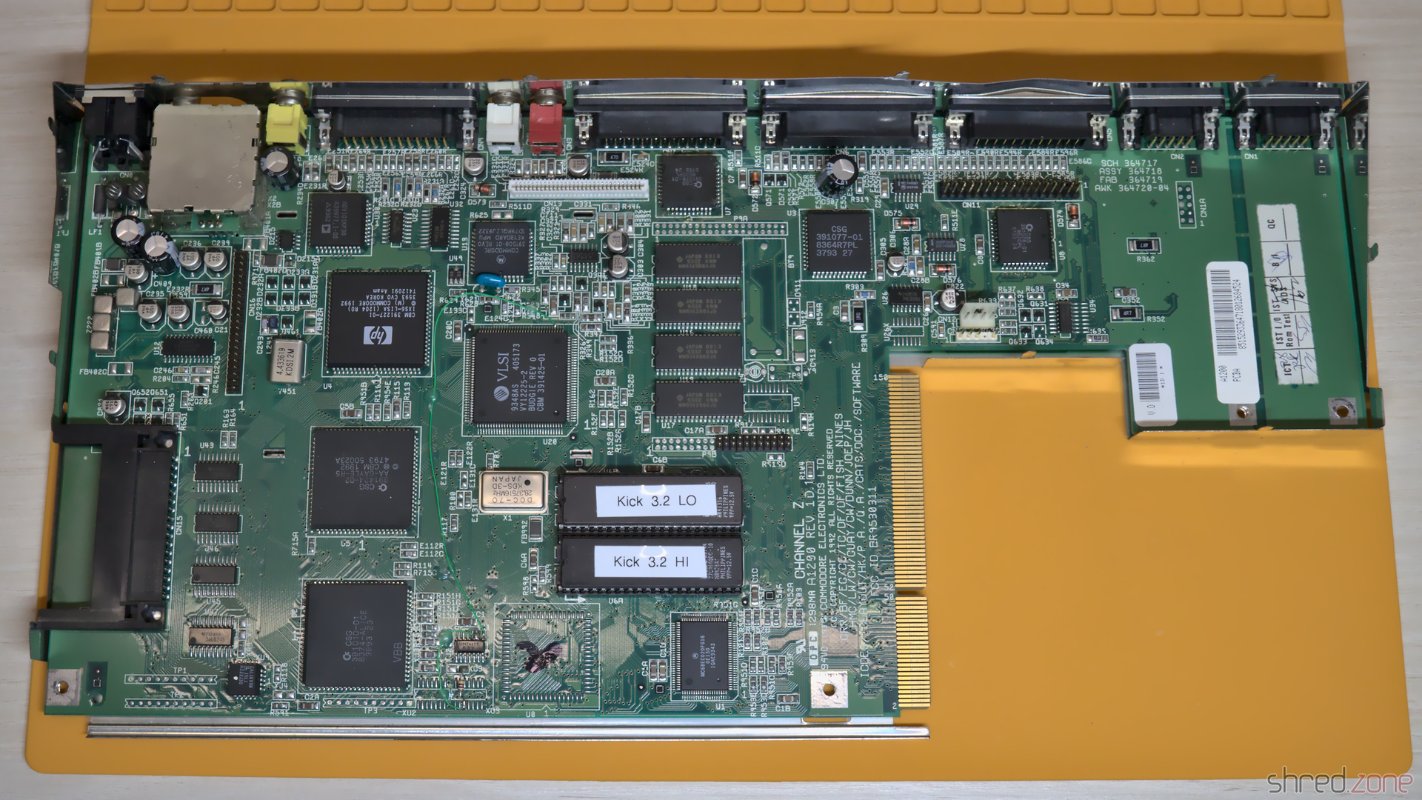
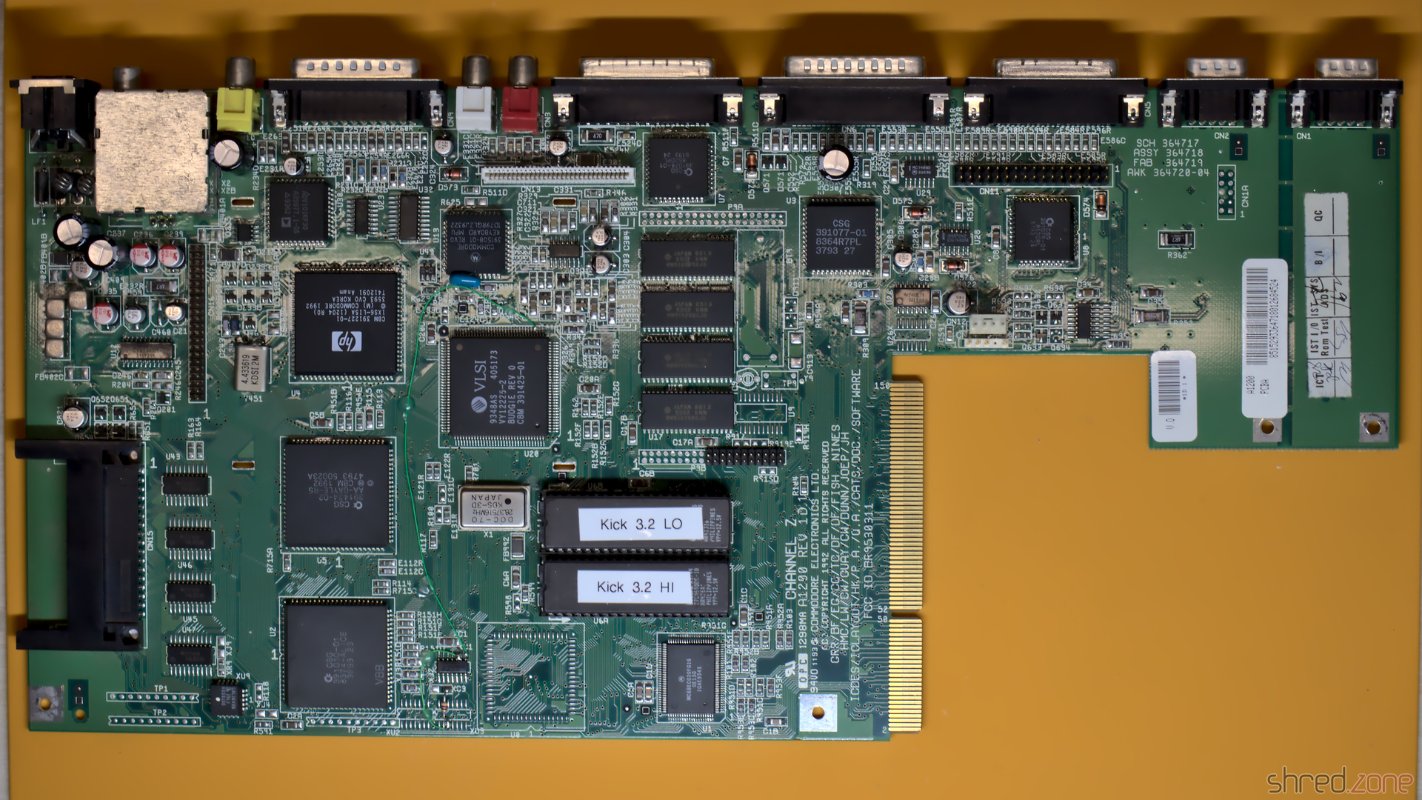
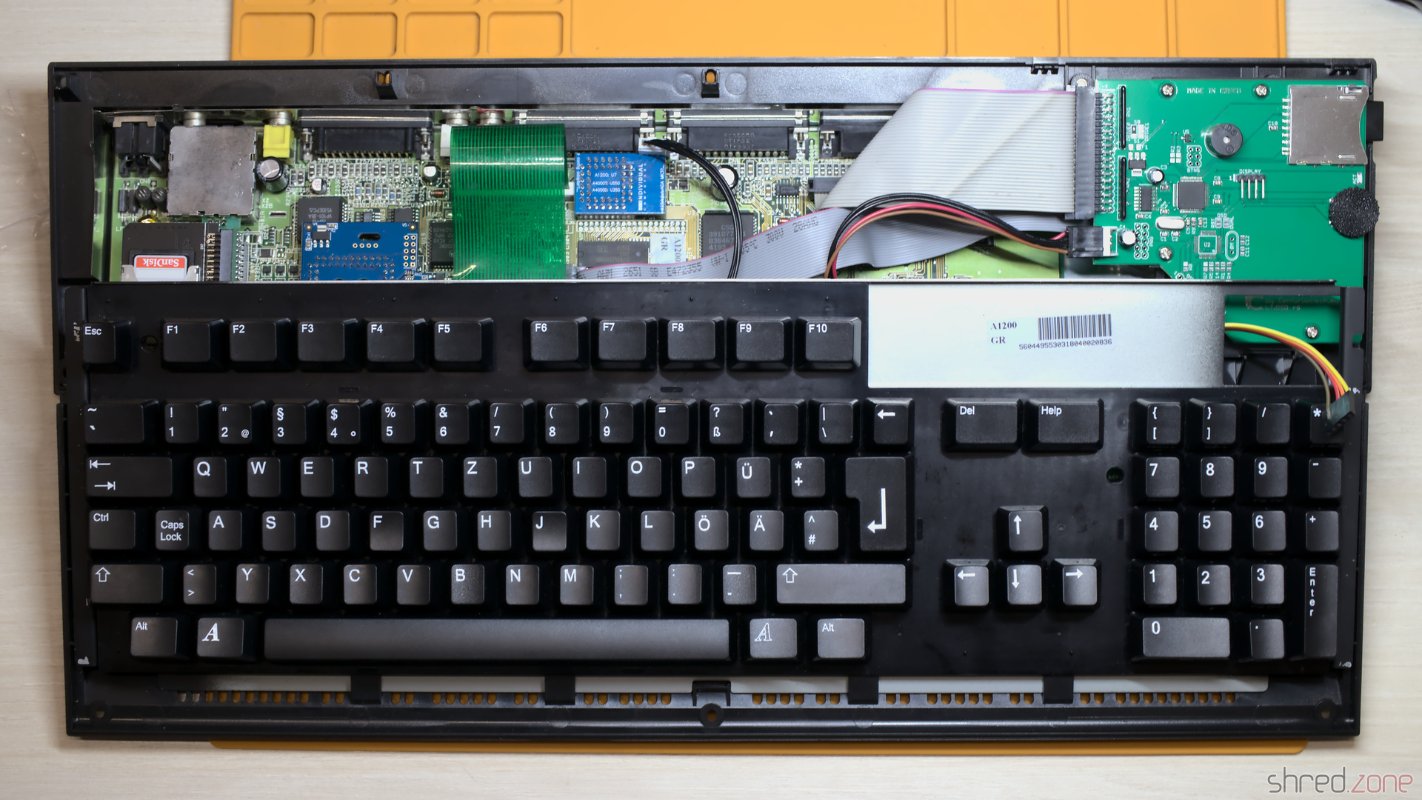
The Mainboard

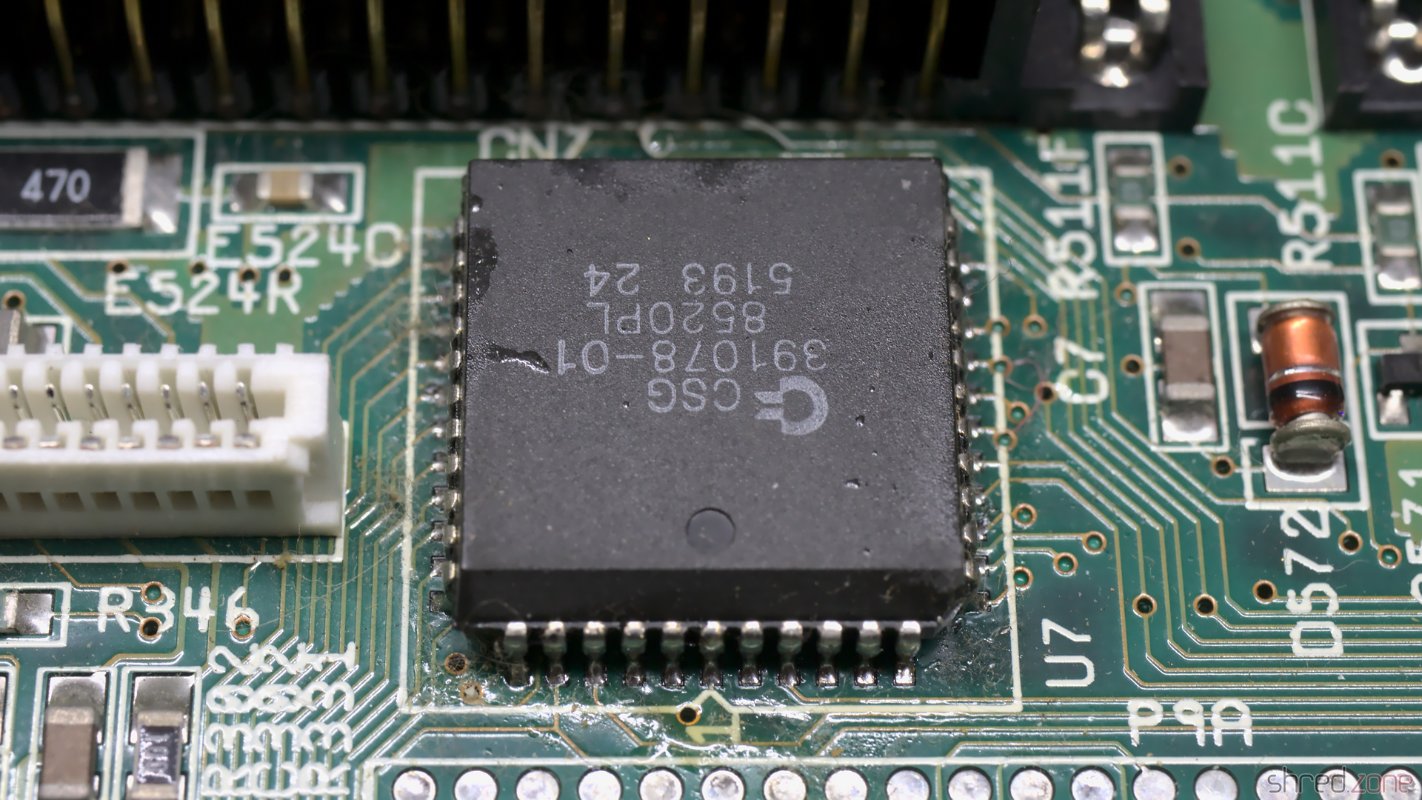
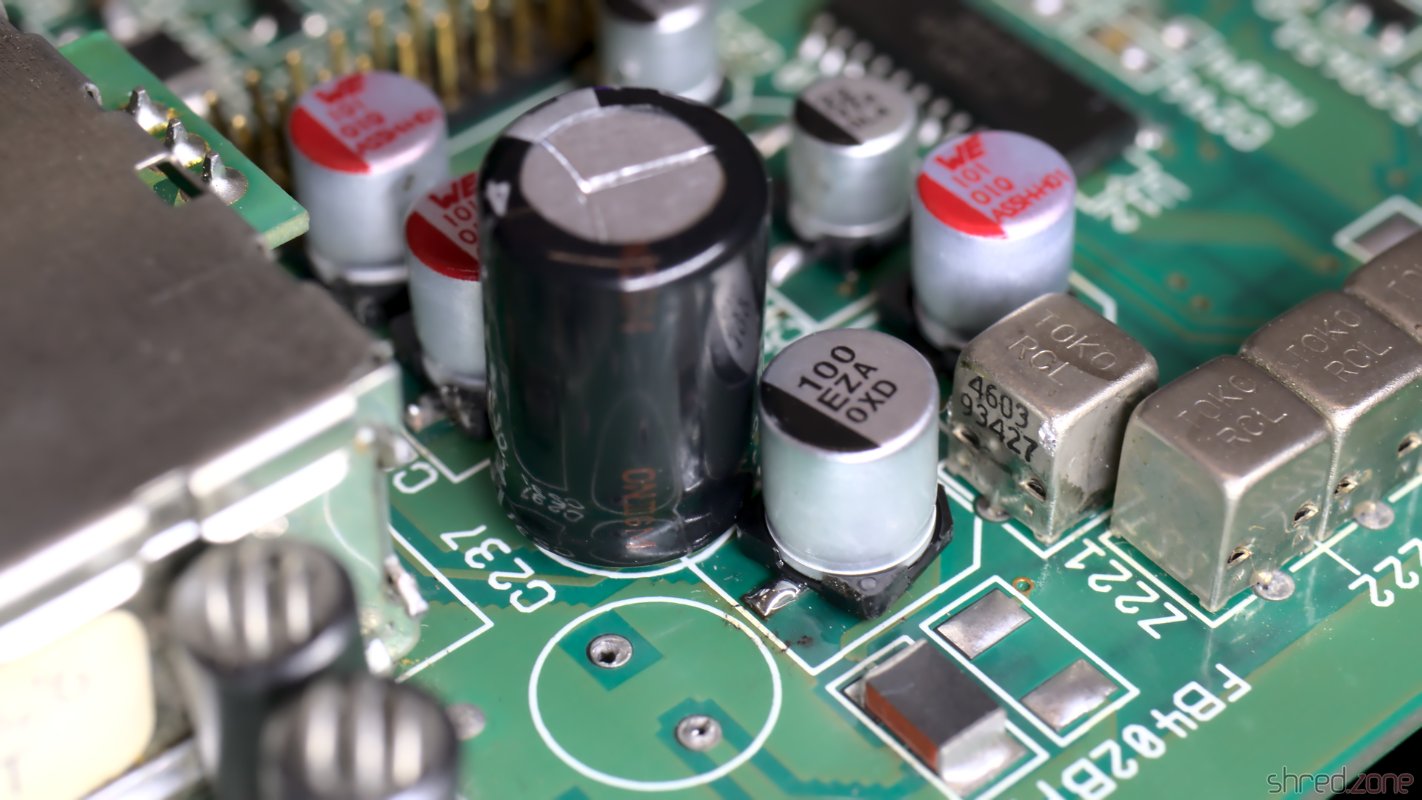
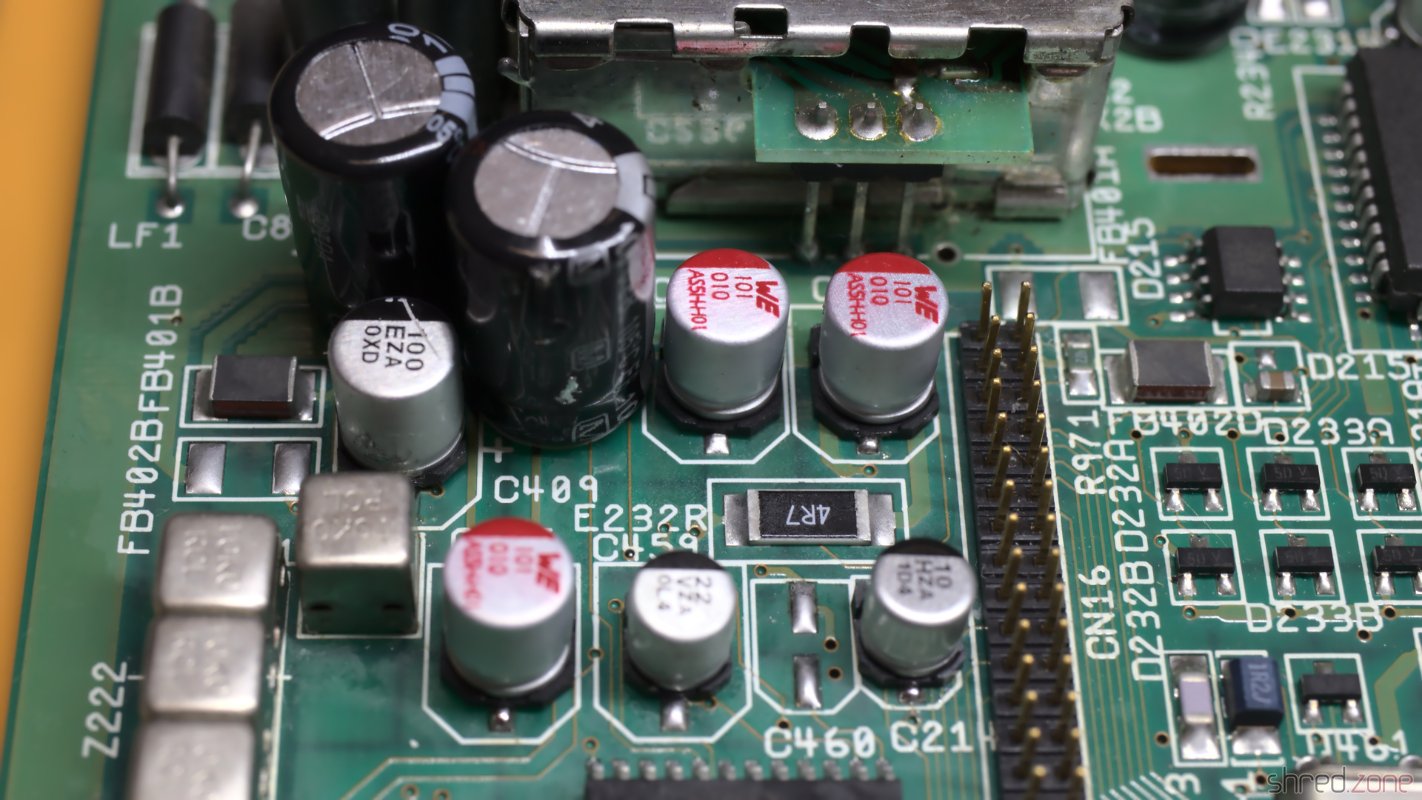
Let's have a look inside first. There is a Rev 1D.4 board in good optical condition. I replaced the electrolytic capacitors, and upgraded the ROMs to AmigaOS 3.2.1.

 The recapped mainboard.

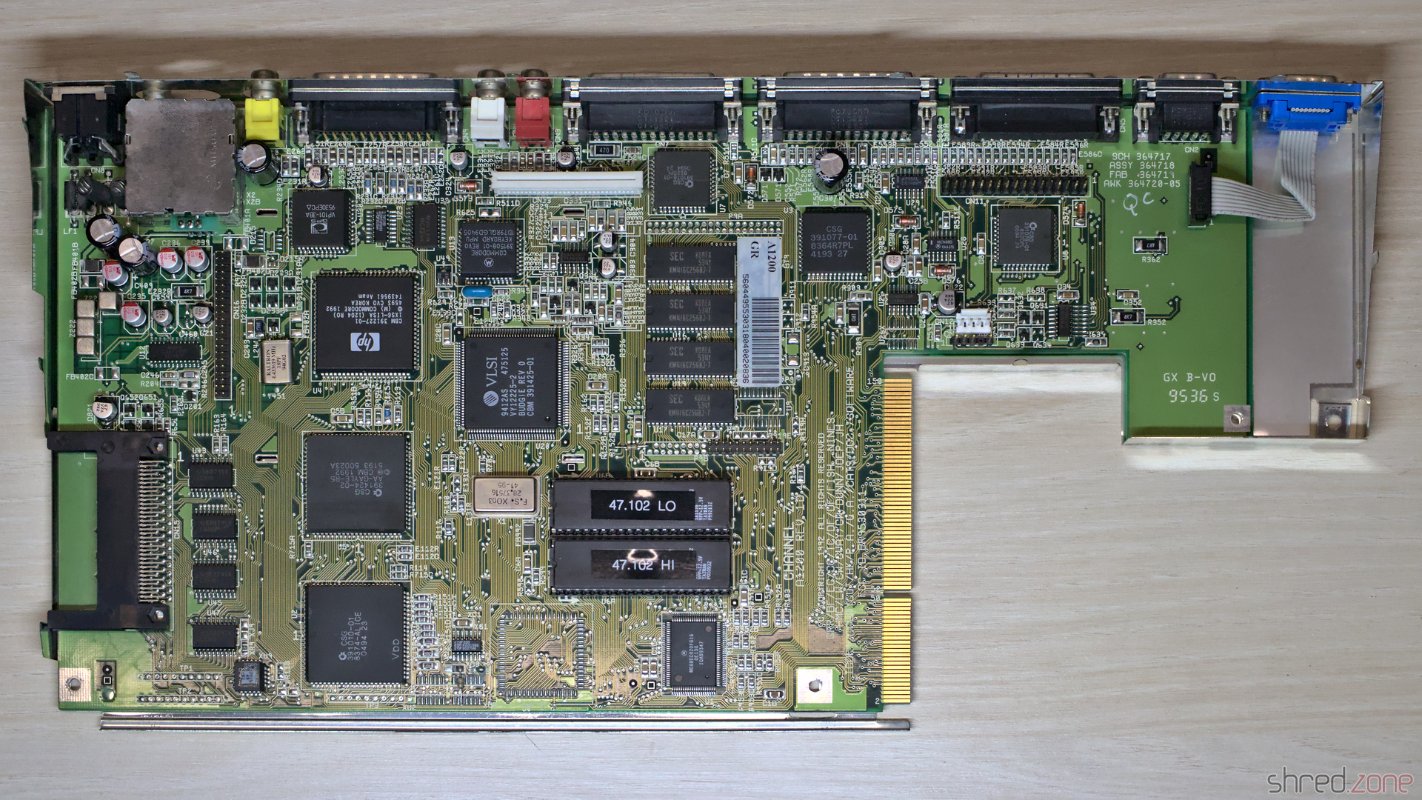
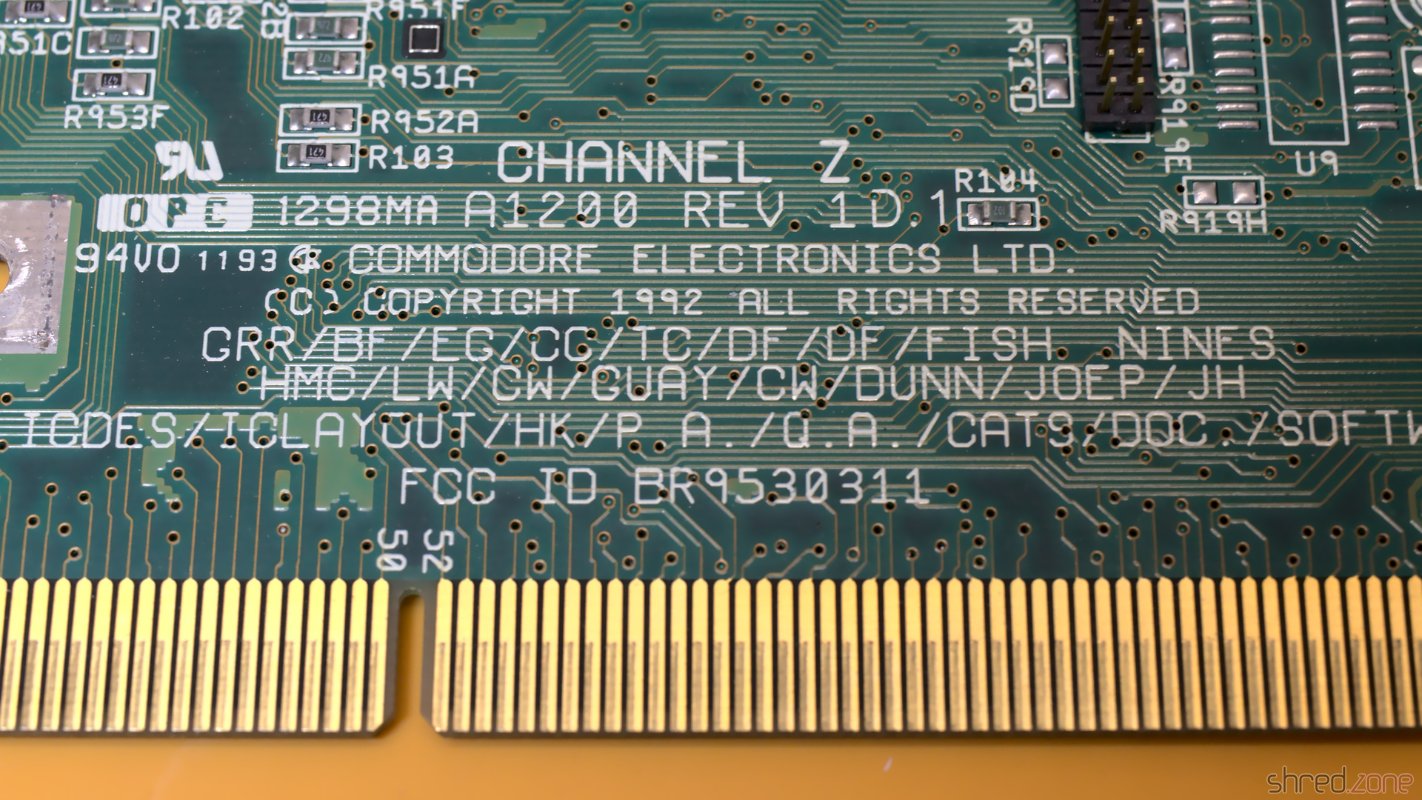
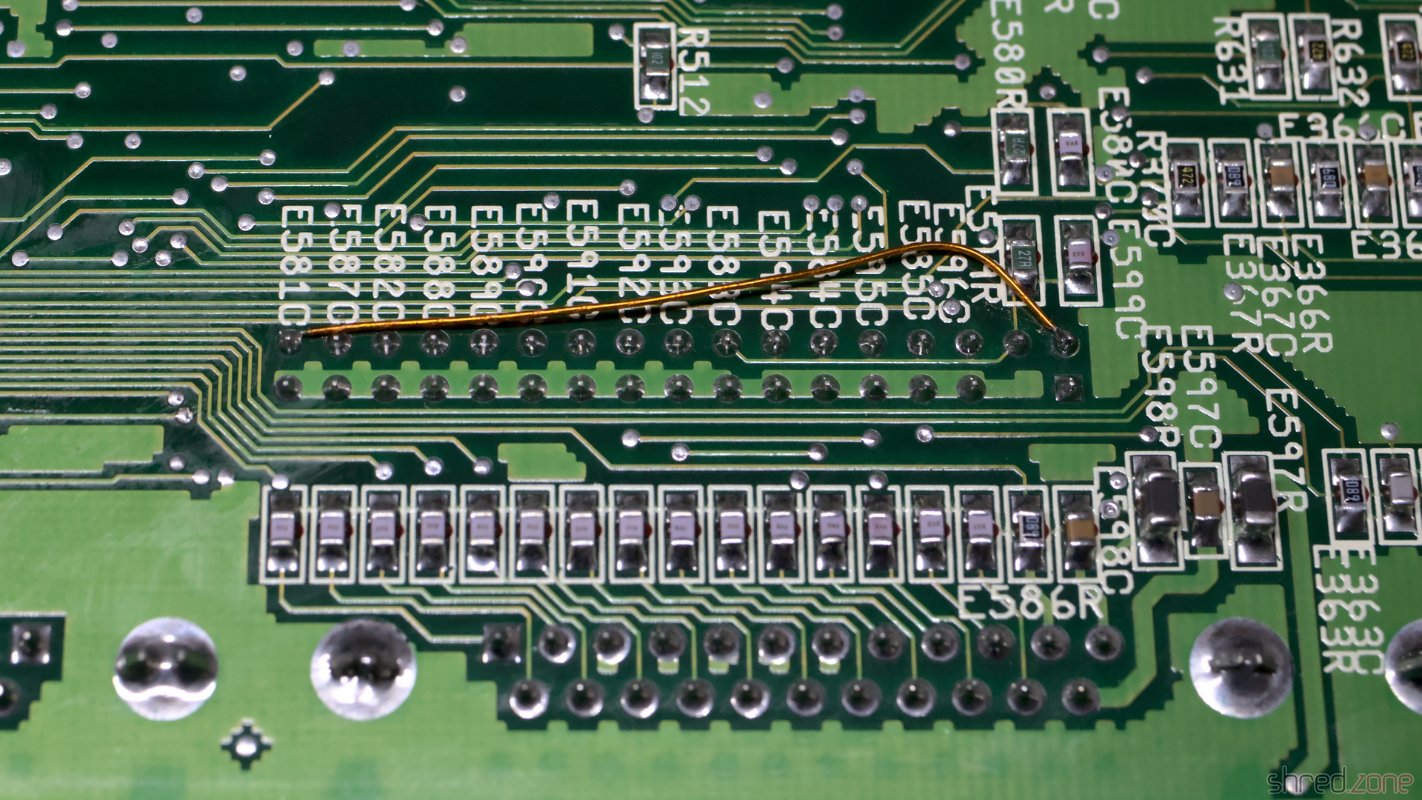
On the bottom of the PCB, I found a copper wire for a so-called "floppy fix". When Escom was producing the final batch of Amiga 1200 systems, Amiga floppy drives were not available any more, and Escom had to find a way to use regular PC floppy drives instead. However, many games and demos with own trackloaders fail to load on machines with this modification.

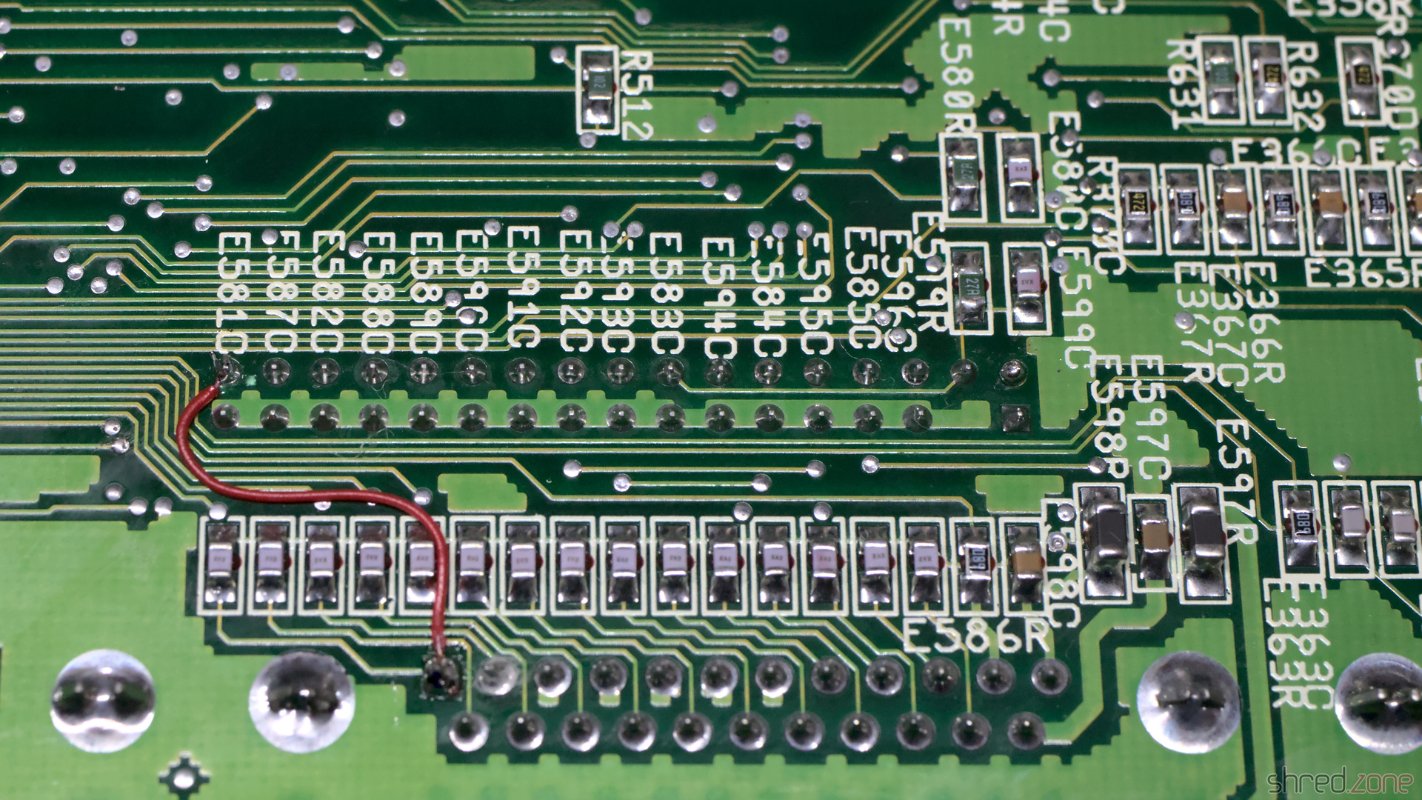
The original floppy drive of this machine was not existing anymore, and Gotek drives can perfectly emulate Amiga floppy drives, so I decided to undo the floppy fix by removing the botch wire. To restore the original RDY signal, I instead put a wire from pin 34 of the internal floppy connector to pin 1 of the external connector.

The "floppy fix" cuts pin 34 from the original RDY line (not visible here), and instead connects it to the CHNG signal at pin 2. To undo the fix, remove the wire, and then connect pin 34 of the internal port with pin 1 of the external port, to restore the original RDY signal.

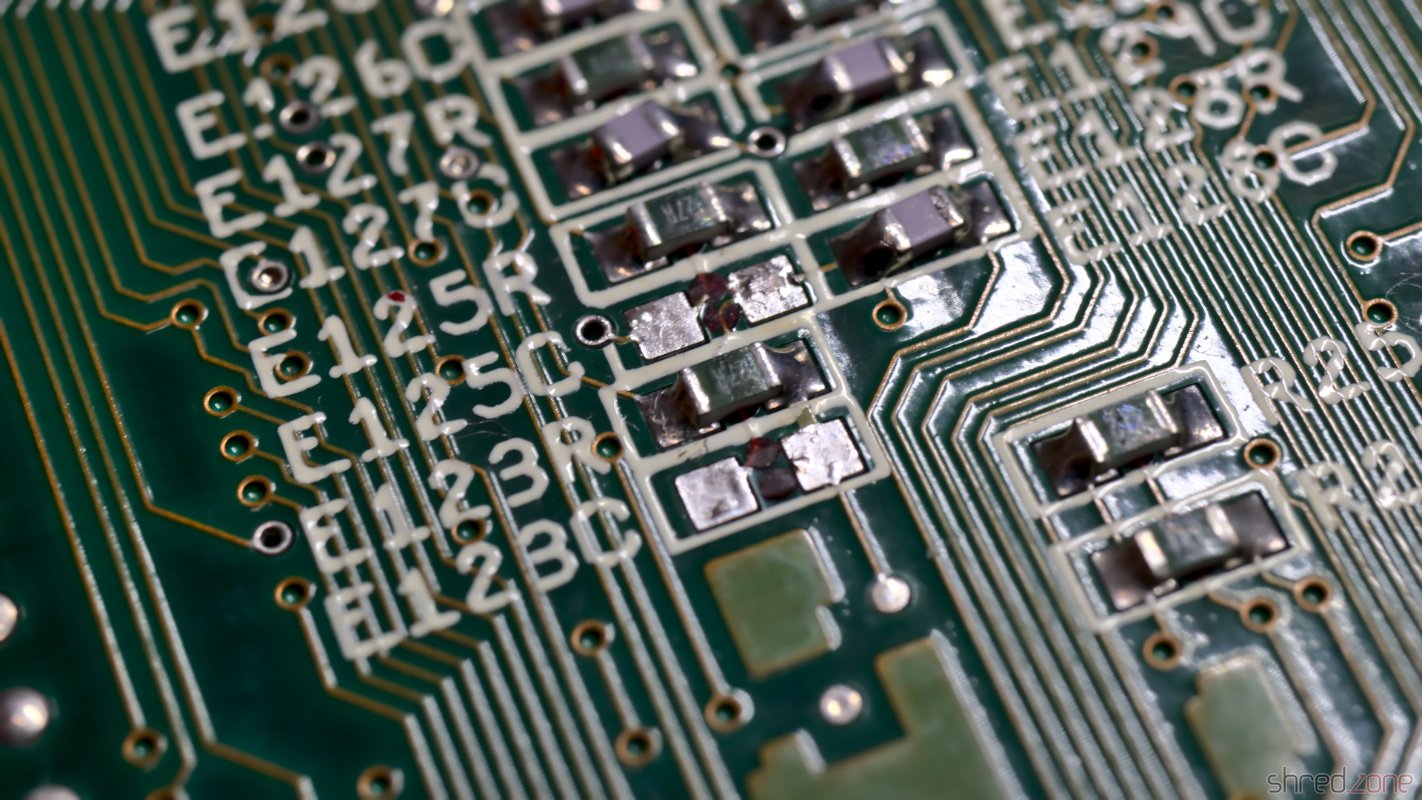
Since I was working on the bottom side of the PCB, I should also remove E123C and E125C, to enhance the stability of accelerator boards. However, on this machine these capacitors were not populated, so there was nothing to do.

It was finally time for a first thorough test run. Everything went fine, but then I noticed that the right mouse button was not working on both ports. I wrote a separate blog article about the cause and the fix, but to make a long story short, all I had to do was to replace four resistors with ferrites.

My work on the board was completed after that, and it passed all tests.

The Extras

As with my other refurbishments, I'm not only cleaning the machine, but I also futureproof it with some extras.

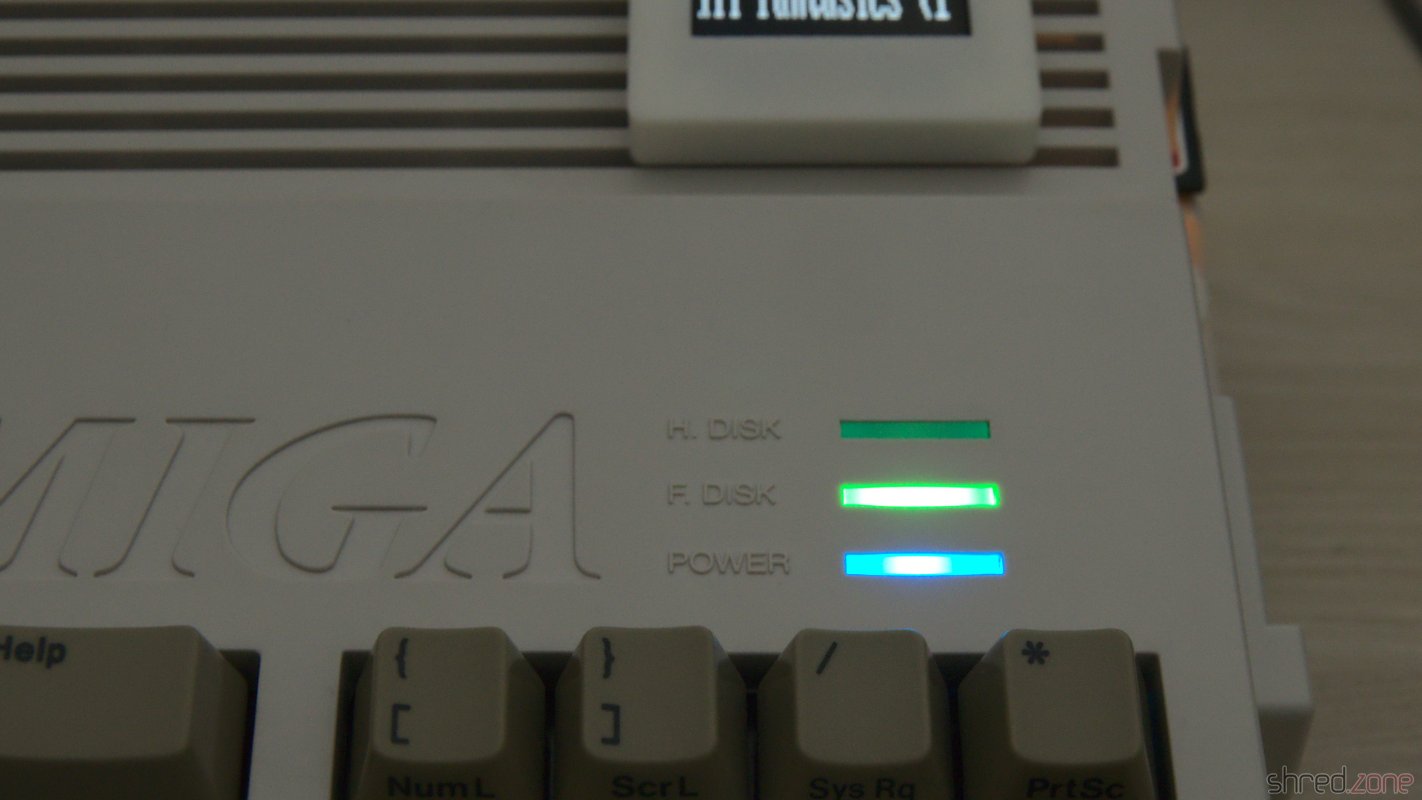
First of all: The yellowed case with the ugly cut. I was sure that even with a skillful repair attempt, the case would never look really beautiful again. Also I always wanted to have a black Amiga, so I decided to rehouse the machine into a brand new, black a1200.net replica case instead.

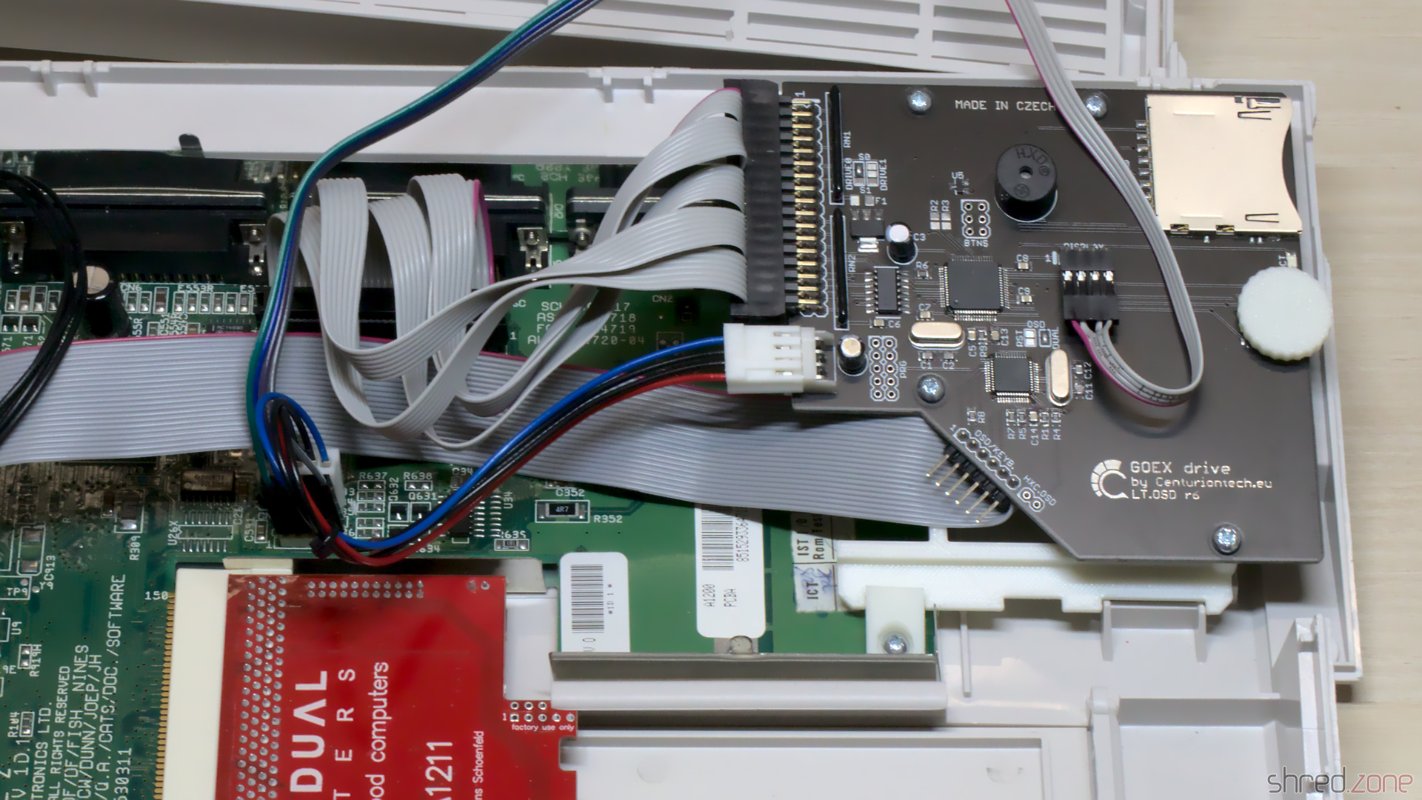
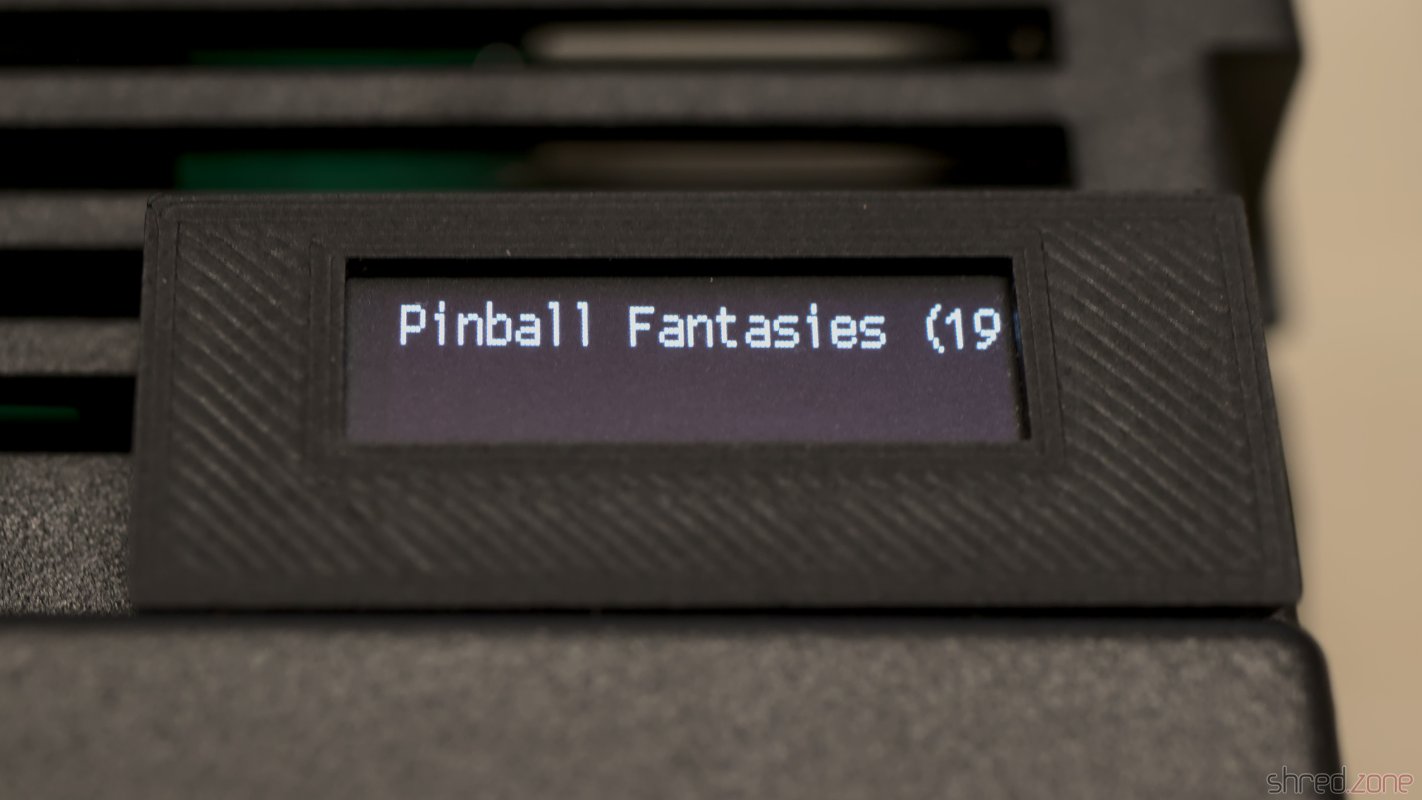
The floppy drive was missing, but instead of the Gotek drive that was there as replacement, I decided to use a Centuriontech GoEX drive. It uses an SD card instead of an USB stick, and comes with a dial encoder, which makes selection of a floppy image much easier. There is also a matching OLED display for it, but for my new Amiga I preferred to use a tiny display that is not that noticeable.

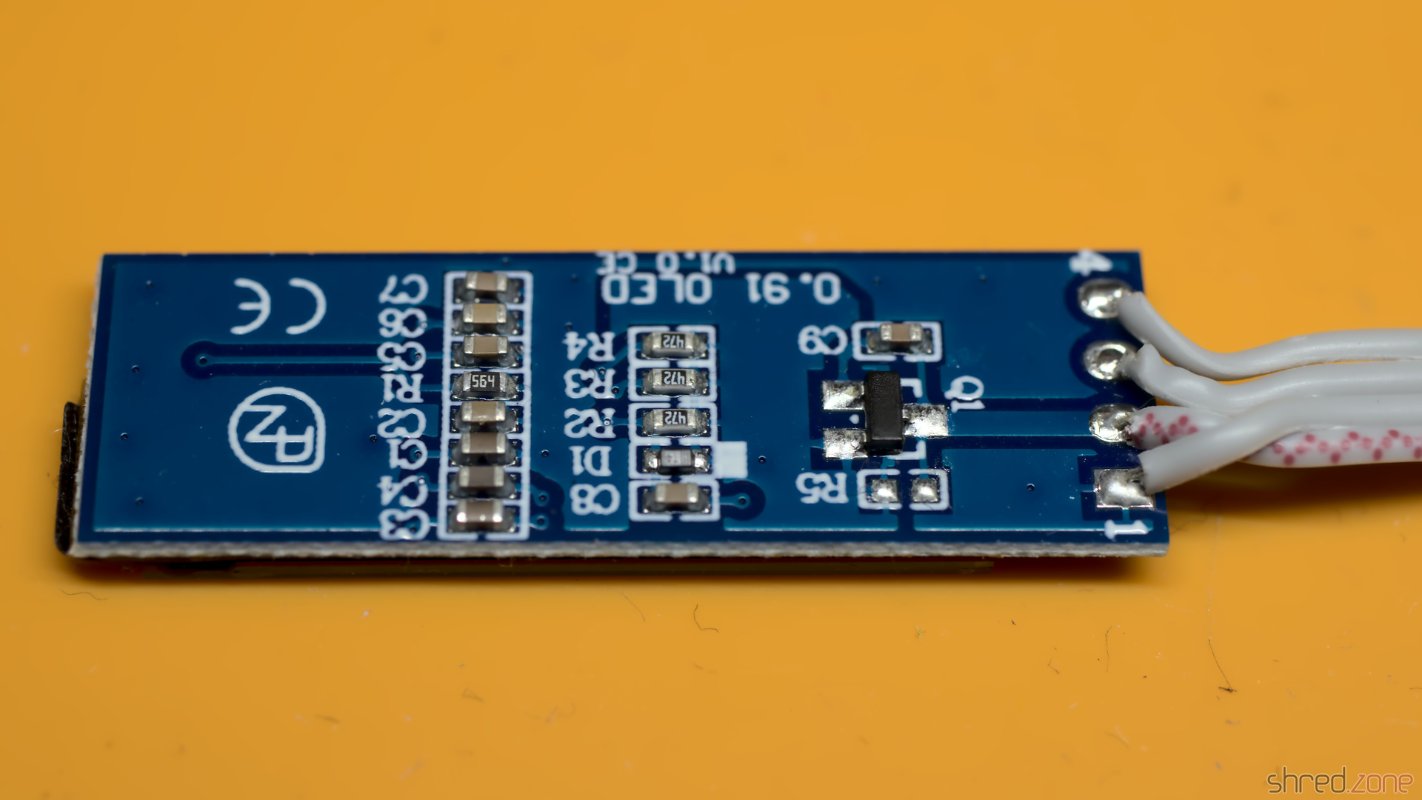
The display itself is one of those 0.91" OLEDs one can find in virtually every maker shop. However it is important to swap pin 1 and 2 when soldering wires to it, as the power pins are swapped on this display type compared to the original GoEX display module.

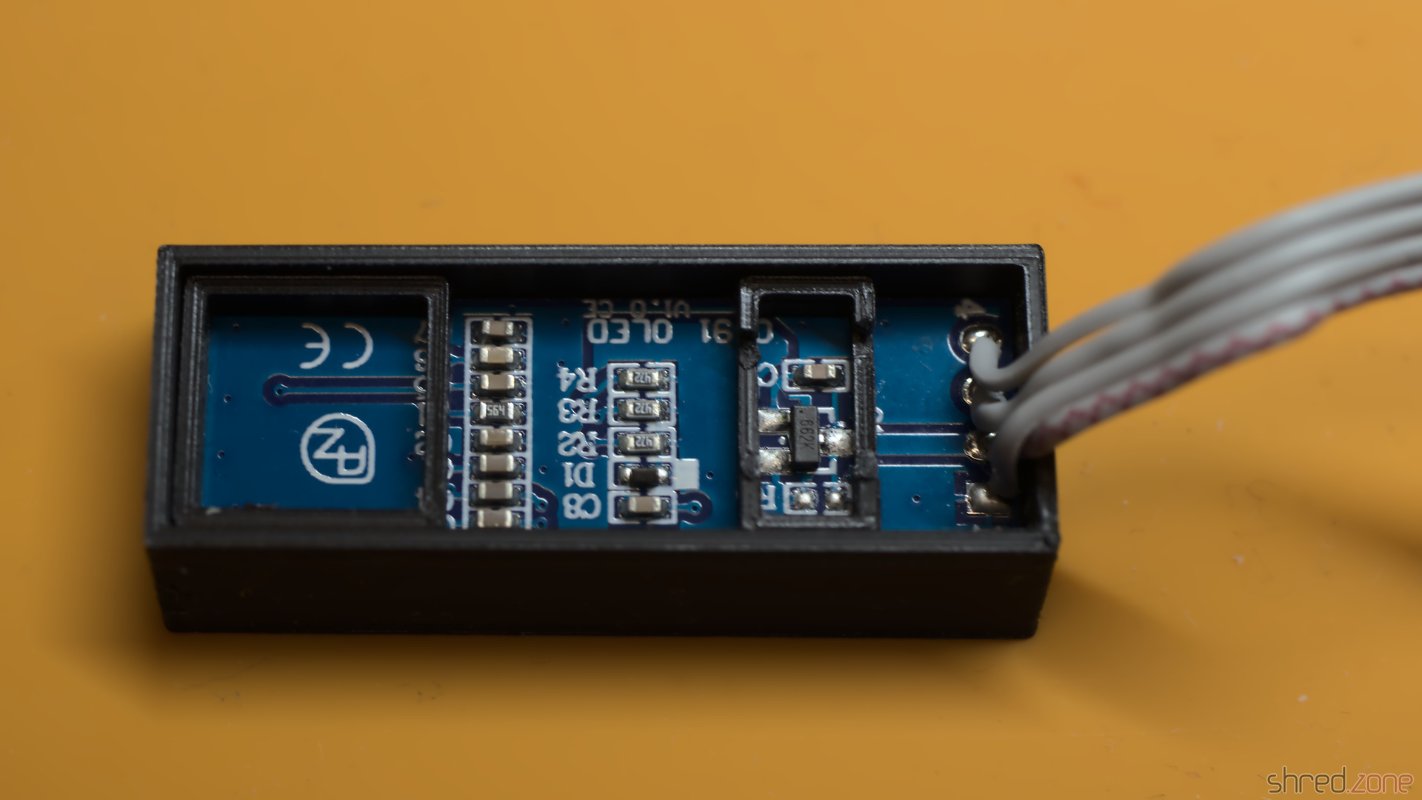
I then printed an A600 display module case, which luckily also fits on an A1200. I used hot glue to assemble the module, but in retrospect I should have used standard glue instead, since the hot glue softened the PLA of the print. The module is then just clipped into the cooling vents of the Amiga, no need for gluing.

The OLED display with new wiring. Pin 1 and 2 need to be swapped. The backside of the display module, before closing it. The display module put on the Amiga case.

To use this kind of OLED, a file called FF/FF.CFG needs to be created on the SD card, which contains this line:

display-type = oled-128x32

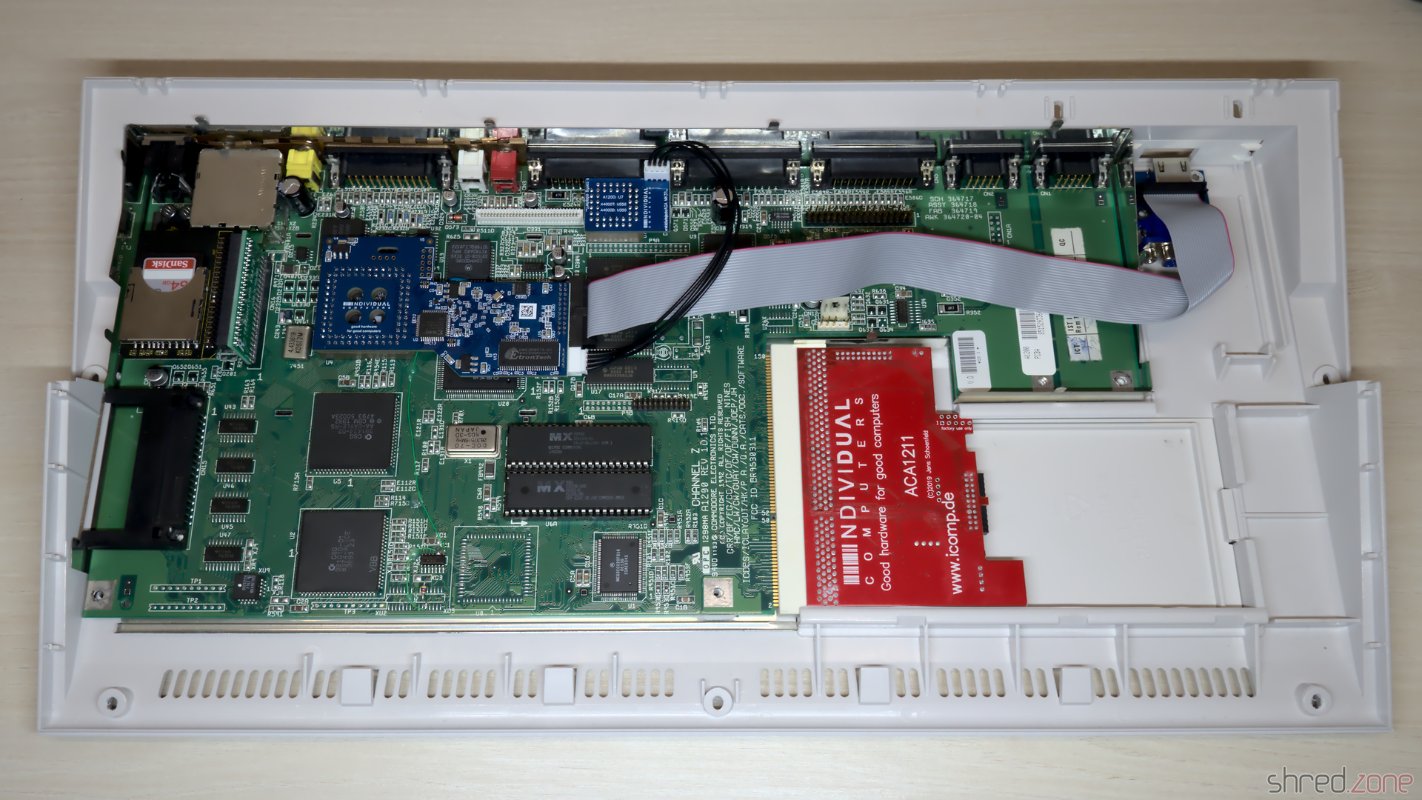
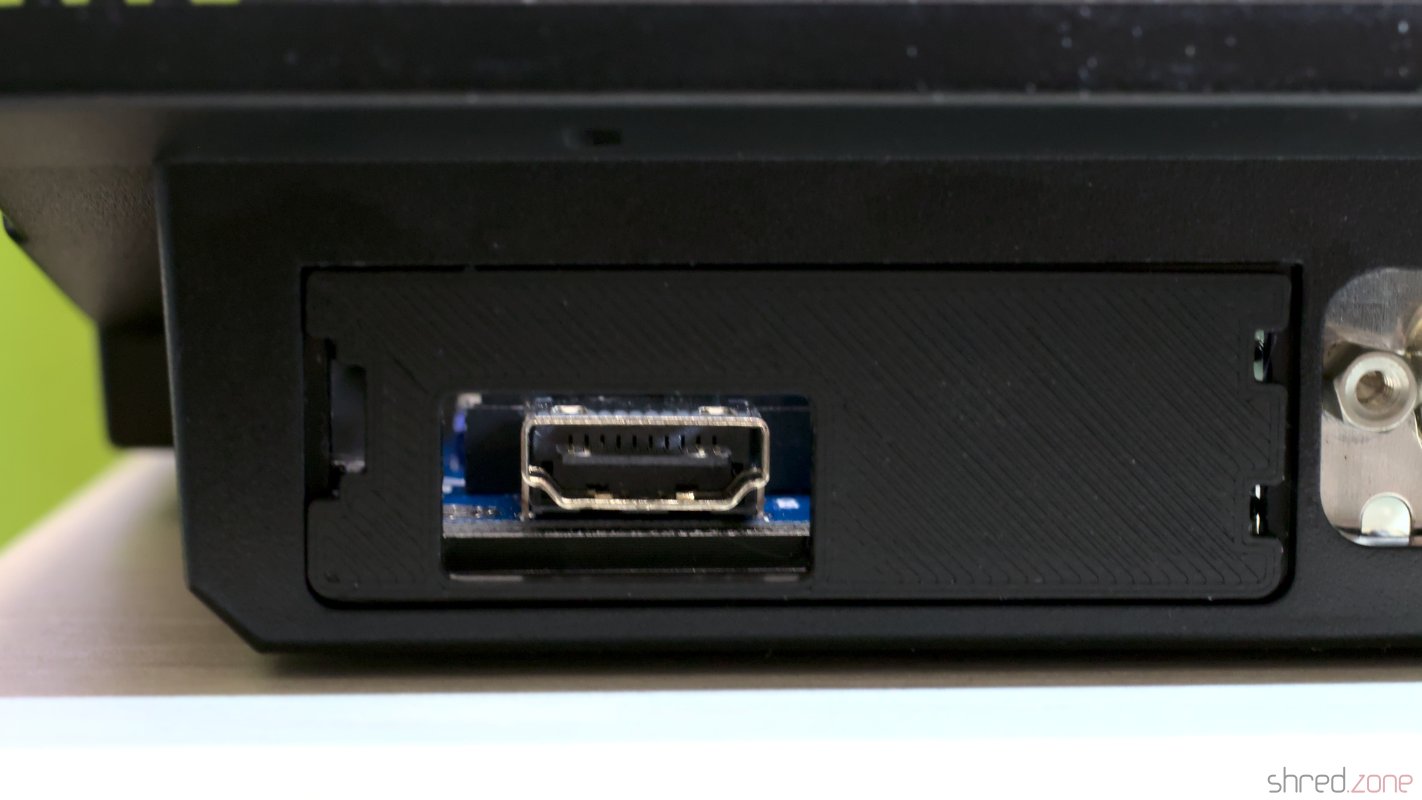
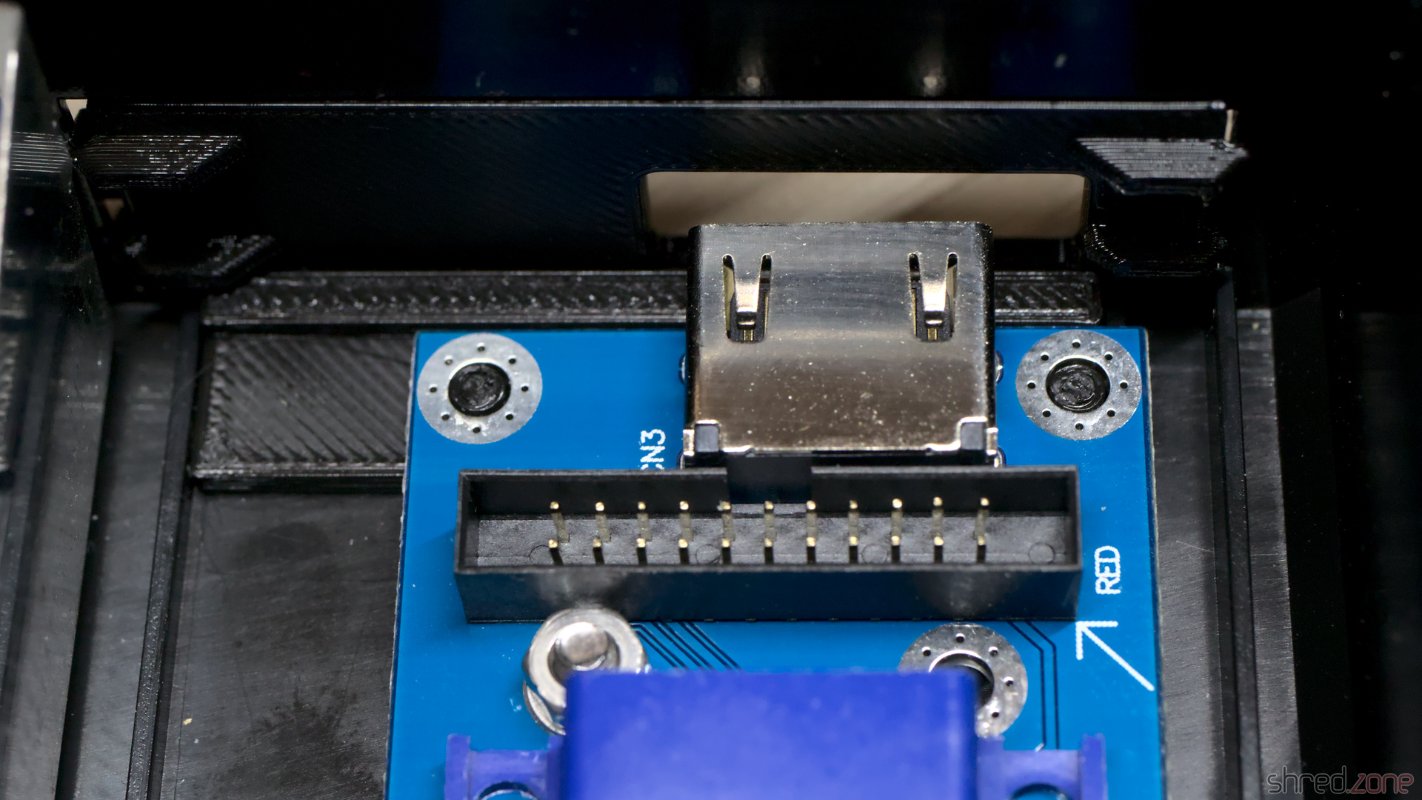
I also added an Indivision AGA MK3 for a pixel-perfect picture on modern TVs via HDMI. While doing so, I found out that the a1200.net replica case seems to have different measures than the original case, so I created a modified trapdoor and holder for this kind of case.

A black trapdoor for the HDMI connector. A holder keeps the HDMI board in place and prohibits that it pivots around the screw.

The computer came with a Marpet Developments M1207 RAM expansion in the expansion port. It got a fresh button cell, and now provides the machine with 4MB of additional Fast RAM, a 68882 FPU, and a RTC.

Assembling

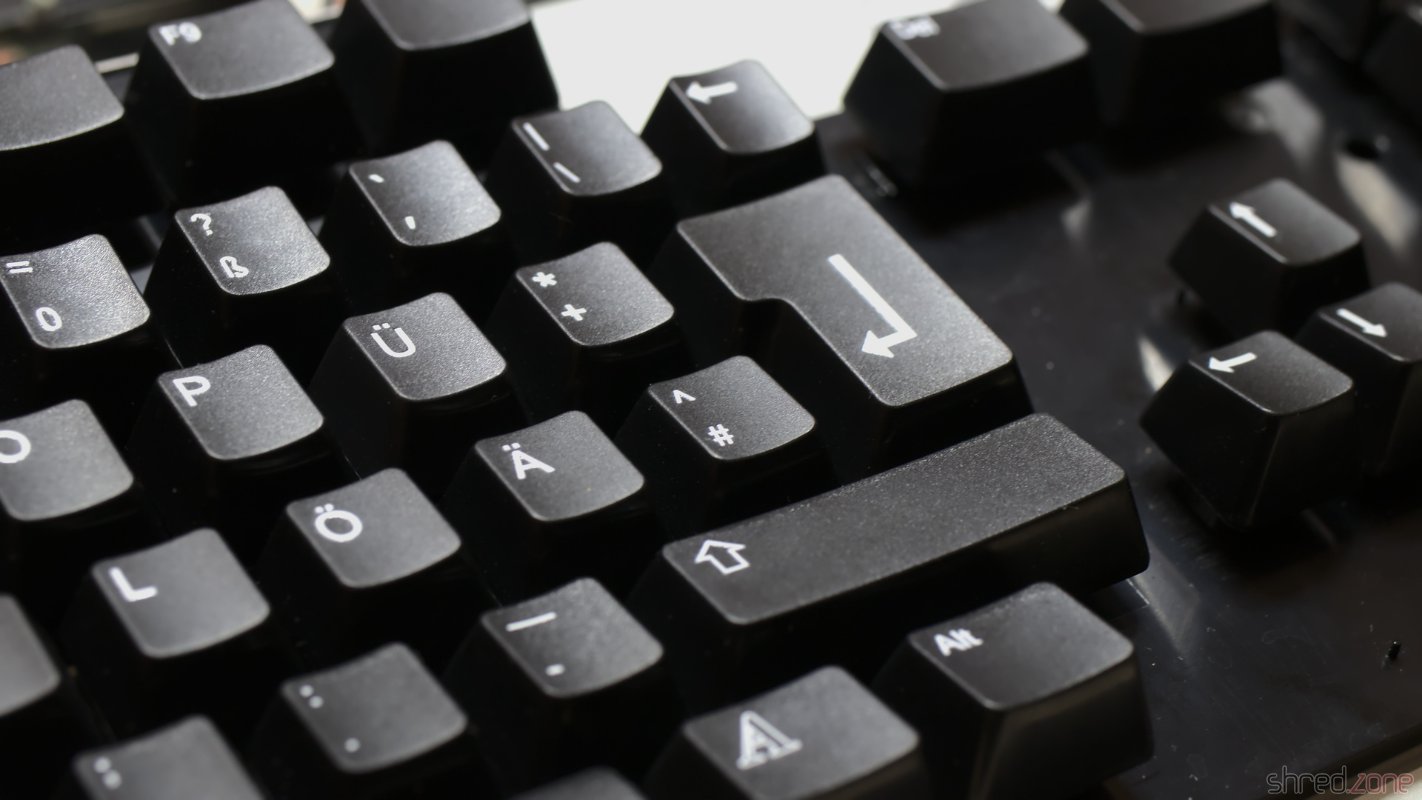
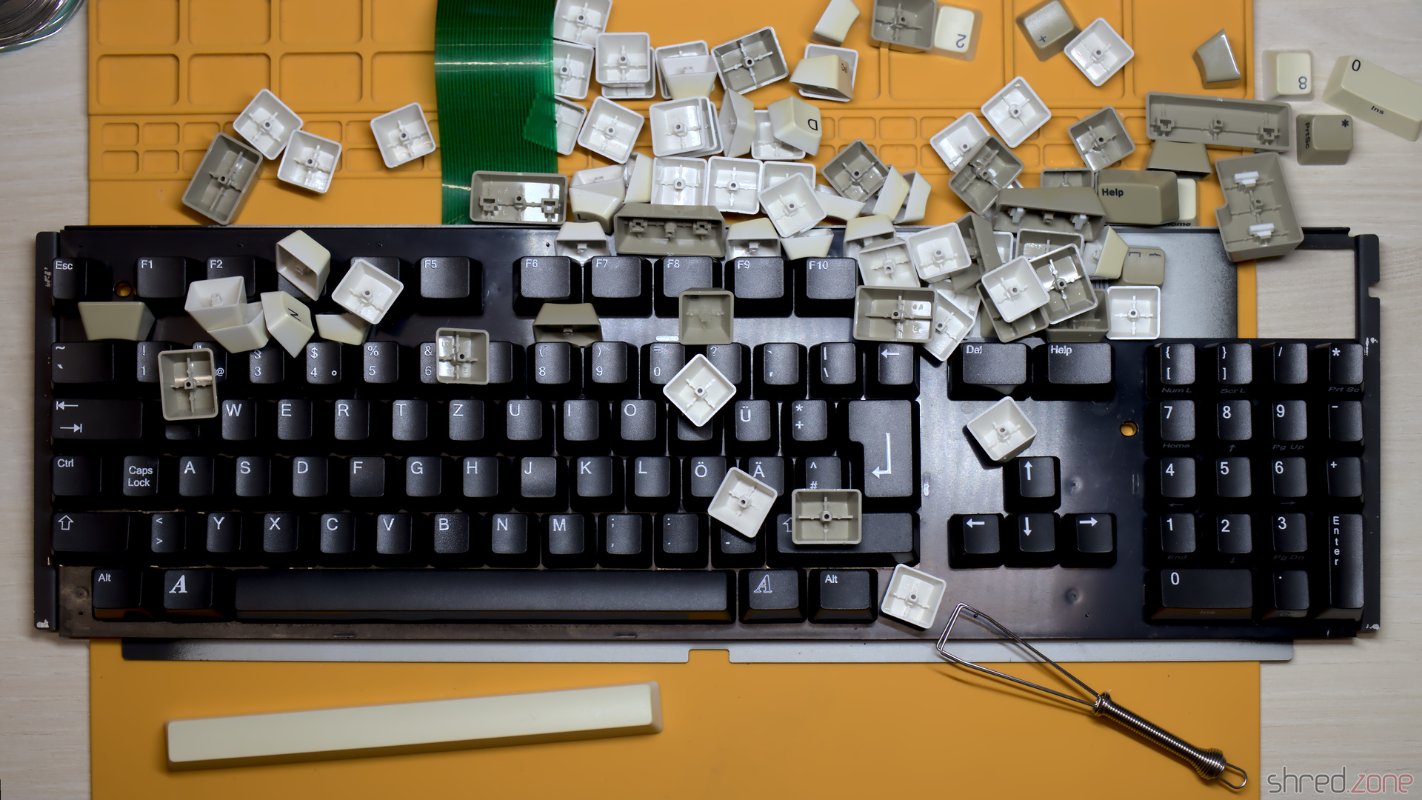
What's missing? The black keycaps that are matching the black case! After many years of waiting they were finally available, and I got a set delivered right in time before Christmas.

The black replica keycaps look awesome! It took a while to replace the original caps with the new ones.

The black case does not include badges, but I found a nice black one from Badgeman.

After that, the Amiga was finally ready for the final assembly.

Everything is in place.

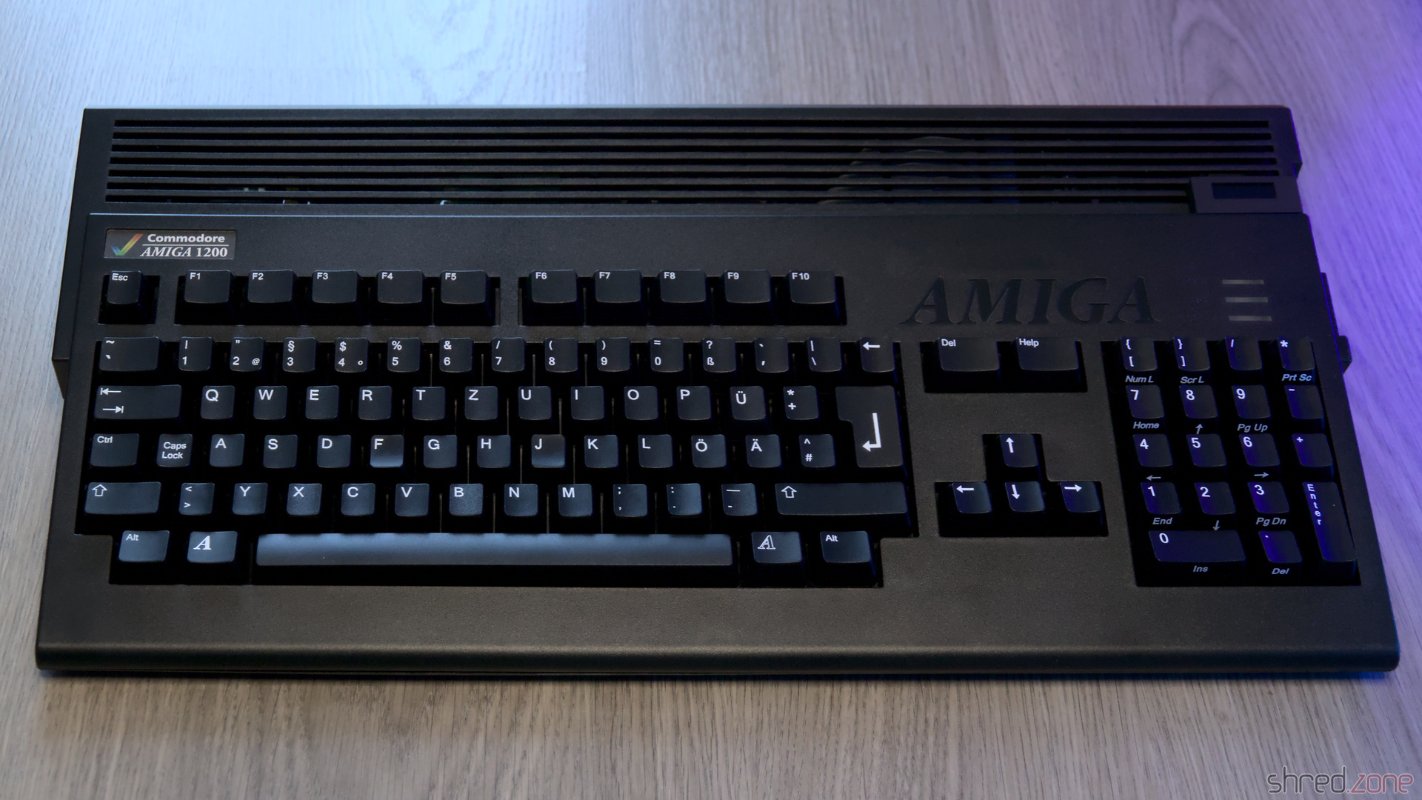
If Commodore had given the choice of the case color back in the 1990's, I would have chosen a black Amiga. And now here it is, an all black Amiga 1200 with a completely new outerior, and modernized interior.

The completed Amiga 1200 Black Edition. Power, floppy, and harddrive LEDs in custom colors. Of course the Amiga 1200 badge is black, too.

Amiga 1200 Mouse Button Fix

While I was restauring an Amiga 1200, I noticed that on that machine, the right and middle mouse buttons did not react on both ports. Checking it further, it turned out that it was working with an original Amiga mouse, but failed with my YAMI mouse interface. The mouse interface could not be the cause though, as it is actually working reliably for decades on all kind of Amigas, including an Amiga 1200.

The problem is already known to the community, and also seems to affect other mouse interfaces. The mitigation options I could find so far were:

  • Just use the original Amiga mouse. 😉
  • Modify the mouse interface. There is a "fixed" version available for some of them.
  • Use a "FixRMB" tool. This tool needs to be started first though, so it won't work for reaching the boot menu or in games. It also requires a mouse interface with internal pull-up resistors. (YAMI does not have those, for example.)
  • Some said they were lucky with replacing the Paula chip, but it requires experience in soldering.

None of these options is really appealing to me. I want this Amiga to work like all the others. So I tried to figure out what is the actual problem here, and how to fix it properly.

The middle and right mouse buttons are connected to the POT pins of Paula. These inputs are actually made for analog joysticks, and provide a very simple ADC. The analog joystick charges a capacitor, while a counter inside Paula is taking the time. As soon as the voltage of the capacitor reaches a certain level, the timer is stopped. The position of the joystick can be evaluated by the time it needed to charge the capacitor.

But there is also a digital mode, which is used for mouse buttons. If enabled, a resistor inside Paula pulls up the POT line. If the mouse button is pressed, the mouse switch pulls the line to LOW, which can then be read from the Paula registers.

When an original mouse was connected, the POT line was pulled to 0.9V while the button was depressed. However, when the mouse interface was connected, the line was only pulled to 1.1V. It seems like a tiny difference, but for this Paula chip, it already makes the difference between "button pressed" and "button released".

The affected Paula with "4193" date code. Only a certain batch of Paula chips seems to be affected. This is the reason why this problem does not occur on all Amiga 1200, but presumably only on some 1D.4 boards. This is also the reason why replacing the Paula chip is fixing that issue. On my board, a "CSG 8364R7PL" with date code 4193 is used. I also heard of one more case with a Paula chip of the same production week.

Next question: Why only Amiga 1200 models seem to be affected by this issue, although it is likely that the affected Paula batch was also used in Amiga 4000 production? When comparing the schematics of both machines, there is a notable difference. This is a simplified extract of the joystick or mouse port:

SVG Picture created as paula-pot.svg date 2022/10/10 11:01:53Picture generated by Eeschema-SVG112233445566778899POTYPOTYPOTXPOTXSVG Picture created as paula-pot.svg date 2022/10/10 11:01:53

The difference is in the parts marked with a red circle. They are used as EMI filter. For the Amiga 4000, Commodore has used ferrites there. It is basically just a wire inside a ferrite bead, giving a resistance of 0Ω at low frequencies. In the Amiga 1200 (and Amiga 600) though, Commodore used standard 68Ω resistors, presumably to cut costs.

Together with the pull-up resistor inside Paula, this resistor works as a voltage divider. The switch inside a classic Amiga mouse pulls this divider to ground, giving 0.9V at the POT input, just enough to get detected as LOW.

SVG Picture created as paula-pot.svg date 2022/10/10 19:43:20Picture generated by Eeschema-SVGMouse Button68ΩPOTPaula Pullup0.9V5V0V68ΩMouse ButtonPOTPaula PullupSVG Picture created as paula-pot.svg date 2022/10/10 19:43:20

The mouse interface does not have a real switch though, but a logical output. For example, the PIC16F84 that is used in the YAMI interface provides a LOW voltage of 0.6V. Now the voltage divider gives 1.1V at the POT input, which is interpreted as HIGH by Paula.

SVG Picture created as paula-pot.svg date 2022/10/10 19:43:20Picture generated by Eeschema-SVGMouse InterfacePaula PullupPOT68Ω5V0.6V1.1VPaula PullupPOT68ΩMouse InterfaceSVG Picture created as paula-pot.svg date 2022/10/10 19:43:20

I could not find out if the pull-up resistor inside Paula has a lower resistance in that batch, or if there is a different threshold for detecting LOW levels. Both would be possible.

To fix the problem on my Amiga 1200, I replaced the 68Ω resistors E353R, E354R, E363R, and E364R with the SMD 1206 ferrites that are used in the Amiga 4000. They are a bit bigger than the 0804 resistors, but can still be soldered straight to the pads.

The position of the replacement ferrites at the bottom side of an Amiga 1200 board.

This is just a minor change to the hardware that could be done even by soldering novices (at least rather than unsoldering a PLCC chip). After that change, the mouse interface was working too.

Make sure to replace the resistors with ferrites, not the capacitors next to them!

PS: If you found this article because your Amiga is also having the problem, please send me the date code of your Paula chip. Maybe we can find a pattern of "bad" date codes. Thank you!

PPS: Commodore did the same trick on Amiga 600 machines, so if you have trouble with the right mousebutton on your A600, it's worth a try to replace E353R, E354R, E363R, and E364R.

Amiga 1200 Restauration

Ever since I got my Amiga 4000, I was pondering about if an Amiga 1200 would have been a better choice. I mean, the Amiga 4000 is nice because it has a lot of space for extensions. But on the other hand, it is rather bulky and heavy, so it isn't much fun to take it to a friend or a party, unlike the compact and light Amiga 1200.

But why not have both? 😉 I had found an Amiga 1200 offer on the Bay that was too good to be ignored, so I bought it.

My new Amiga 1200, unboxed. The keys are yellowed, and the Amiga badge is just a cheap sticker.

It's an Amiga 1200 from the days after Commodore went belly up, and when Escom took over and sold the last Amiga stocks. The good news is that the Escom cases were made of ABS with an anti-UV treatment, so they will never yellow. The bad news is that the keycaps were not treated, and are very visible yellowed by now.

I sent the keycaps to the experts at the CBM Museum Wuppertal for whitening. The case itself is almost in a mint condition, all it needed was a bath in warm dishwater.

Let's take the computer apart and have a look inside.

After opening the cover and removing the keyboard.

There's a 2.5" hard disk, which turned out to contain a Workbench, a few games, and also many bad sectors. I'm going to replace it with an SD Card solution anyway. The shielding has a bit of flash rust and was bent around the ROMs, probably from forceful prying out the ROM chips with a screwdriver. Besides that, the overall status is quite okay.

The mainboard is in a good condition. I've already changed the Kickstart ROMs.

Under the shielding, I found the mainboard in a good condition, especially without flash rust on the modulator. To my surprise, it is a Rev. 1D.1 board, which was actually the first broadly sold board revision. In one of the last Amigas that have ever been produced, I had rather expected to find a revision 2 board. Anyway I was lucky because the 1D.1 revision is said to be the most stable one, and it also has a good Lisa chip that was manfactured by HP. On both CIA chips I found traces of flux, so the board seems to have been repaired before.

It's a rather early Rev 1D.1 board. I didn't expect to find that in one of the last Amigas ever sold. It also seems that this board has been repaired before.

According to my contact at the CBM Museum Wuppertal, Escom sold everything they could find at the Commodore remainders. Allegedly they also produced "new" Amiga computers with refurbished mainboards. Maybe this is one of them?

I first inserted diag ROMs and checked the hardware, but found no problems, so I upgraded the system to AmigaOS 3.2. The next thing on my to-do list was to replace the electrolytic capacitors, as they tend to leak over all those years, causing damage to the PCB. I have already done that on my Amiga 4000 before, but on this model the space was a bit more limited. I even had to remove a freshly replaced SMD capacitor because another capacitor did not fit next to it any more.

Two capacitors are overlapping. It's a tight space. Eventually I replaced all electrolytic capacitors.

To enhance the stability of accelerator boards, it is recommended to remove the capacitors E123C and E125C on the bottom side of the PCB. The easiest way is to use two soldering irons like a pair of tweezers.

The bottom side, with E123C and E125C removed.

After a thorough wash with IPA, the board was then ready to move back into the case.

The board after recapping, ready to move in again.

I want to modernize the Amiga so it can be connected to a HDMI monitor. The RGB to HDMI solution of the Amiga 500 won't work on the AGA chipset though, so I decided to get an Indivision AGA MK3 from Individual Computers. It is plugged onto Lisa and one of the CIA chips, and offers an HDMI output even with sound. (Which is quite an accomplishment, as both chips are not connected to a sound line.)

Since I was on it, I also extended the memory with an ACA1211. Unfortunately it turned out that AmigaOS 3.2 is incompatible to the ACA1211, and the system won't boot in this combination. I had to return to the original AmigaOS 3.0 ROMs again. Eventually I traded the ACA1211 for an ACA1234, which is also an accelerator and works fine with the latest AmigaOS.

To make the wire mess complete, I replaced the floppy disk drive with a GOEX drive from Centurion Tech.

The Indivision AGA MK3 and the ACA1211 mounted. The GOEX floppy simulator replaces the original floppy disk drive.

Centurion also offers LED boards with customized colors. I have picked blue as power LED, green as floppy drive LED, and red as harddisk LED.

New LEDs in my favorite colors! 😍

In the meantime, I got the whitened keycaps back. They were almost white again, but sadly there is still a slight, but visible yellow tint. Maybe I will buy a new set of key caps once they are available. The Amiga would then look as new.

The original Escom label is just a cheap sticker. It looks ugly to me, so I replaced it with a replica Commodore badge.

And then, for the first time after my purchase, I could close the Amiga 1200 case again.

This is my refurbished Amiga 1200/030.

Please welcome the newest addition to my Amiga collection!