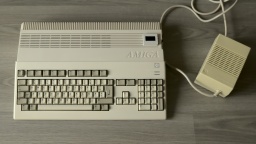
My first Amiga was an Amiga 500. A classmate already had one, and when I visited him and saw the Amiga for the first time, I just had to have my own. So I pestered my parents until they gave in and bought one for me. With this computer I learned 68000 assembler, programming in general, and blind ten-finger typing.
A few years later, I bought an Amiga 4000 from the pay I got doing my civilian service. My good old Amiga 500 spent a few grace months in a closet, and was then stowed away in a box in the basement, forgotten for about three decades.
I would like to restore this machine, make it beautiful again, and give it a subtle technical overhaul. This project is a work in progress. I will report in my blog whenever there is something new. And in the end, I can hopefully share a feeling of success with you.
These are my goals for the restauration project:
- The case has likely got a yellow tint over the years, like all white computer cases of that era. The yellowing has to go, the case should look as good as new again.
- I will give it a technical overhaul. The electrolytic capacitors may have leaked and will be replaced. But after all the years, there may be even more technical problems that need to be fixed.
- Since I have almost no floppy disks left, the floppy drive will be replaced by a drive simulator.
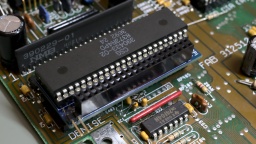
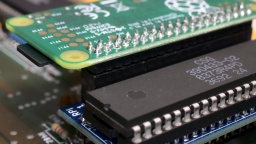
- The old 1084 CRT monitor is long broken and disposed of (I hated these old flicker boxes anyway). I want to connect the Amiga to a modern TV instead, preferably via HDMI, so I will have a closer look at this Raspberry Pi Zero based converter that will be connected to the Denise socket.
After the restauration, the Amiga should feel (more or less) like it did when I once got it. This means that there will be no accelerator card or harddisk controller. Apart from the HDMI output and the floppy simulator, the only acceptable "tuning" is the chip RAM extension to 1 MByte.
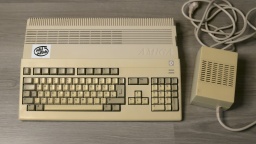
Okay, so let's get the computer out of the box and have a first look at it:
The case is not quite as yellowed as I had feared, nevertheless the ugly "nicotine yellow" has to go. On the right side of the case I had added four switches. At that time the Amiga was rather a commodity, and I didn't care much about it. Today I scolded my old self for drilling holes into that beautiful case. So there's one more item on my to-do list: fill the holes.
As for the case, I couldn't decide if I should have it dyed black, or have it bleached at the CBM Museum Wuppertal (CMW). I couldn't find a paint shop who would dye plastic though (they only offered varnishing), and the contact to the CMW turned out to be nice, so the case will now be bleached by the professionals there.
I have to admit: My fingers were itching to plug the Amiga into the wall socket and the TV right away. Fortunately I didn't do that. The circuit board of the power supply looks like it has been soaked in coke:
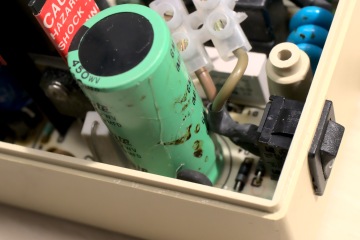
There are no traces of that liquid inside the case, so my guess is a leaked capacitor. Maybe it was this one:
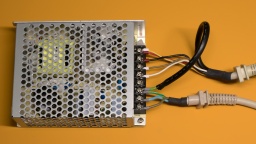
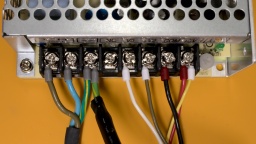
A homemade repair is totally out of the question if mains voltage is involved. Modern switching power supply modules are simply too cheap for that. So the next item on my to-do list is: get a new power supply.
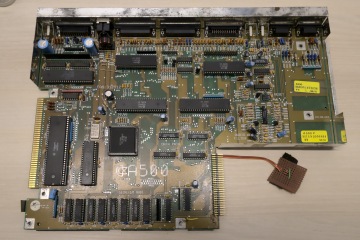
Let's have a look inside the Amiga. The metal cage is a bit rusty here and there, but all in all still in good shape. The circuit board smells a bit of cellar mustiness, but everything is in its place and nothing seems to be damaged. It all certainly does look very good!
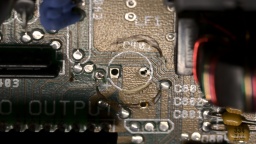
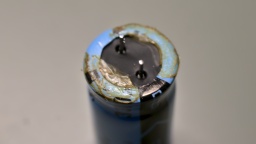
For recapping I inspected all the electrolytic capacitors and listed their values. After that I found out that someone else did that work already. I will replace all the capacitors with premium ones, which sounds more dramatic than it is for cent items. I chose Panasonic caps with a lifetime of up to 10,000 h. The old capacitors were standard types with maybe a tenth of that lifetime.
What's next? The case is now on its way to the CMW for whitening. I've also placed multiple orders for the new power supply, the capacitors, the HDMI adapter and the floppy drive simulator. So let's wait for the deliveries.


