I was one of the fools who had backed the ZX Spectrum Vega+, in the hope to get a Speccy handheld console. The campaign was one of the biggest at Indiegogo, and ended in a disaster. The Vega+ has never been produced, and the funding money was gone after a year-long legal battle between the project initiators.
Later I learned that there has been a ZX Spectrum handheld console all the time: A Sony PlayStation Portable running a Fuse emulator. By a lucky chance, I was able to get a PSP now. It's a PSP-2000 in Ice Silver color, probably a self-import straight from Japan.
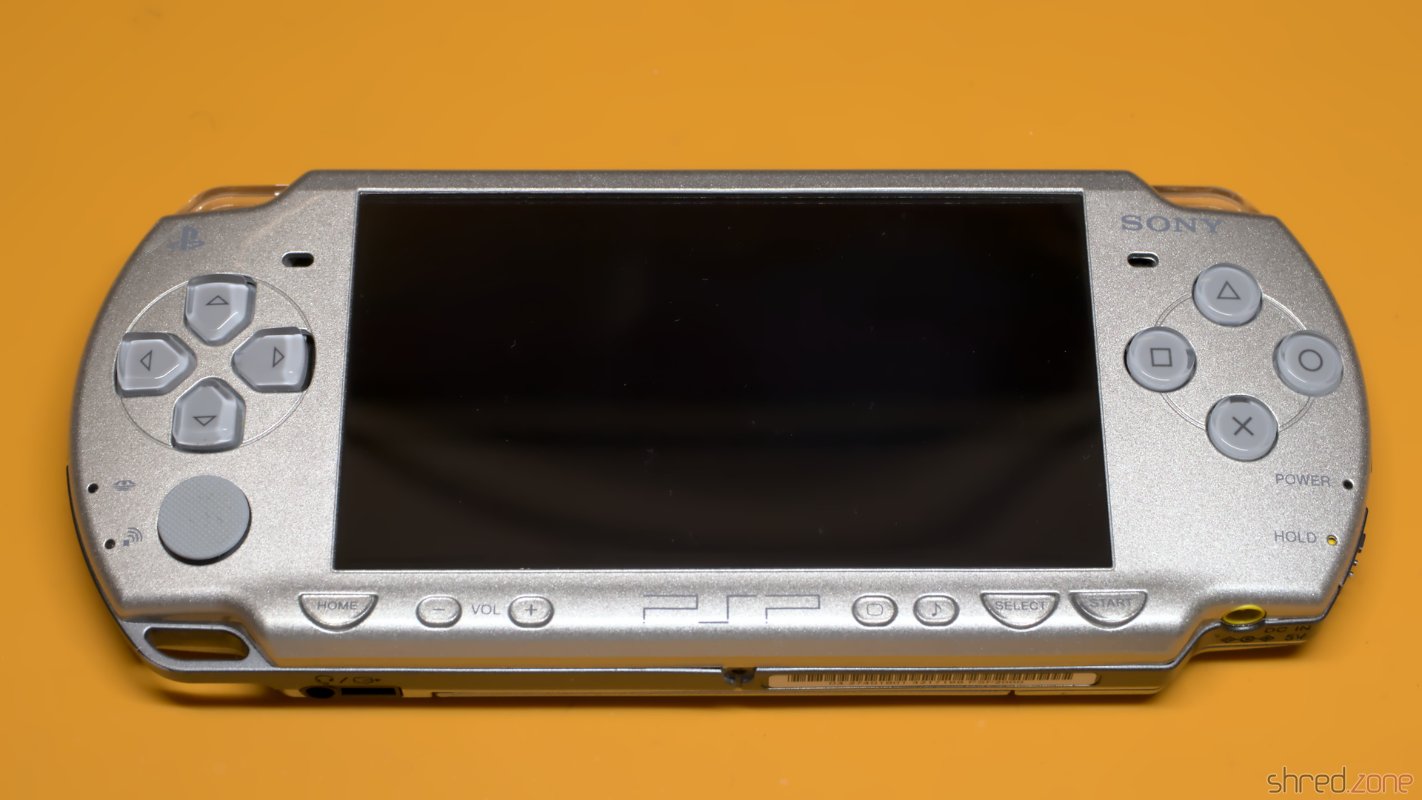
Overall, it was in an excellent condition, except of some minor scratches on the display and the UMD drive door. The previous owner told me that the volume buttons were unresponsive, which was fine for me since replacement parts are still available. What he "forgot" to tell me though was that two case screws had been overturned in a repair attempt.
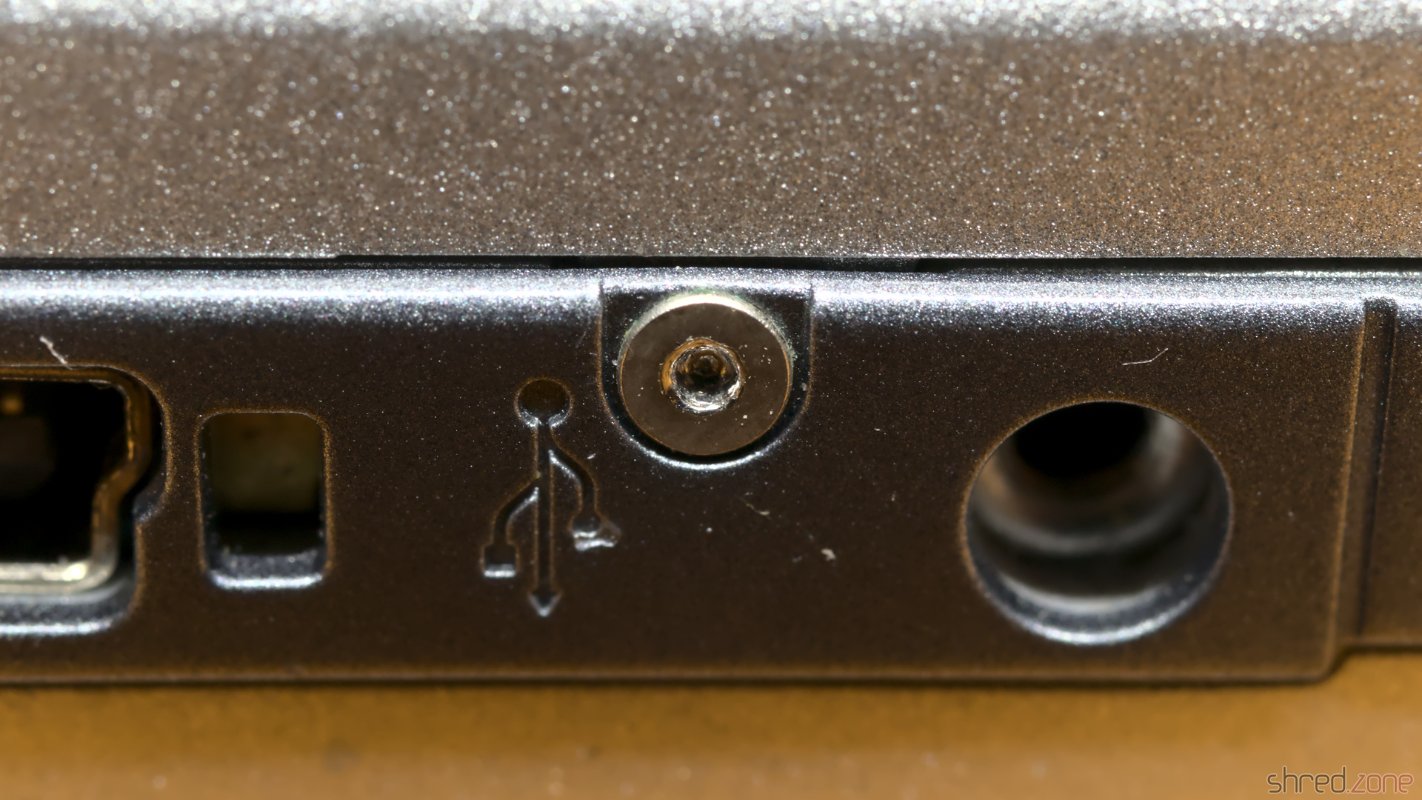
I tried a screw remover on them, but the screws were too tight and the screw heads were too tiny. After that, I tried to cut a slit into the screw heads, but they were too hard for that. Eventually I gave up, and (with a heavy heart) I just cut the case open.

Rehousing
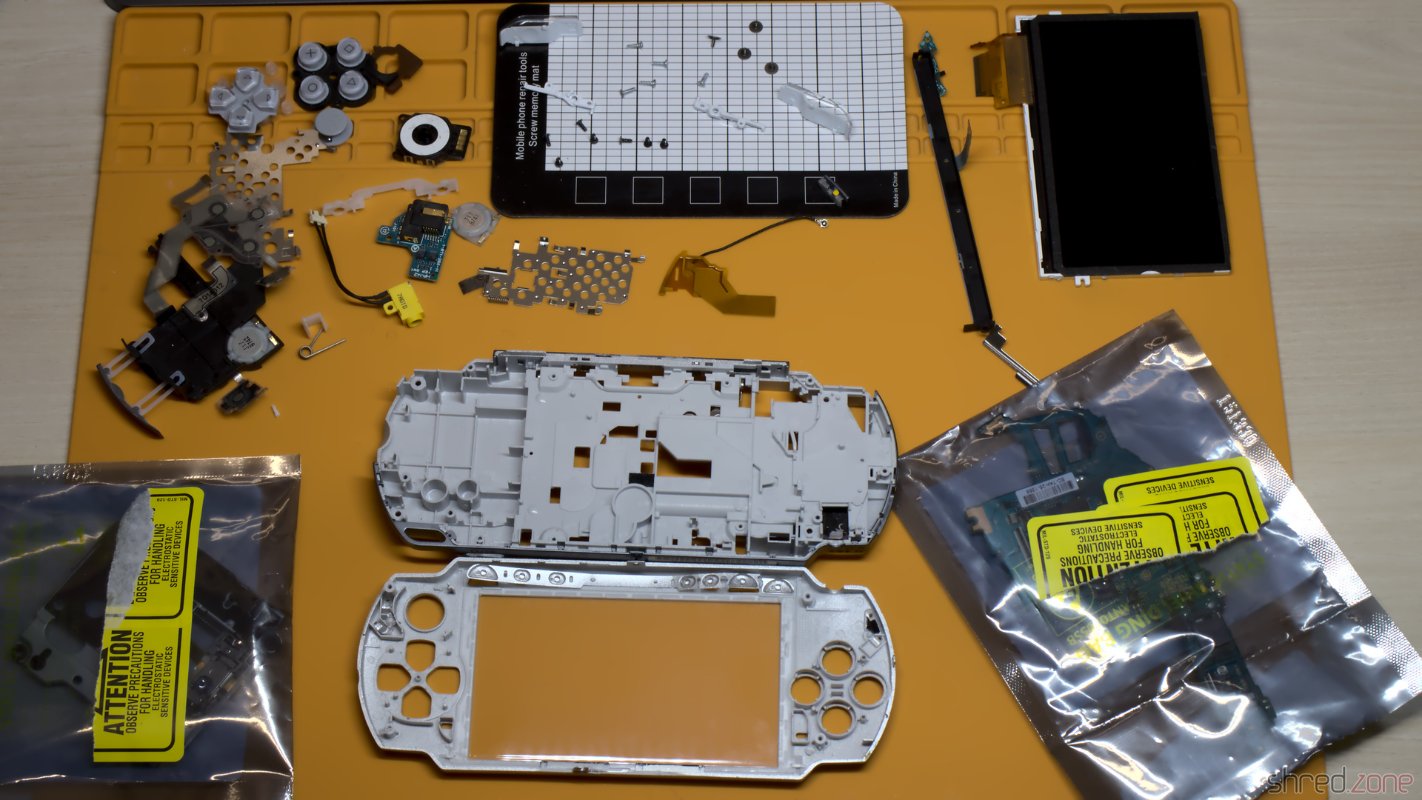
There are replica cases available from China, so I ordered a replacement in transparent blue. It came in a full set, with plastic clips, all the screws, springs, and even with fake labels for the serial number. The only parts needed for the transplantation are the hardware and everything related to it (like metal shieldings, or the LCD frame).
WARNING: Although the transplantation isn't really difficult, it still takes a bit of experience with this kind of hardware. There is a risk that parts might break, or that the PSP might not work any more after reassembly. If you plan to move your PSP to a new case, you are doing it at your own risk. Also, please take ESD precautions!
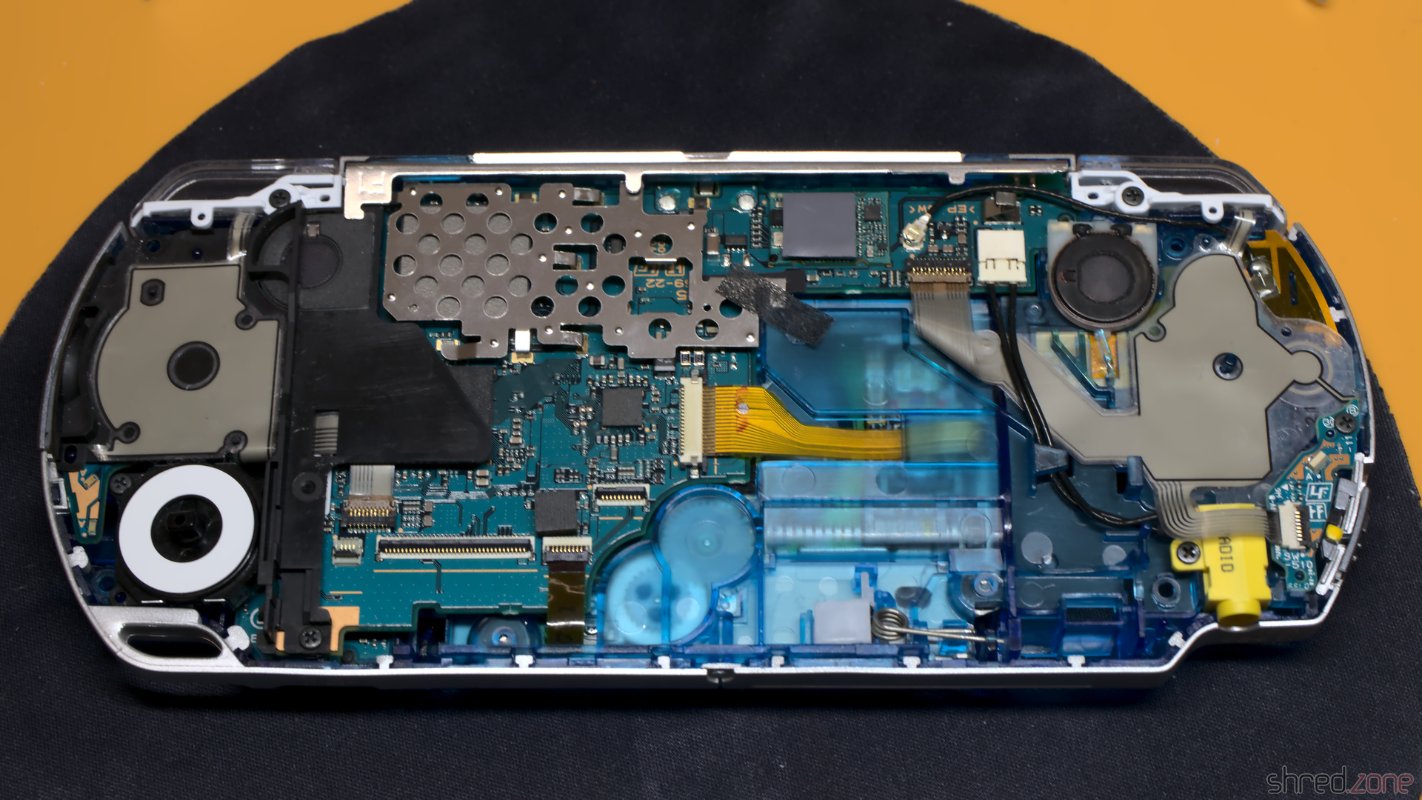
The first step is to tear down the old PSP. It's certainly a good idea to make detailed notes and photos that will help to find the correct place for each part later. Especially the UMD drive has a few small parts that turned out to be a bit tricky at the reassembly. The flat wires can be removed by either gently lifting or moving the black lever of the connector. Do not just yank them out. Never use force!
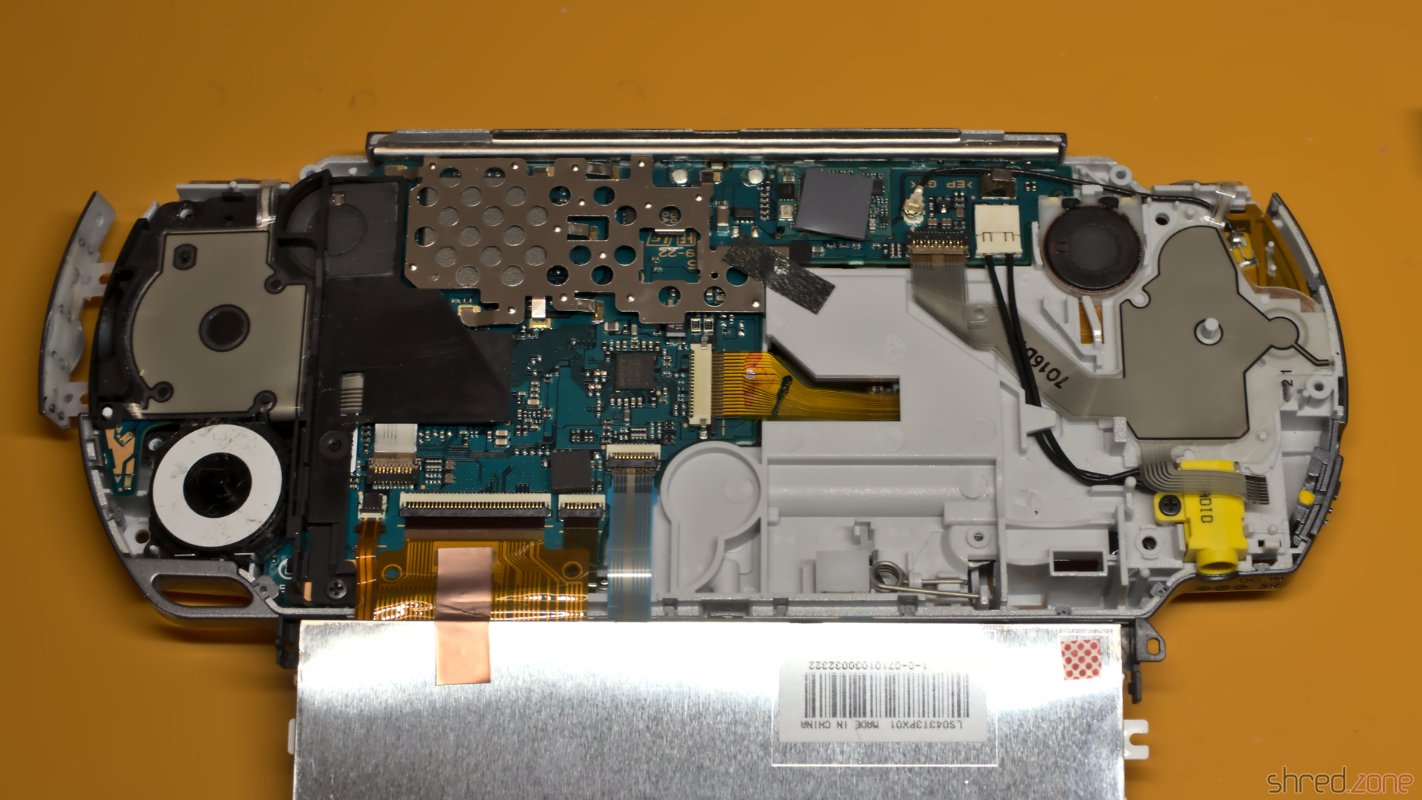

Disassembling the UMD drive was surprisingly easy. At some point the drive door needs to be taken out though, which requires a bit of force that made me feel uneasy. I was worried that the door or one of the hinges might snap.
In order to remove the WiFi antenna, the sticker in the battery compartment needs to be removed. I tried it with dissolving the glue with IPA, but it also dissolved the sticker. In retrospect, I better should have used a hairdryer or a heat gun.
And then it was done. The old PSP was disassembled, and all parts were scattered on my desk.
The reassembly is done in reverse order. If you have made meticulous notes on the disassembly, it should be easy.
Although the replica set already contained many new case parts, I decided to reuse some of the original ones. The symbols of the direction and control buttons of the replica were printed on the top of the keycap, which looks considerably cheaper than the original parts which are printed on the inside. I also reused the shoulder buttons, the cover of the memory stick port, and the power slider.

As one of the last steps, I could finally do what I originally intended to do only. I peeled off the old membrane of the control panel, and carefully put the replacement part on it. There are tiny holes in the holder and the membrane that helps to do a proper alignment.

The rehousing was completed. In a last step, I cleaned the fingerprints off the LCD glass. I recommend to use a non-alcoholic LCD cleaner that does not leave streaks. I had used IPA first, but it dissolved the foam around the display and smeared it all over the panel.
The glass of the top cover was protected by two films (one inside, one outside) that needed to be removed. Then I used a camera lens brush to carefully brush off remaining dust particles and hairs from the glass and the LCD panel. Finally I closed the new case.
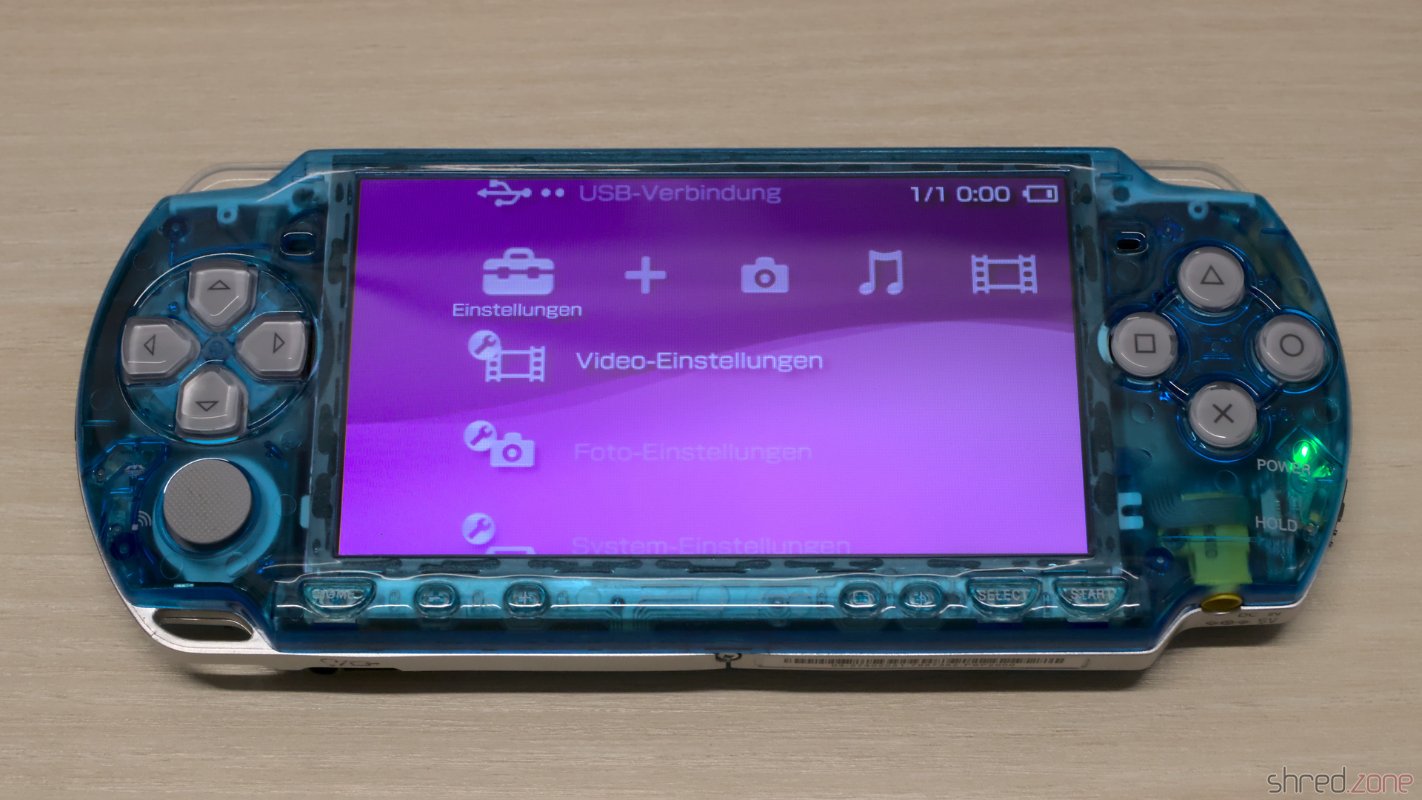
To my amazement, the PSP was still working! The new case doesn't look and feel as premium as the original case, but overall, the PSP looks very pretty in the clear blue case.
Custom Firmware
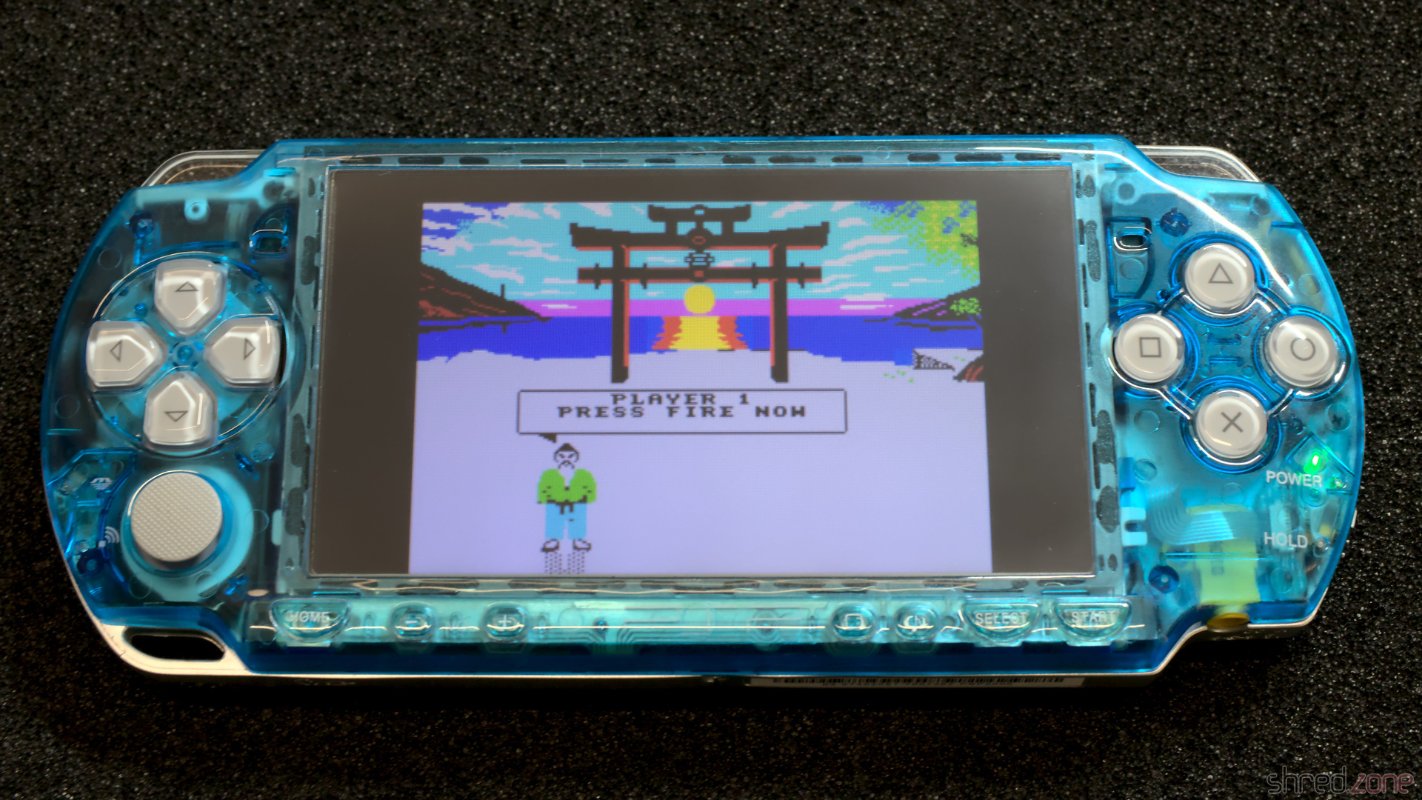
My goal is to run emulators on the PSP. There is a lot of so-called "homebrew" software available, like emulators, tools, and even self-made games. But in order to run them, there must be a custom firmware installed first.
It's very easy to install it. First you need to make sure that the latest firmware 6.61 is installed on your PSP. If not, make an upgrade first. After that, a so called Infinity patch is installed. It takes care that the custom firmware is always active, even after a reboot. Finally, the custom firmware is installed, and then connected to the Infinity patch.
There is an excellent video by MrMario2011 that is explaning each step.
Homebrew software can be found just by searching for it. Of course, the first thing I installed was the ZX Spectrum emulator. It is based on the open source Fuse emulator. Games can be (legally) downloaded at World of Spectrum.
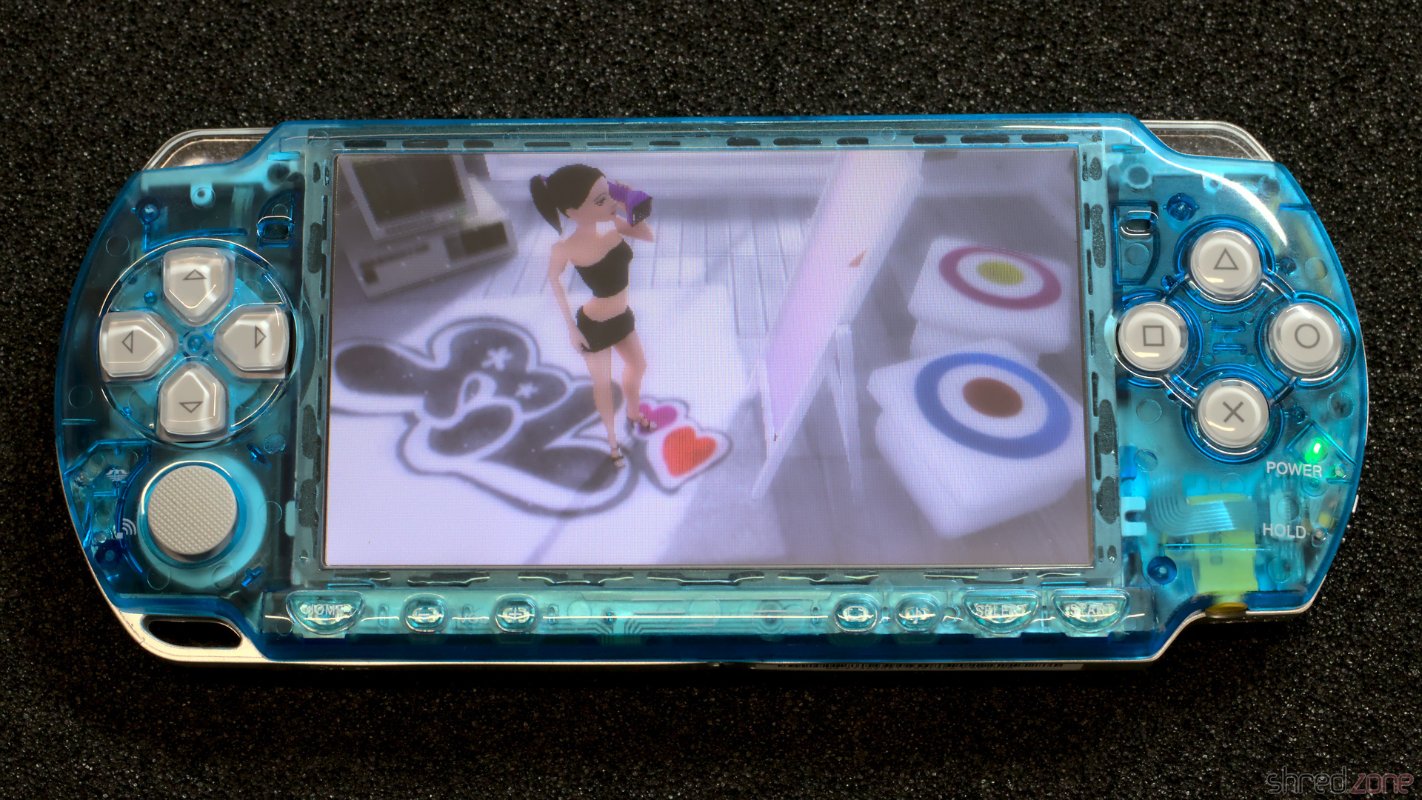
There are many other emulators, e.g. for C64, Atari, Amiga, and many old game consoles. The Amiga emulator brought the PSP to its limit though. I tried to run the Red Sector Megademo on it, but it was quite sluggish and not really fun to watch.
Talking about demos: There are even a few demos for the PSP! One of the best voted is made by The Black Lotus (Amiga fans certainly remember the name of that group) and is open source. I recommend to run the version at GitHub, as the one at pouet.net might not run on the latest kernel versions. There is a video of the demo on YouTube (NSFW).
To wrap it up: While looking for software I felt like am too late for the party, as the PSP retro scene seems to have moved on already. Still, the PSP-2000 is a nice handheld console. And with the homebrew emulators, there is an almost unlimited pool of old retro games available.