At the end of the 1980s, I wavered between the Atari ST and the Amiga 500 to become the successor of my ZX Spectrum. Eventually I decided to get an Amiga. In retrospective it was the right choice. The AmigaOS laid the foundation to my later career as a professional software developer. Still I stayed curious about the Atari ST. Well, now is the time to get one. 😀
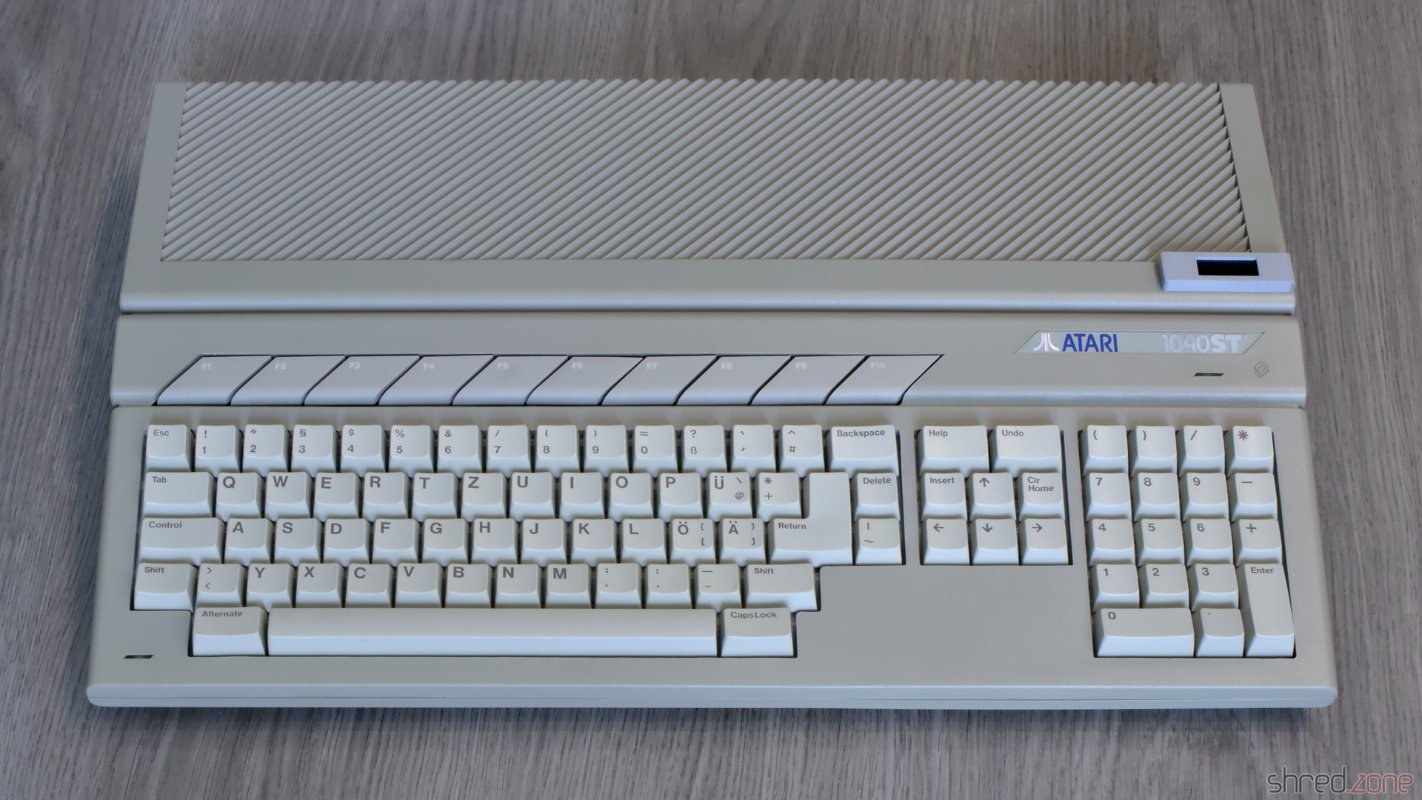
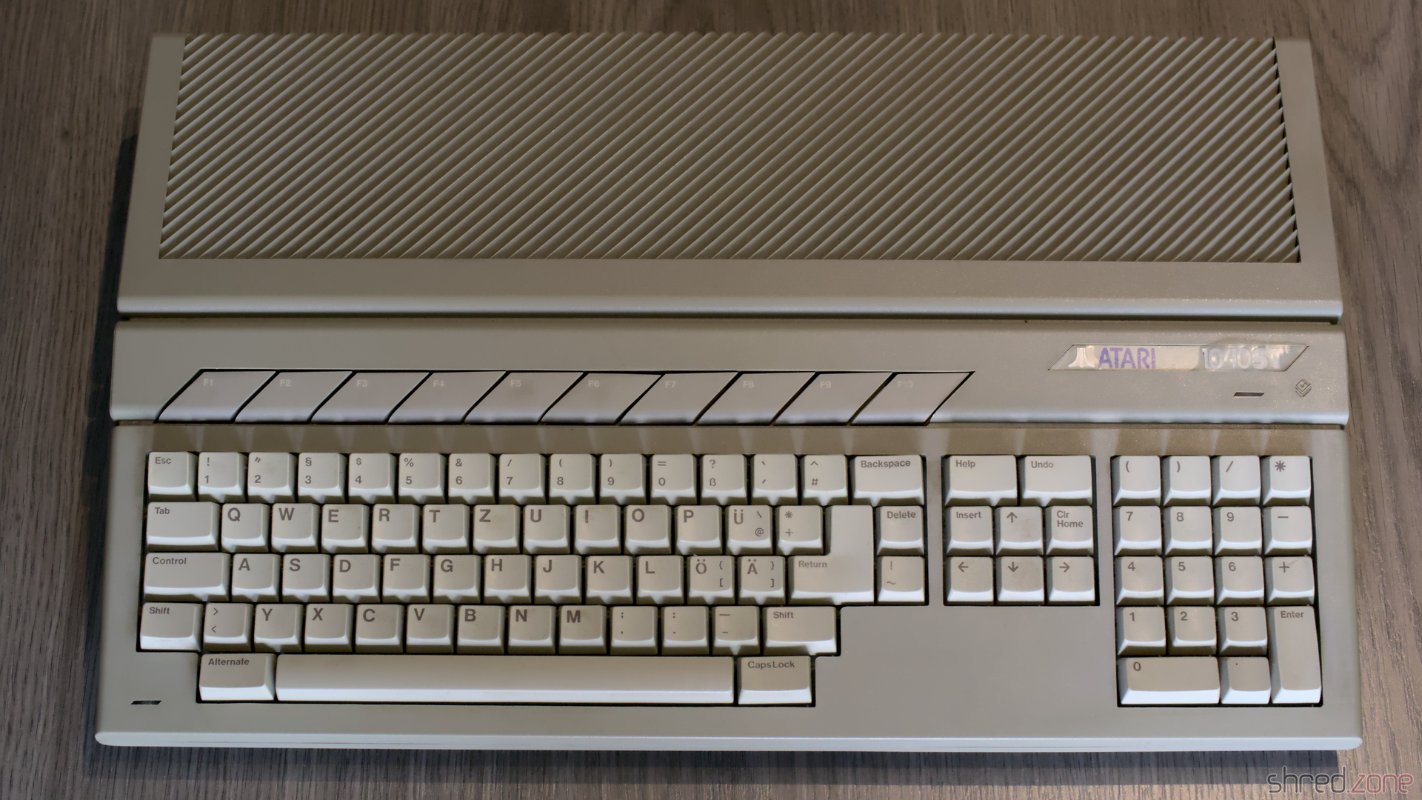
I found an Atari 1040STF for a fair price. The outside is in a very good condition. No modifications, no yellowing, even the warranty seal was still intact. Also on the inside, there was just a bit of dust around the case vents.

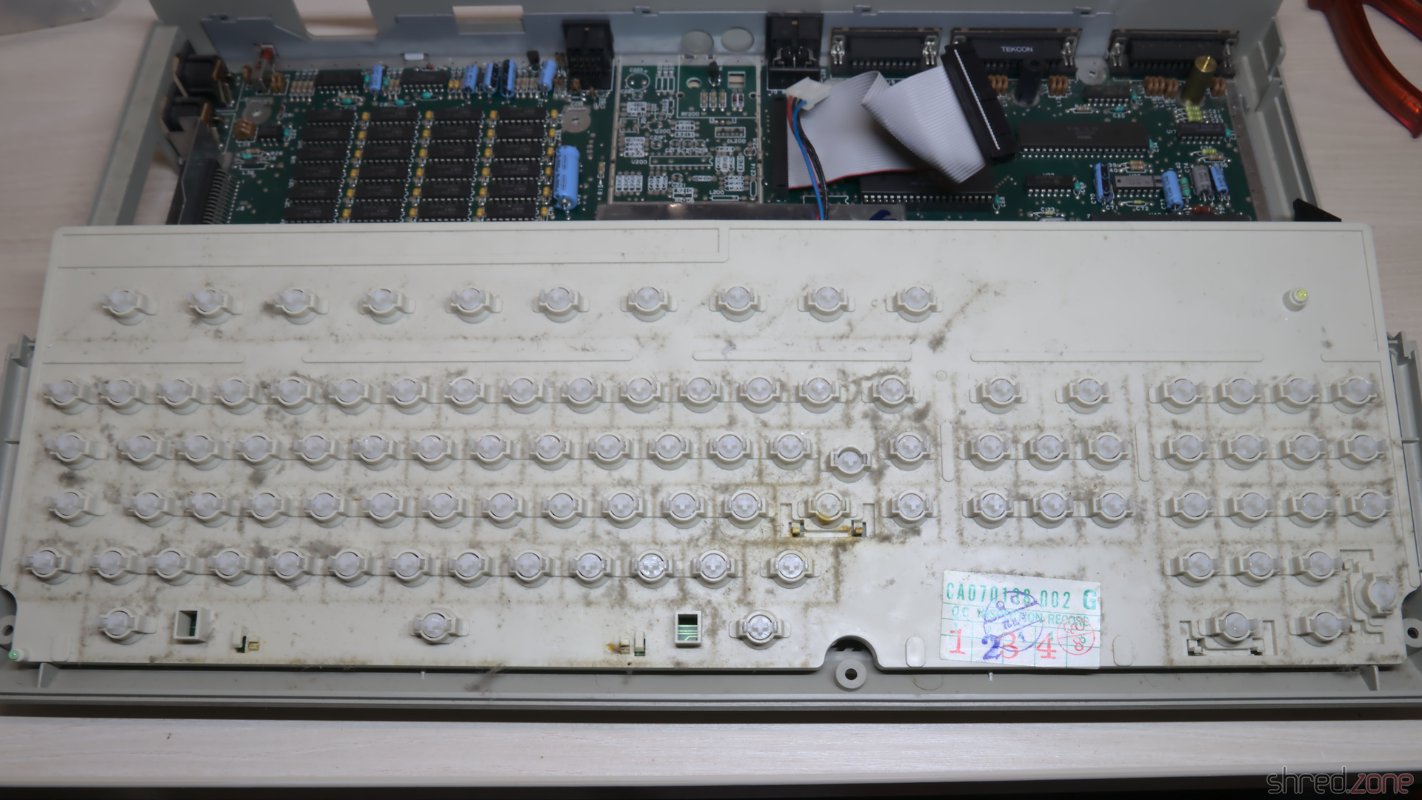
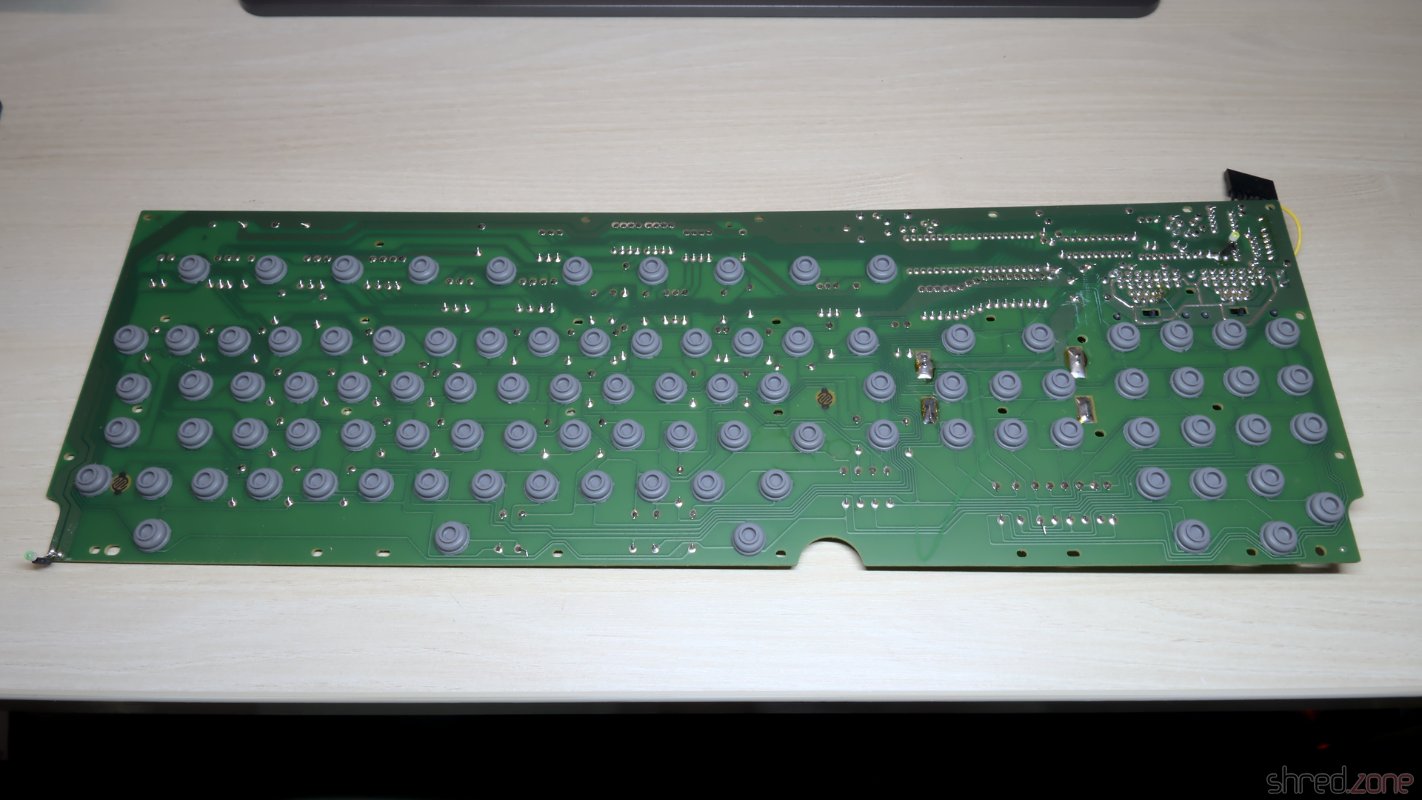
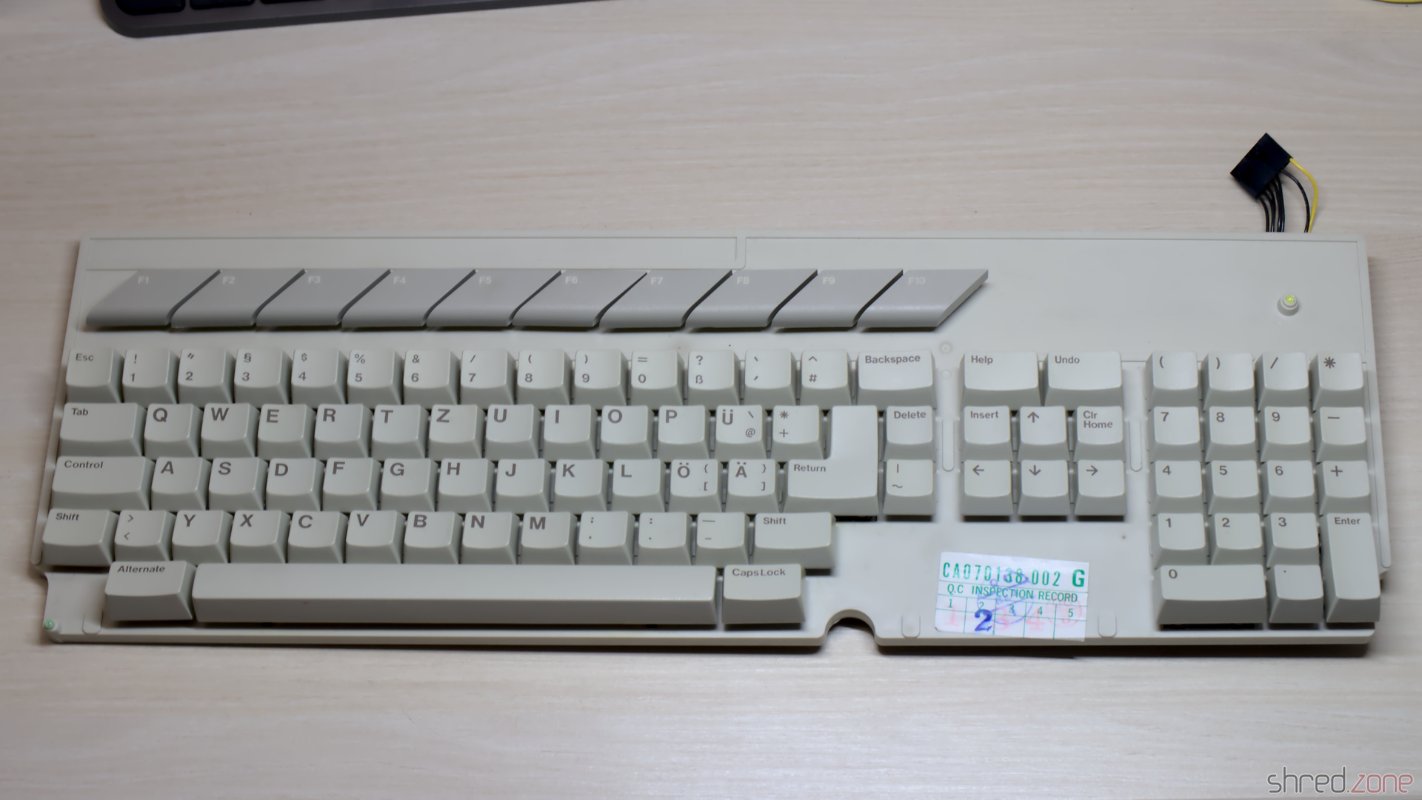
Even the keyboard wasn't really filthy, considering that the machine was in use for many years. It was still in for a thorough cleaning though.
The Atari ST has an integrated power supply, unlike the Amiga 500 with its separate PSU on the floor. On the one hand, it permits to plug the unit directly to the mains. On the other hand, it makes the machine heavier, and makes modding more risky due to the presence of hazardous voltages inside the case.
WARNING: Switched power supplies may still contain high voltages hours after they have been disconnected from mains. I strongly advise against attempting repairs or modifications yourself. Please ask a trained technician for assistance!
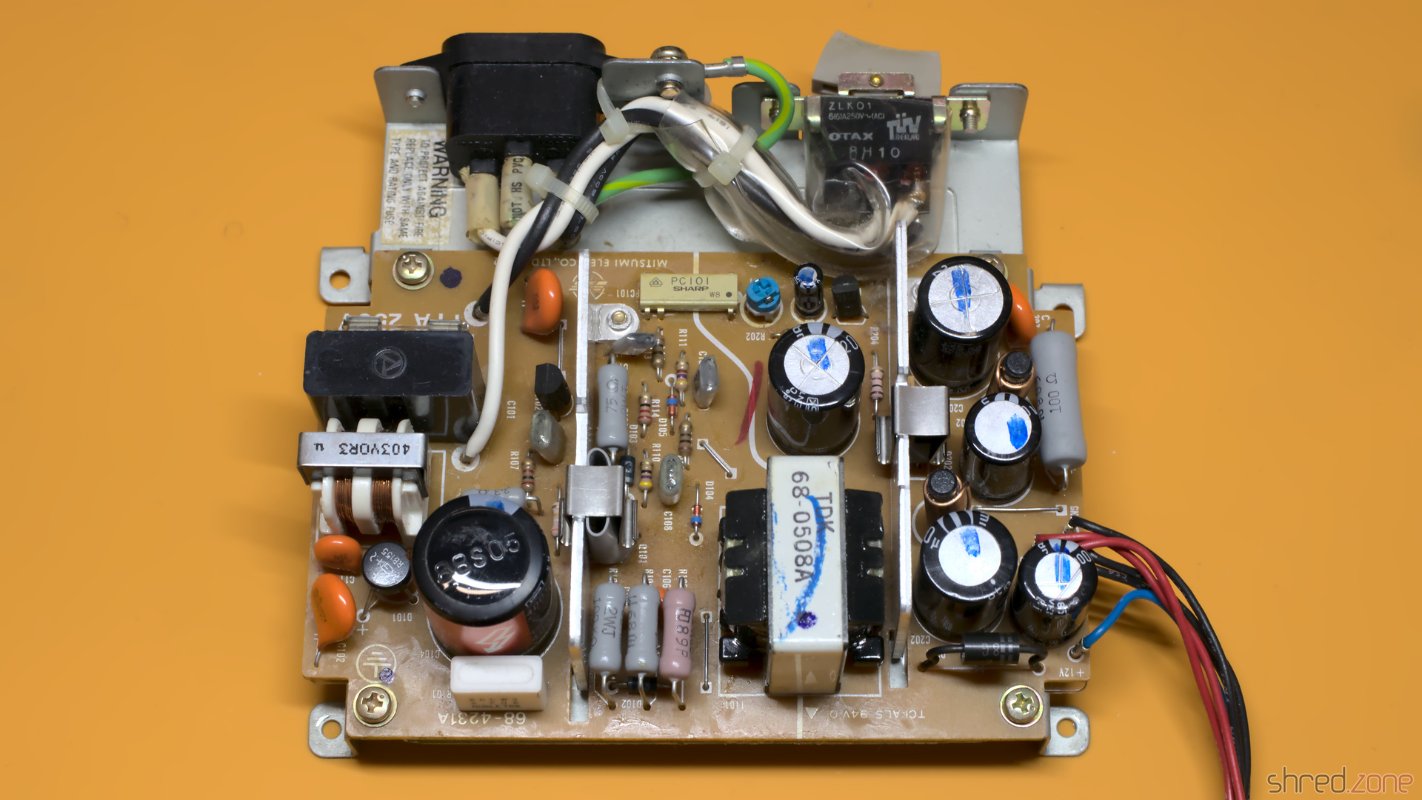
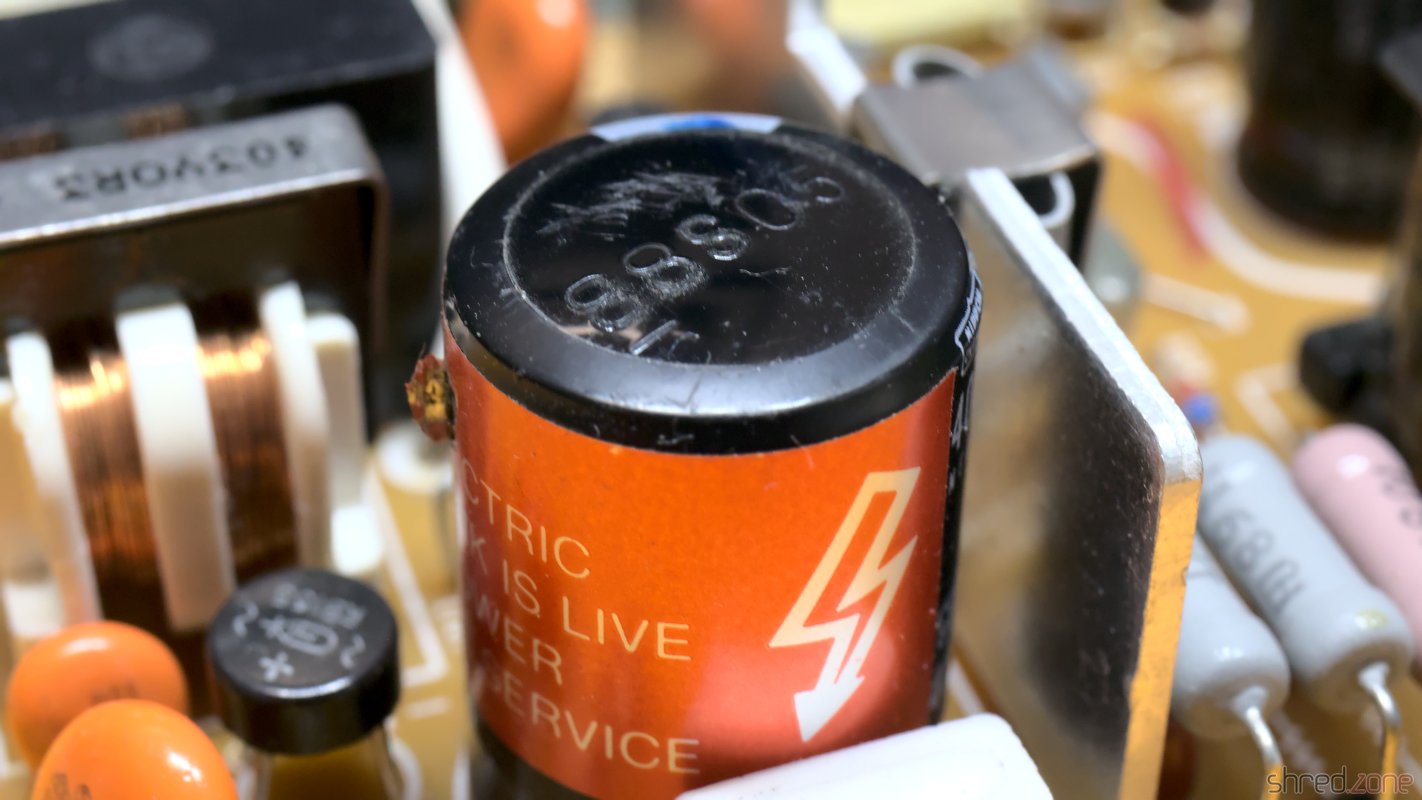
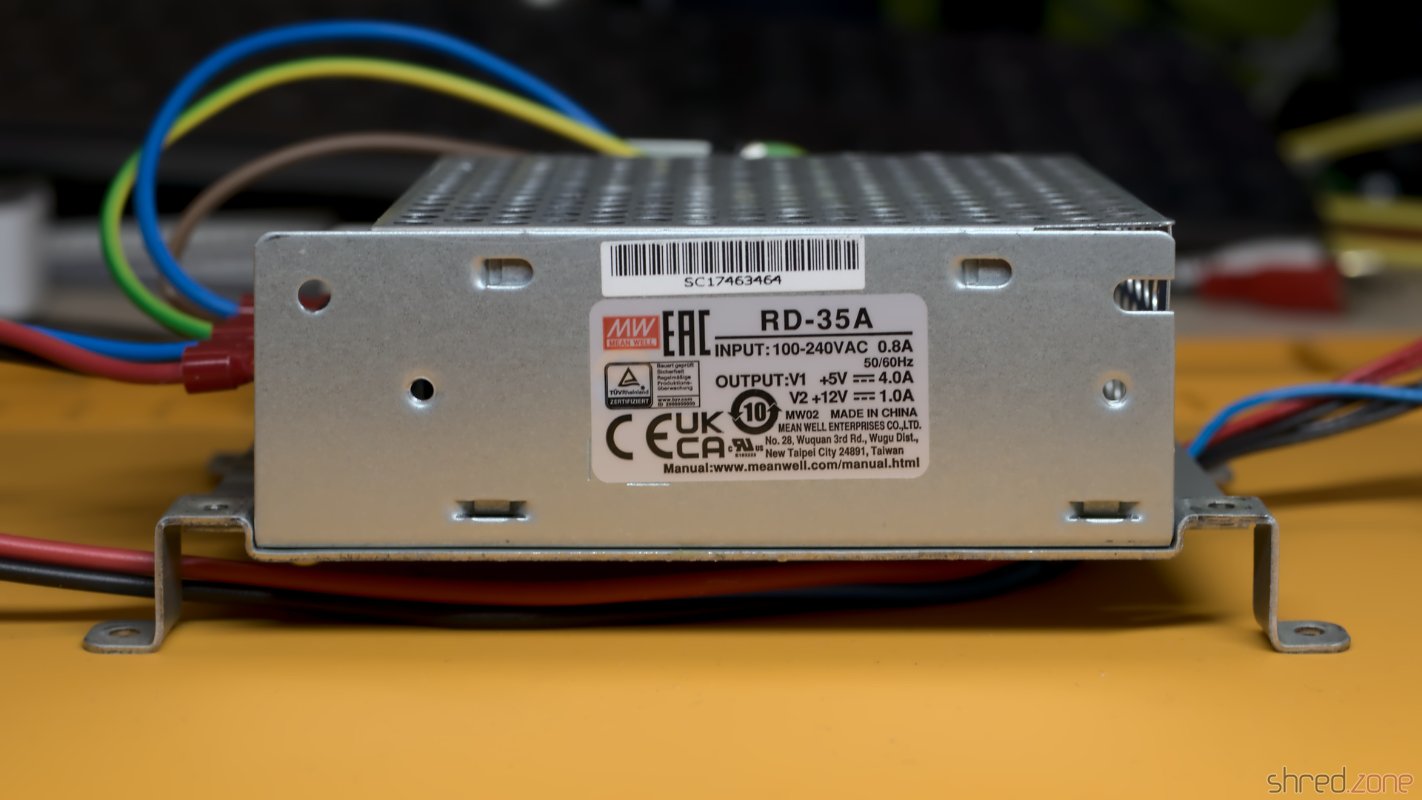
Inside my ST, I found a Mitsumi SR98 PSU. It looked okay, except of a bulged capacitor. However this type is said to be of poor quality, so I decided to replace it with a modern MeanWell RD-35A.
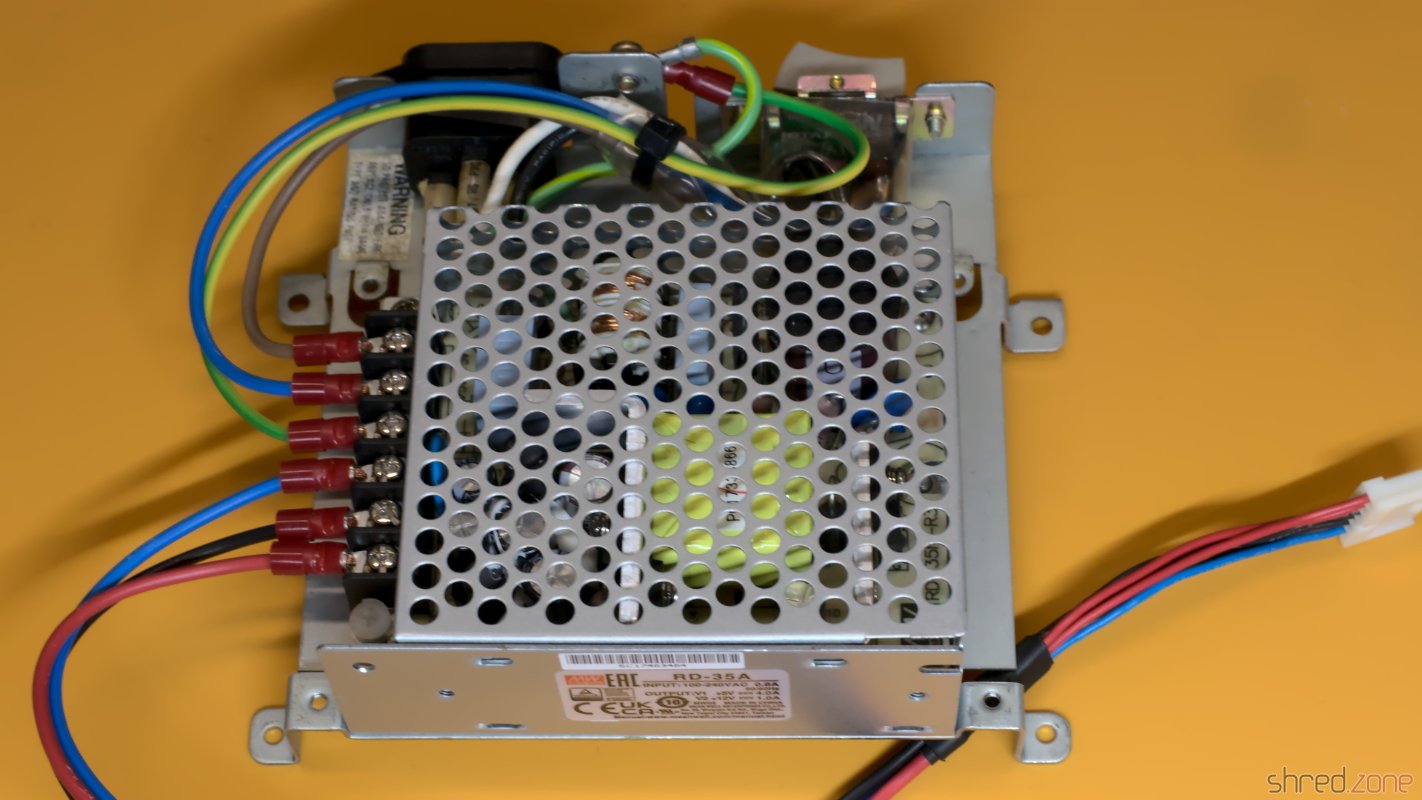
The MeanWell sits very nicely on the original frame of the Atari ST, almost as if it was made for that purpose. In order to mount it, I removed the original PSU and the insulator sheet below, and drilled two screw holes into the frame.
The terminals of the PSU can be either on the left or the right side. I decided for the left side, so the mains and mainboard power lines are cleanly separated and won't cross each other. I had to extend the wires to the mainboard for that, though.
I also took care that the PSU, the frame, and the shielding of the Atari ST are properly grounded. For that I had to add a ground wire from the metal frame to the ground terminal of the RD-35A.
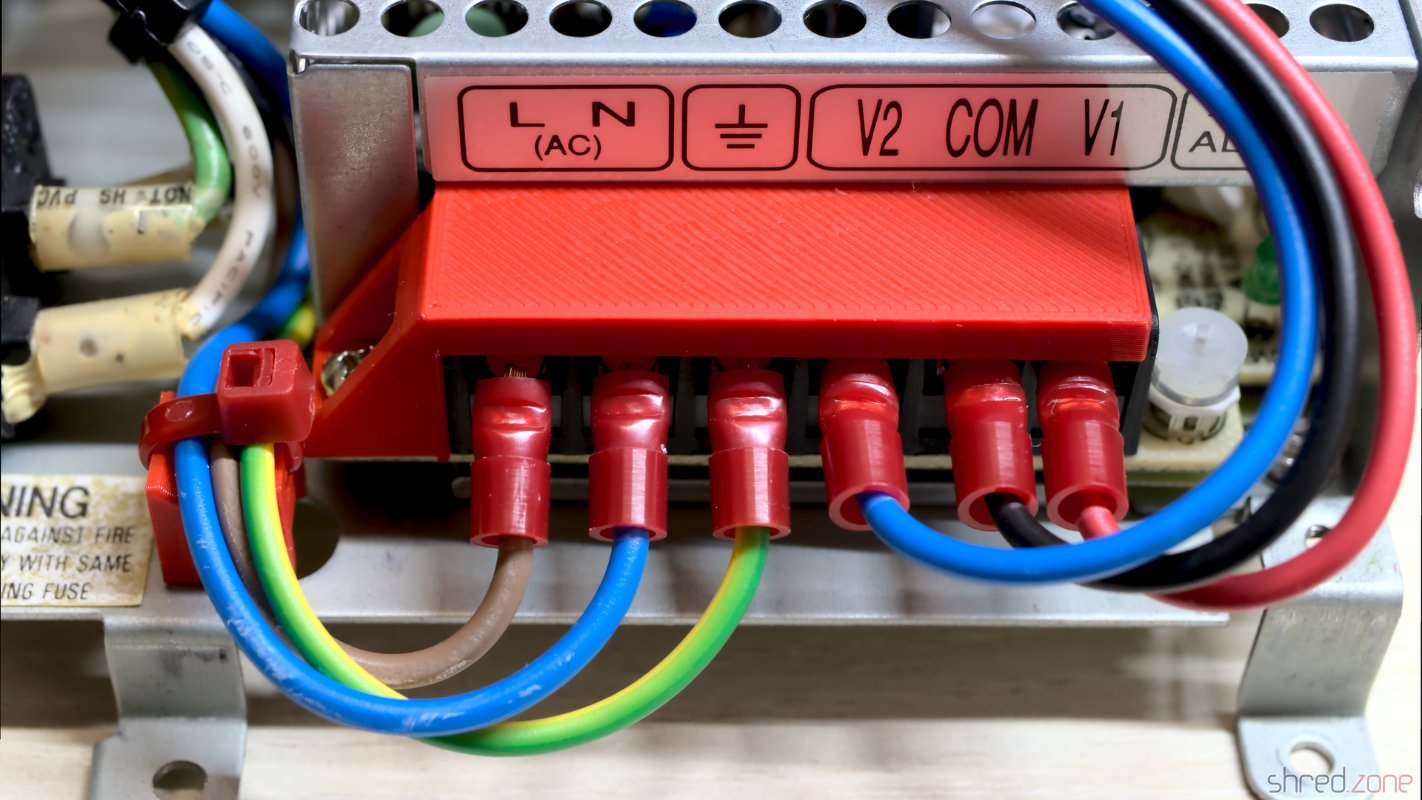
To be honest, I like this modification much better than the original open frame design. With a 3D printed terminal cover, all hazardous parts are now sufficiently protected against accidental touching.
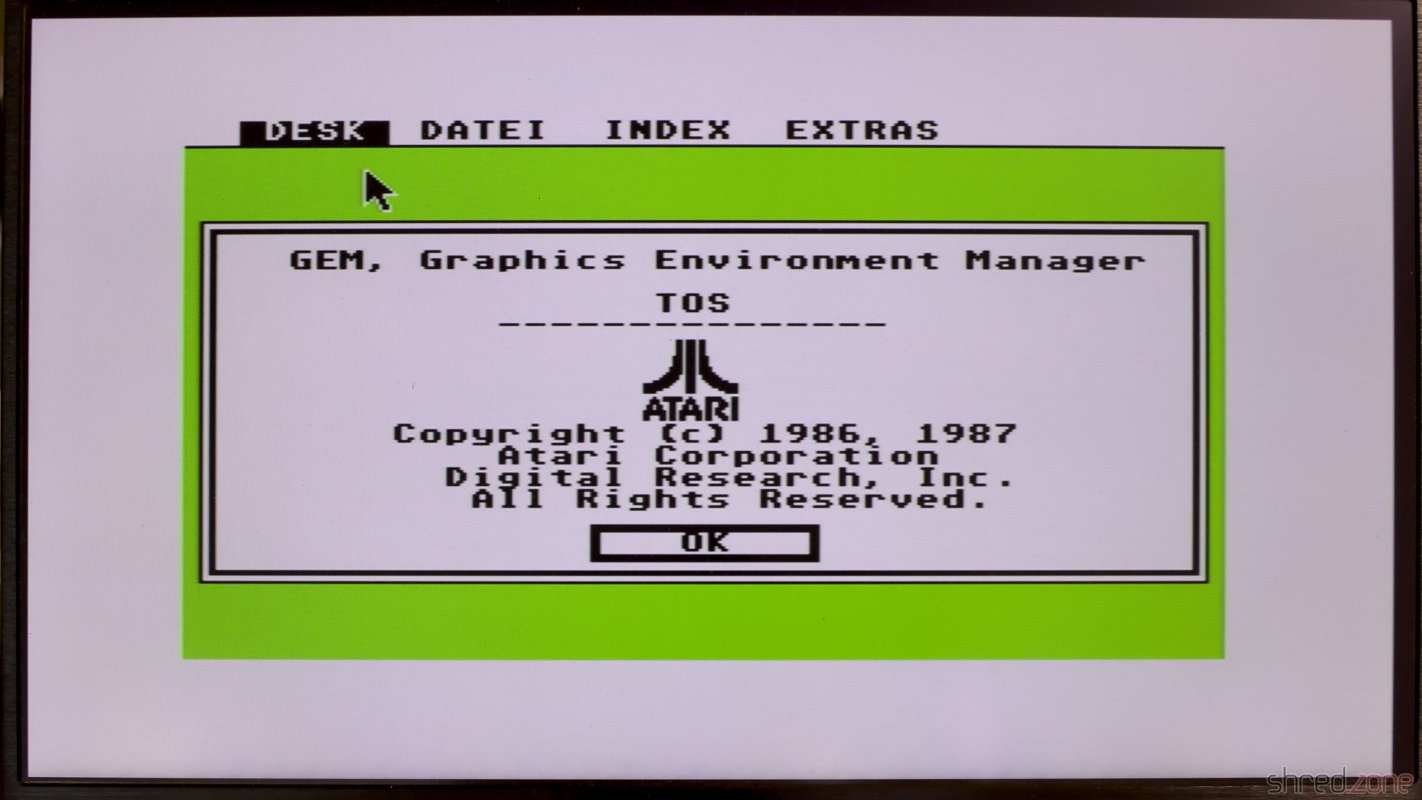
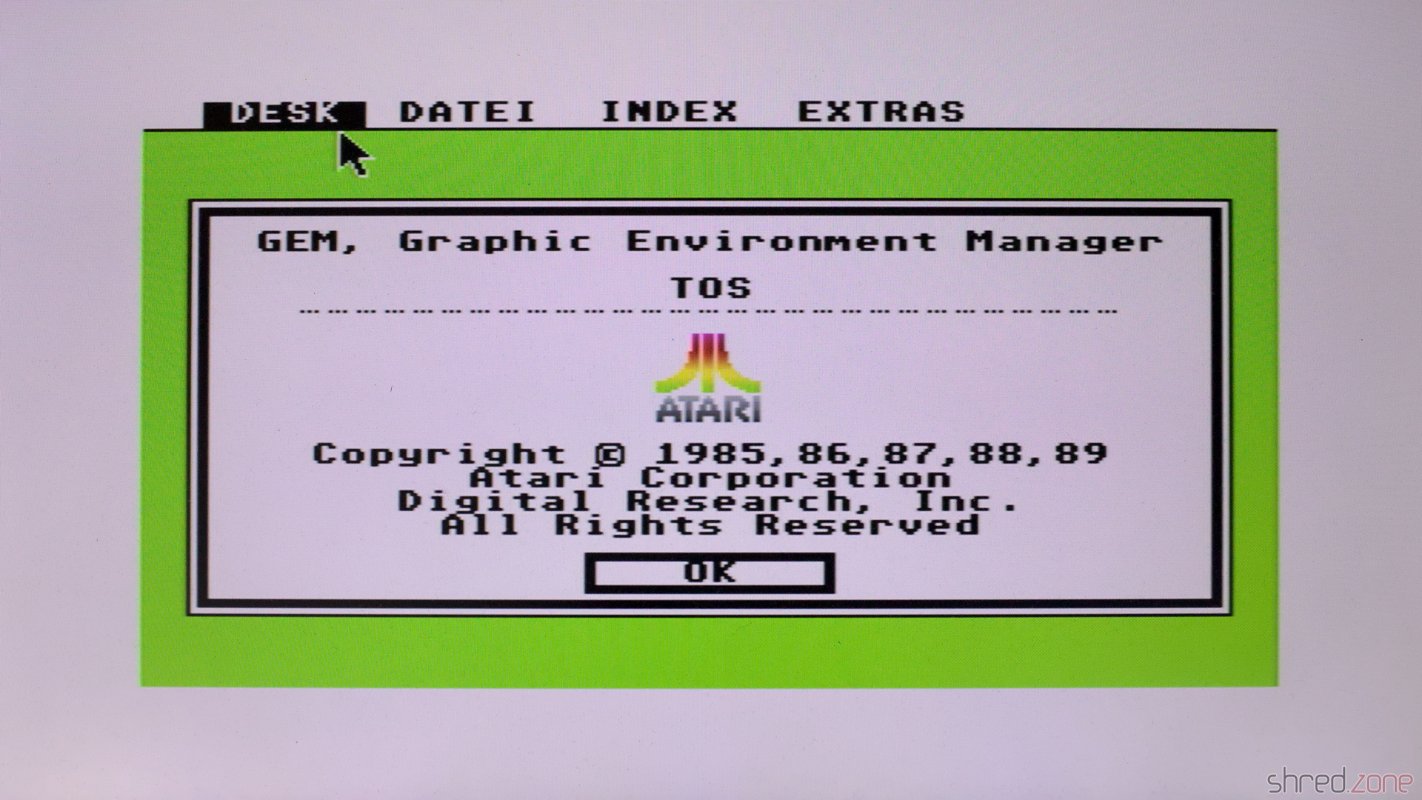
The machine was sold as "LED lights up, but otherwise untested". I usually refrain from using old and unrefurbished PSUs for testing, as they might damage the computer or might even explode in worst case. With the new PSU, it was now time for a first check if there are other damages. But I was lucky. The machine just booted up without problems. The only minor issue was that the Atari logo was black, which showed that the machine still had the original TOS 1.02 ROMs.
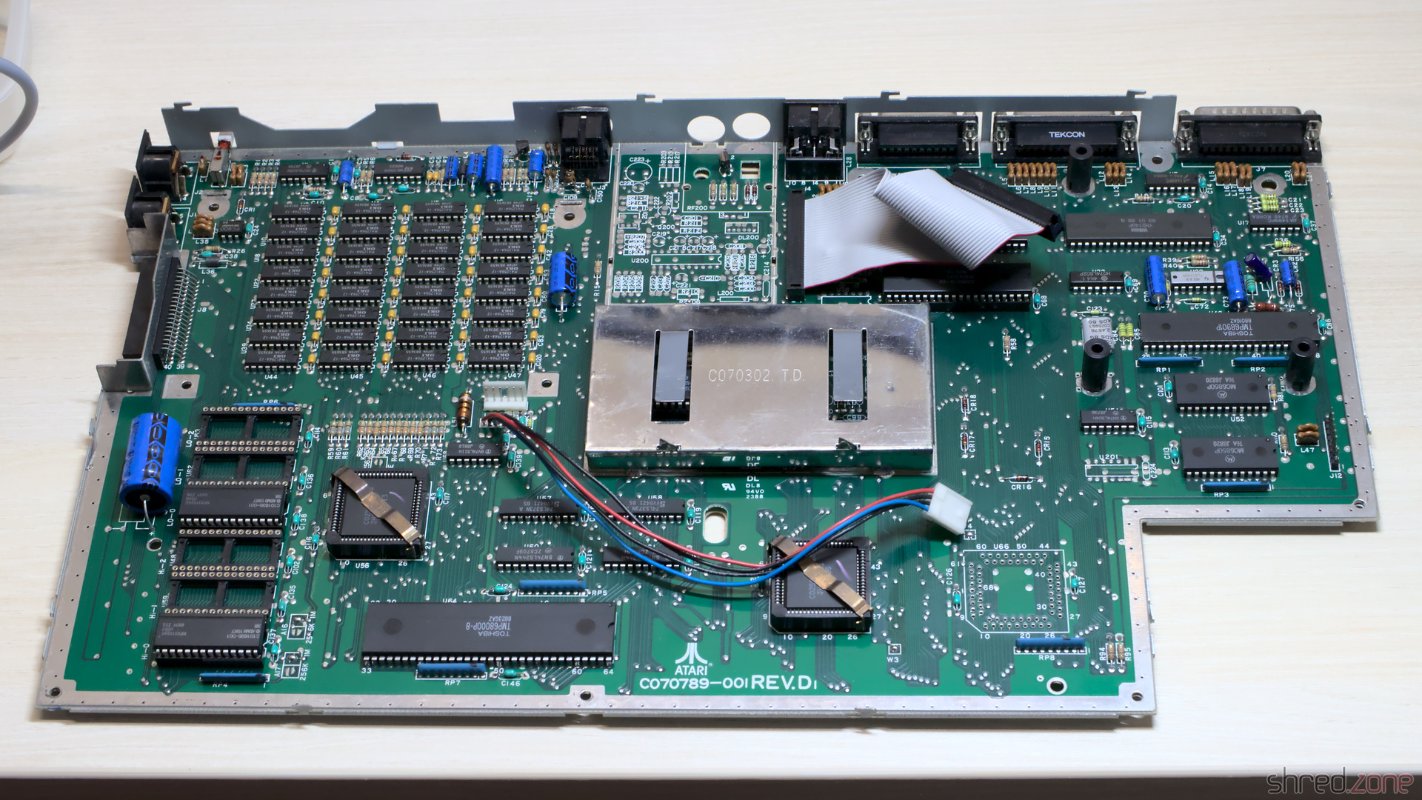
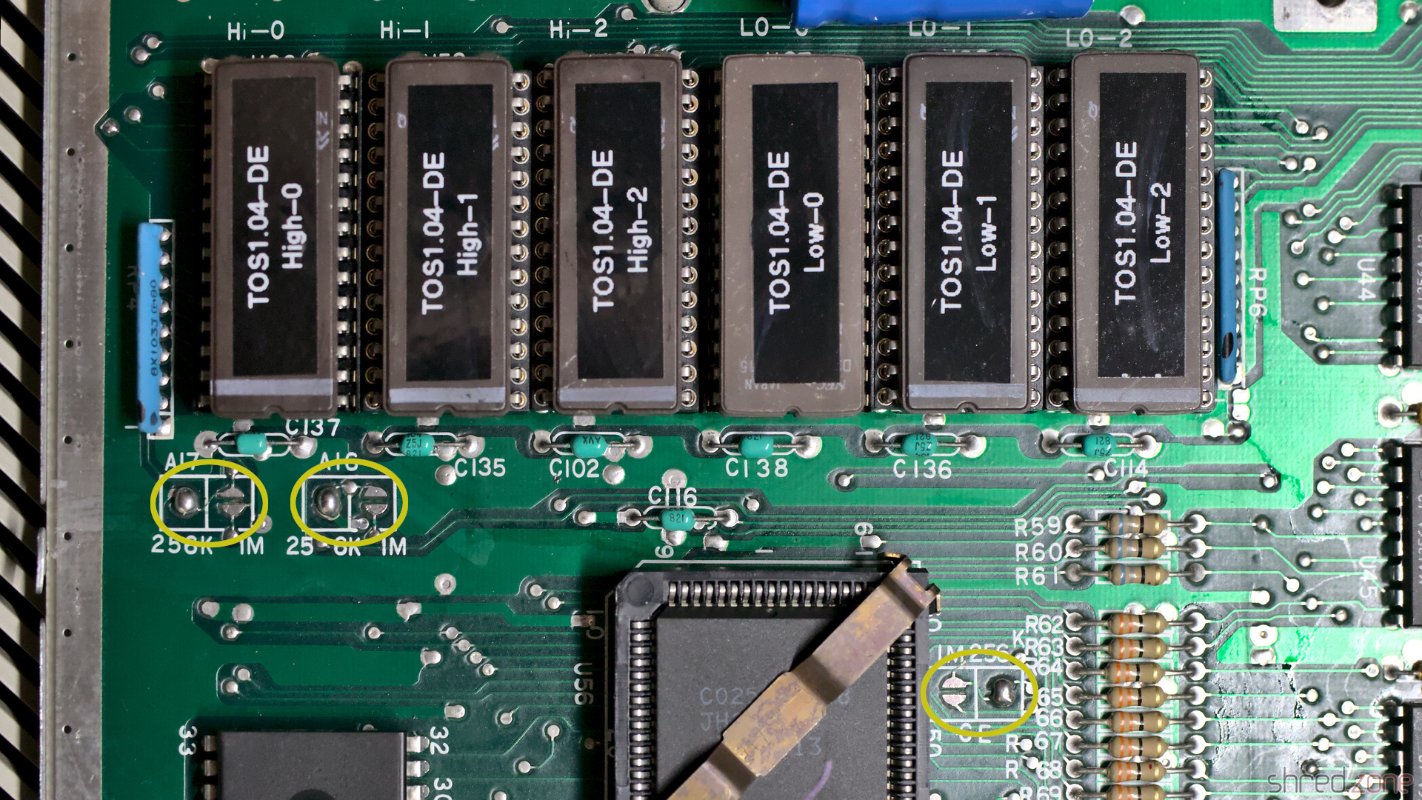
The TOS came in two strange 96KB ROMs. In order to do a TOS upgrade, I had to replace them with six (!) 27C256 EPROMs. This requires soldering in four more sockets, and changing three solder pads. But I was going to change the electrolytic capacitors anyway.

Recapping is a routine procedure for me when refurbishing home computers. Some people think it's not necessary unless one of the capacitors is actually bulged or leaking. However electrolytic capacitors also dry out over the years, and are losing their capacity. The result is that the system is still working, but might be unstable, or the audio and video quality might be degraded. The used components have usually been of a simple quality, since home computers were designed to be used for a few couple of years only, and production had to be cheap.
For soldering in the sockets, I first had to open the pads. Since I was on it, I also opened the pads for a Blitter socket as preparation for adding a Blitter chip. I no longer pursued this plan though after I found the prices of NOS Blitters. 🤑 According to the feedback of Atari enthusiasts, the Blitter isn't really necessary anyway thanks to optimized CPU based routines. This is possible because, unlike on the Amiga, the Blitter is blocking the CPU during operation.
The Rainbow TOS 1.04 image was first split into an upper and lower half, and then each half was split again into three sections. I used my pynaroma tool for that, and then burned each section to an 27C256 EPROM, giving six EPROMs. When changing from two ROMs to six EPROMs, it's also necessary to set three solder pads from the "1M" to the "256K" configuration.
And that's it. The machine booted up again, and finally showed the Atari logo in rainbow colors.
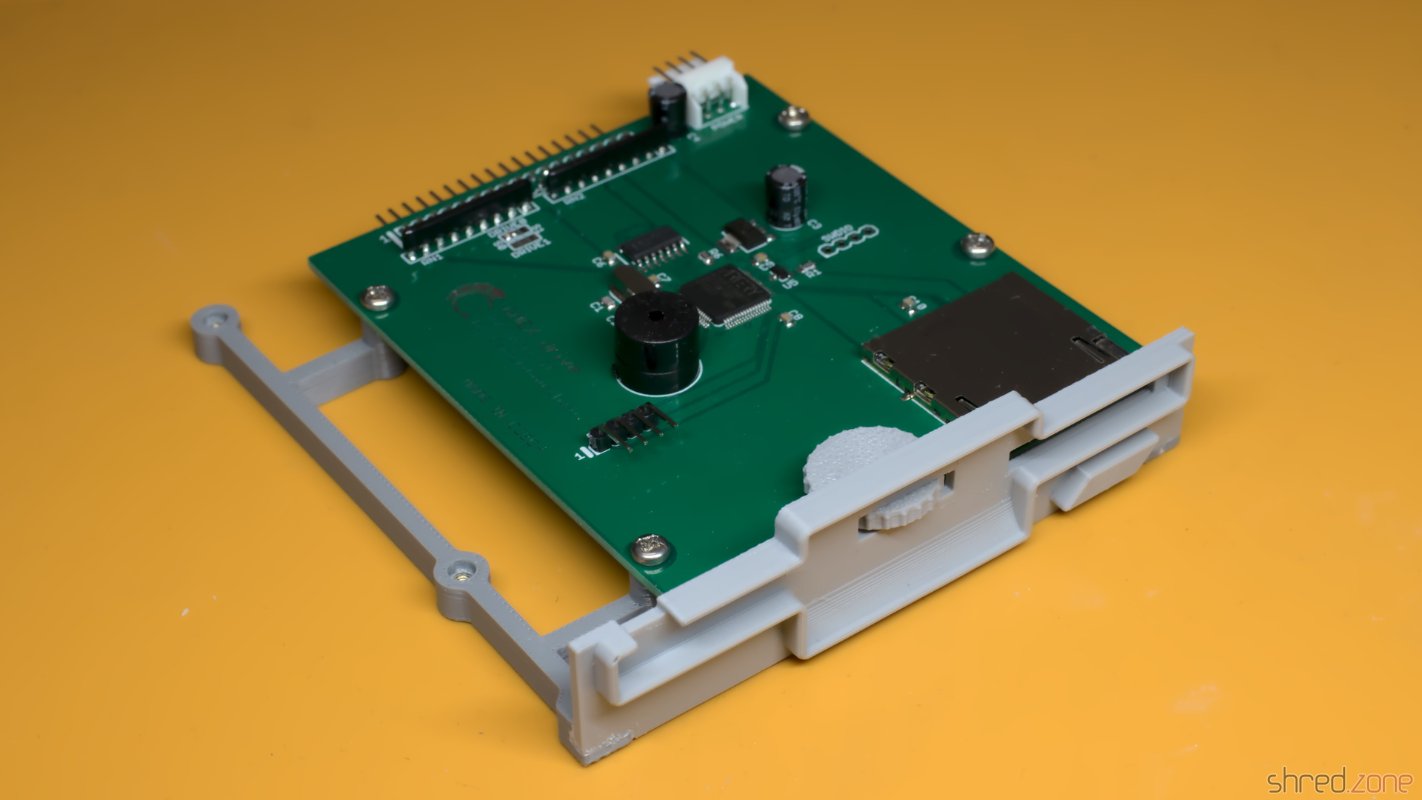
Since I never had an Atari ST before, I don't have any diskettes, and I'm also not too keen in making some. Fortunately Centuriontech GOEX drives are also available for Atari ST computers. It is a drop-in replacement for the original drive, but uses .st files on SD cards instead. The diskette file can be selected via an encoder and a tiny OLED display. The ST itself won't notice that there is no real floppy drive connected to it.
The floppy power cable turned out to be a bit too short on my machine, so I had to replace it with a longer one.
The OLED display is fixed to the case top with double-sided tape. The ribbon cable is then hot-glued inside, so it will sit nice and tight.

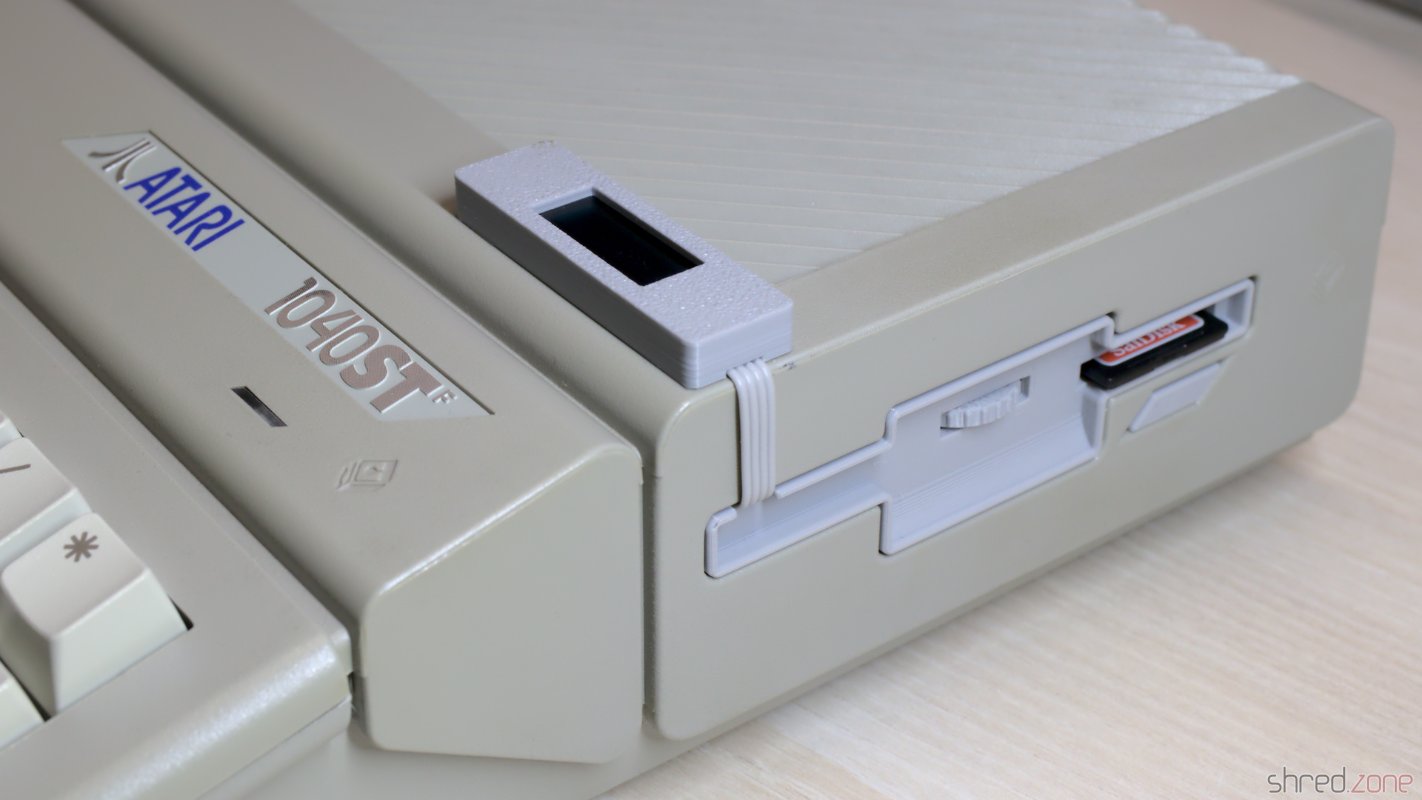
And that concludes the refurbishment of my new Atari ST. I'm happy to have it in my retro collection.