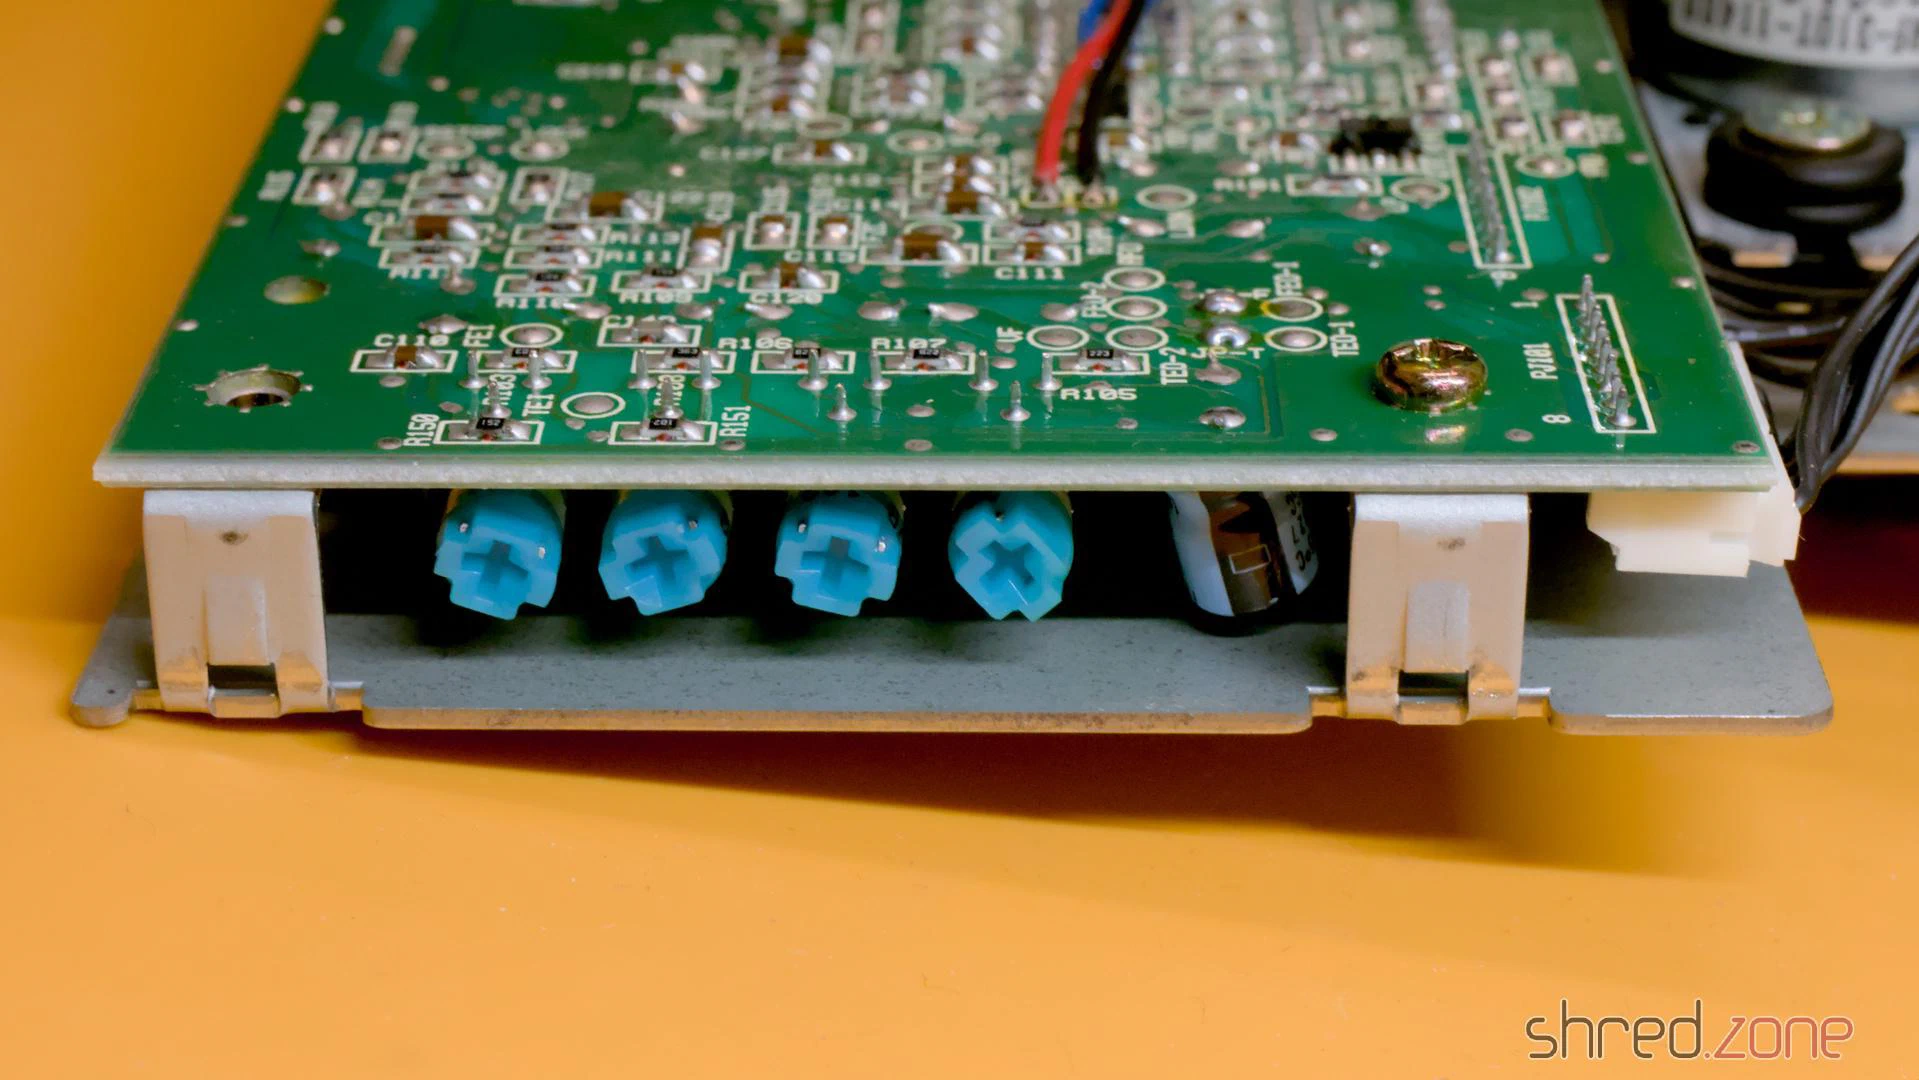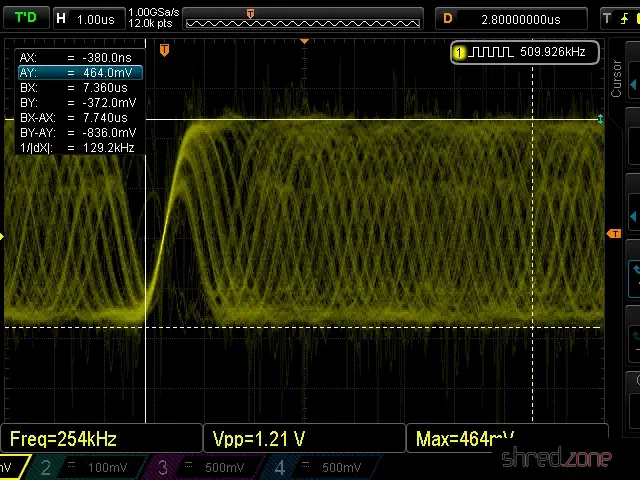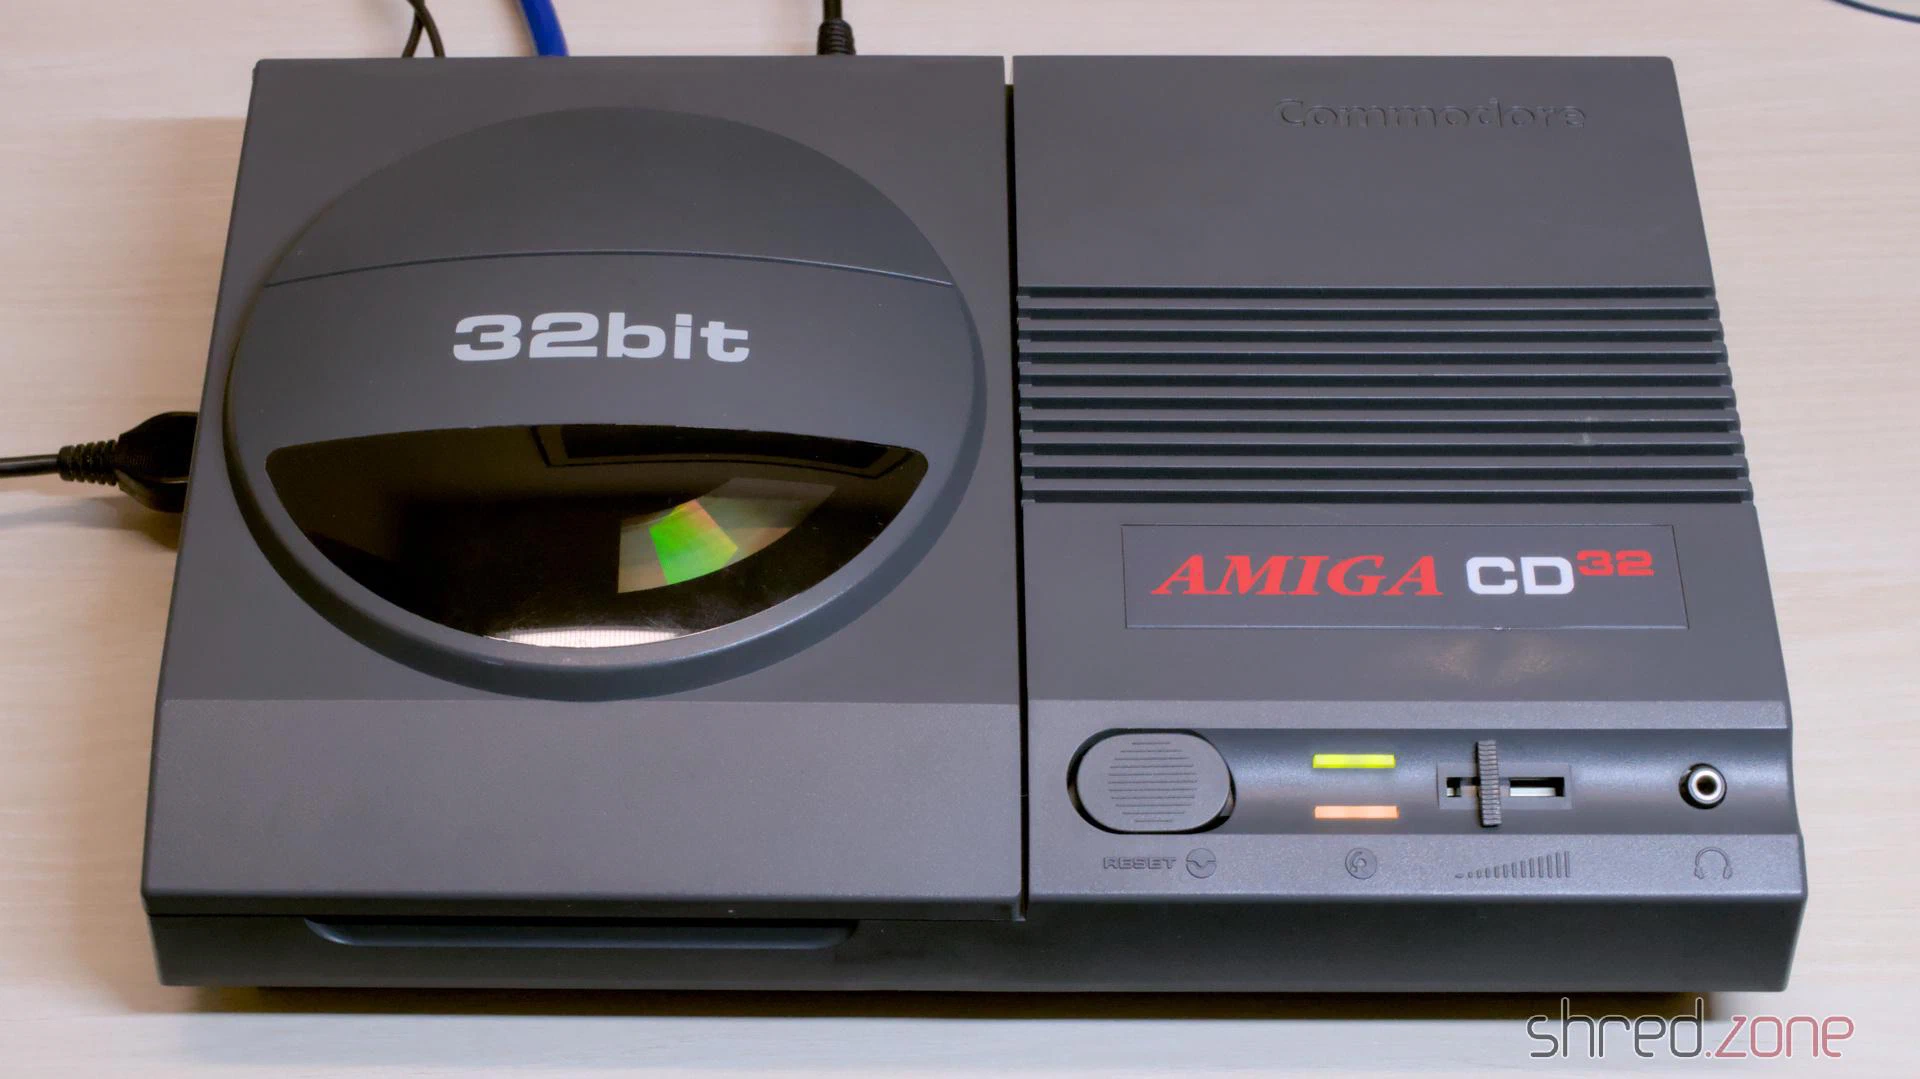
I found this CD³² at a fair price. The machine is still missing from my collection, so I grabbed it. The visual condition of the casing is quite good. There are a few visible scratches. The previous owner tried to touch them up, but only made it worse. At the time, I didn’t suspect that this would be the main theme of the entire restoration.
Together with the games console, I received a power supply and a maths edutainment CD. The power supply wasn’t original, but rather a typical “brick” for external hard drives with a soldered-on CD³² plug. Unfortunately, the gamepad was missing, but luckily I found a practically mint condition Honey Bee Joypad as a replacement a bit later.
Let’s take a look inside.
The Condition
The Amiga was sold as defective because it didn’t display a picture.
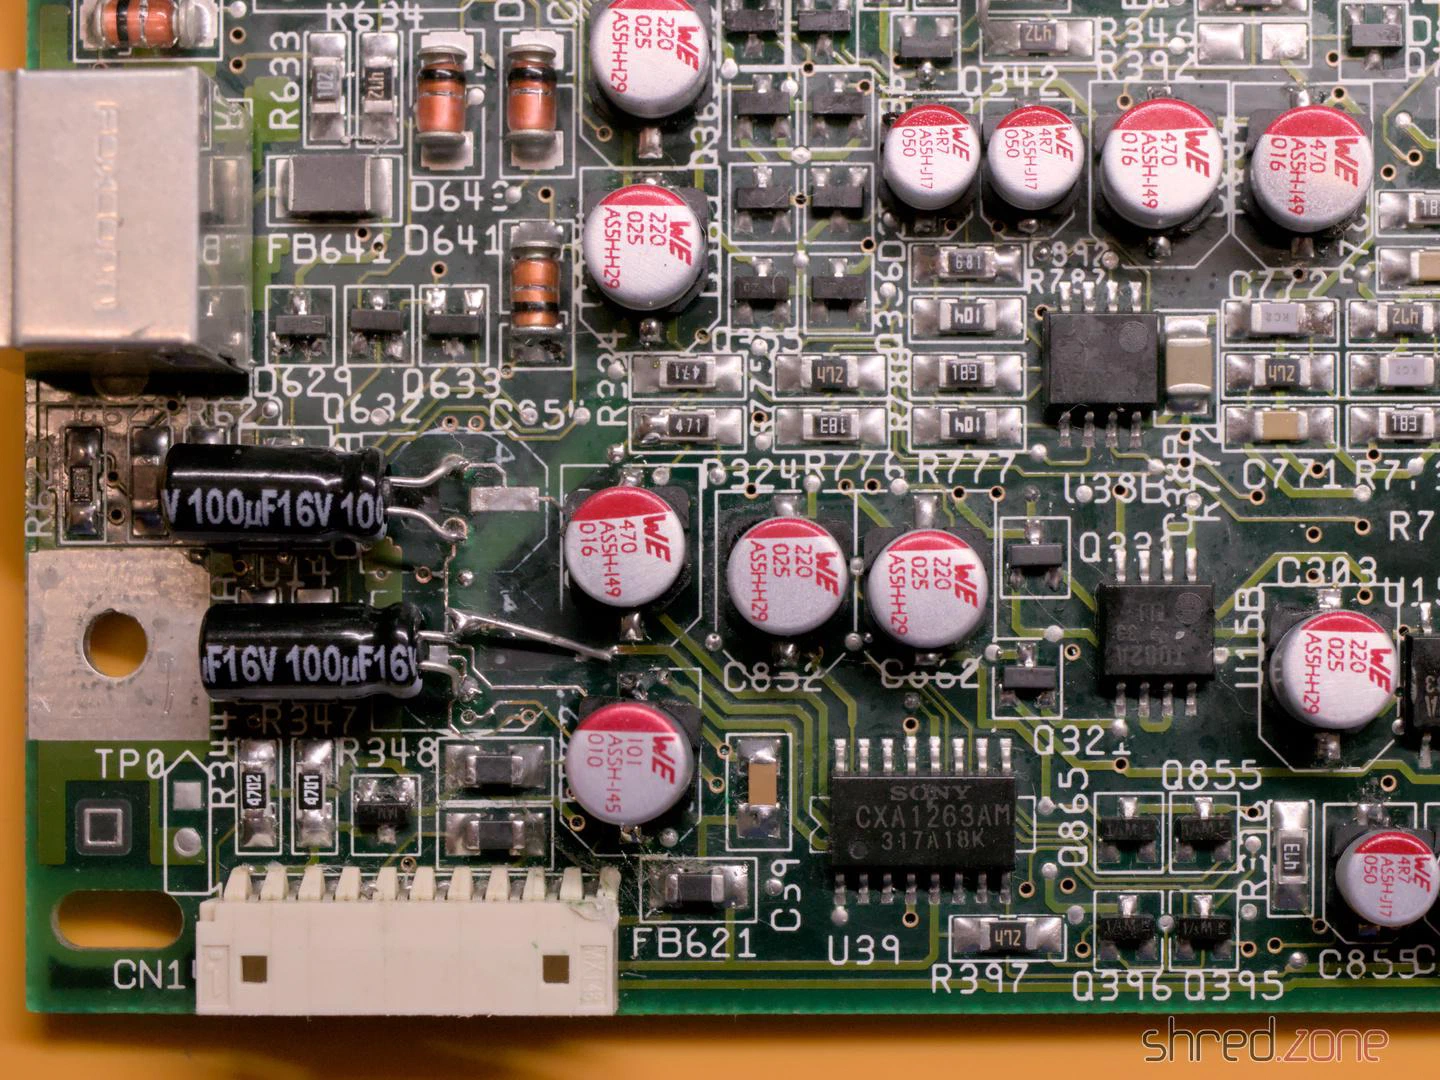
The circuit board told me a completely different story. An attempt had already been made to replace the capacitors. After replacing the TH and 100µF SMD capacitors, the attempt was abandoned. Presumably because the picture was gone after that.
I also found several green varnish spots, probably simple nail varnish. It was underneath the replaced SMD capacitors, on solder joints as well as some vias. The varnish made cosmetic sense at best in those places.
And then I found this:
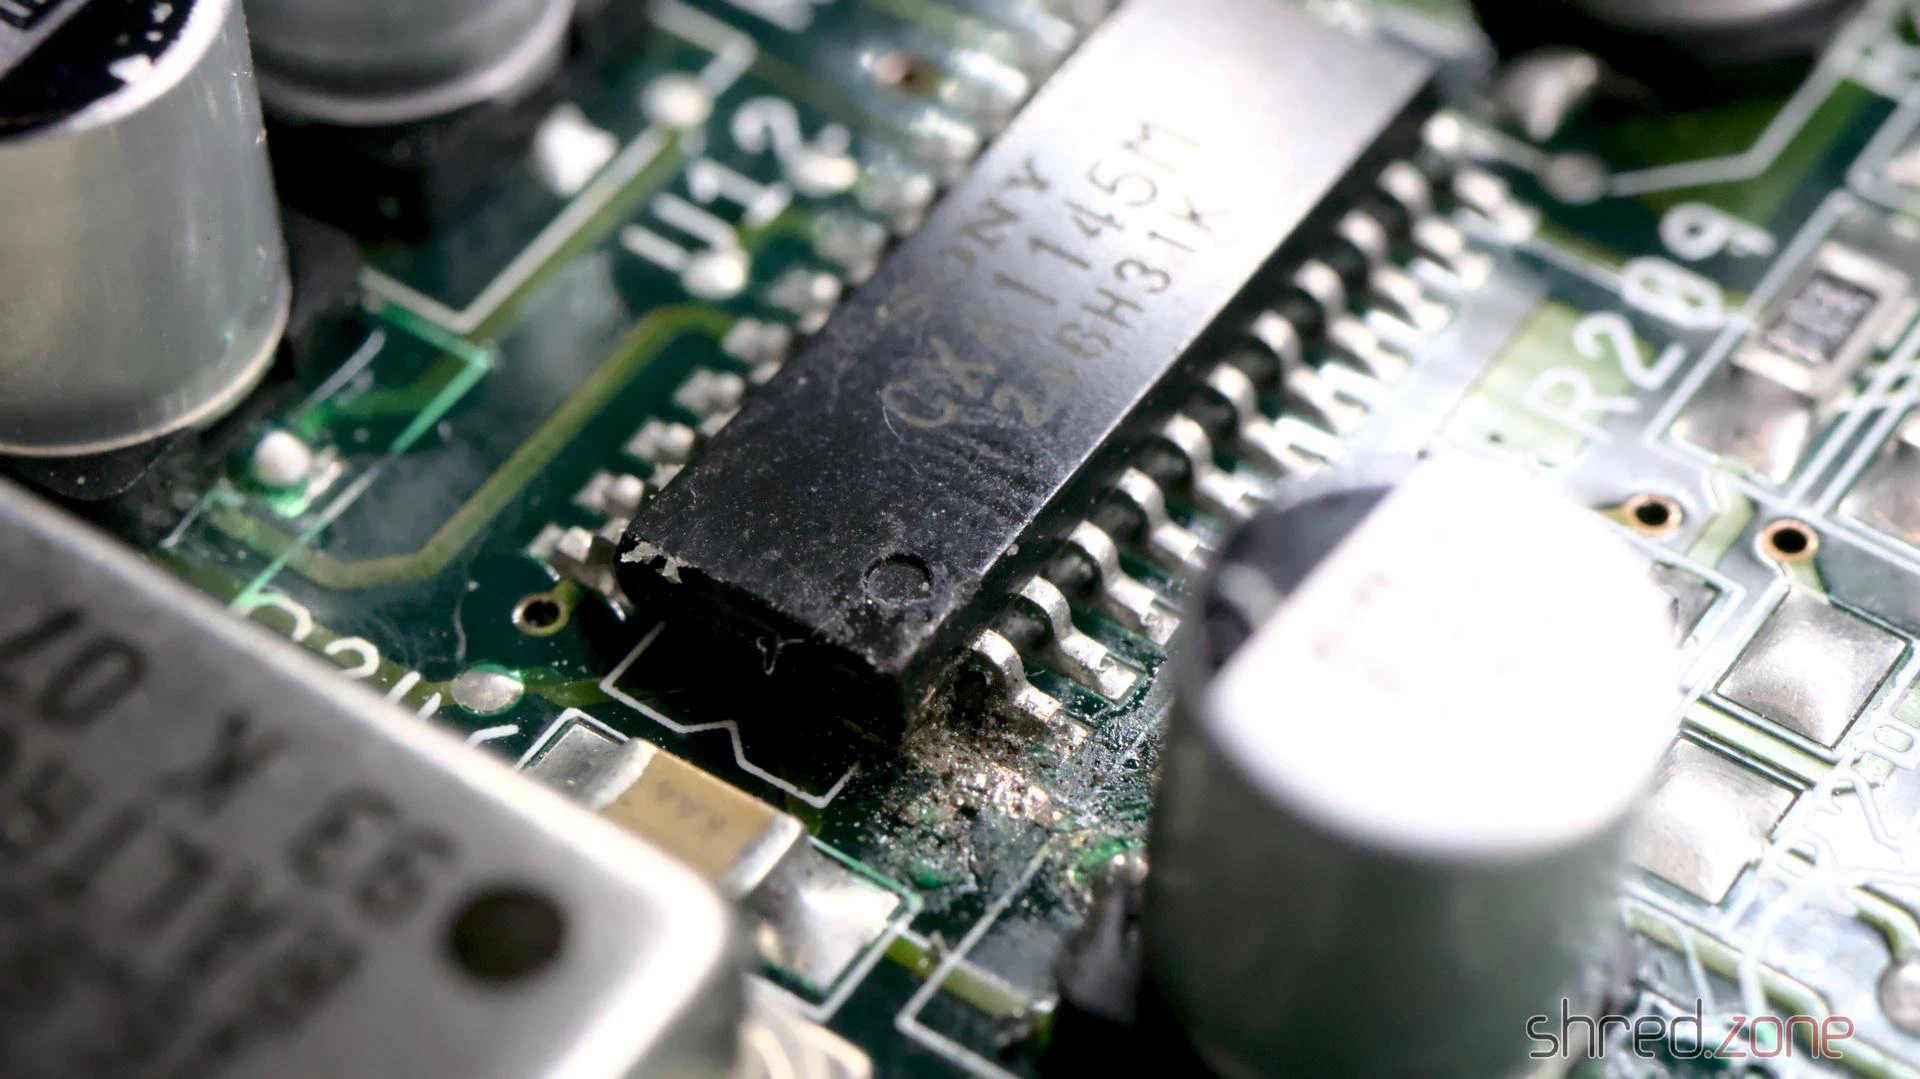
I can only speculate at this point: When the picture suddenly disappeared in the middle of recapping, the previous owner assumed that the video encoder chip was damaged. An SMD chip can only be removed with a hot air rework station, which they probably didn’t have available. So instead they tried to cut the chip off the board leg by leg. Fortunately, they aborted the attempt after just one leg.
Luckily, I didn’t find any further traces of “abuse” on the poor board. It will be enough work as it is to clean up the existing mess.
To be honest, I’m quite annoyed about it. It makes a difference whether the machine simply stops displaying a picture after decades in the cellar, or because someone botched around on the circuit board. The seller should have pointed this out, naturally with corresponding negative effects on the price.
Repair of the Mainboard
At this point it made the most sense for me to restore the picture first. So I replaced the video encoder, as well as an already replaced electrolytic capacitor right next to it that looked suspicious. With that, all visible defects were eliminated. Unfortunately, it didn’t bring the video signal back.
Why did the picture stay black? Were there other faults in the video section, or did the machine possibly not boot up at all?
To find out, I inserted a DiagROM and connected the CD³² to my PC. The DiagROM booted without any problems and logged no errors on the console. Good news: The problem had to lie solely in the video section.
So it was time to tidy up. I removed all electrolytic capacitors, including the ones that had already been replaced. After that, the green nail varnish came off, with nail varnish remover and isopropanol.
On the underside I found a strange solder lump covered by a thick layer of varnish. When I tried to remove it, a telltale fishy smell of leaked electrolyte wafted up. Not a good sign. It meant that a capacitor had leaked and the area wasn’t properly cleaned. I generously removed the SMD parts on both sides in this area, cleaned the board thoroughly and checked the tracks and vias.
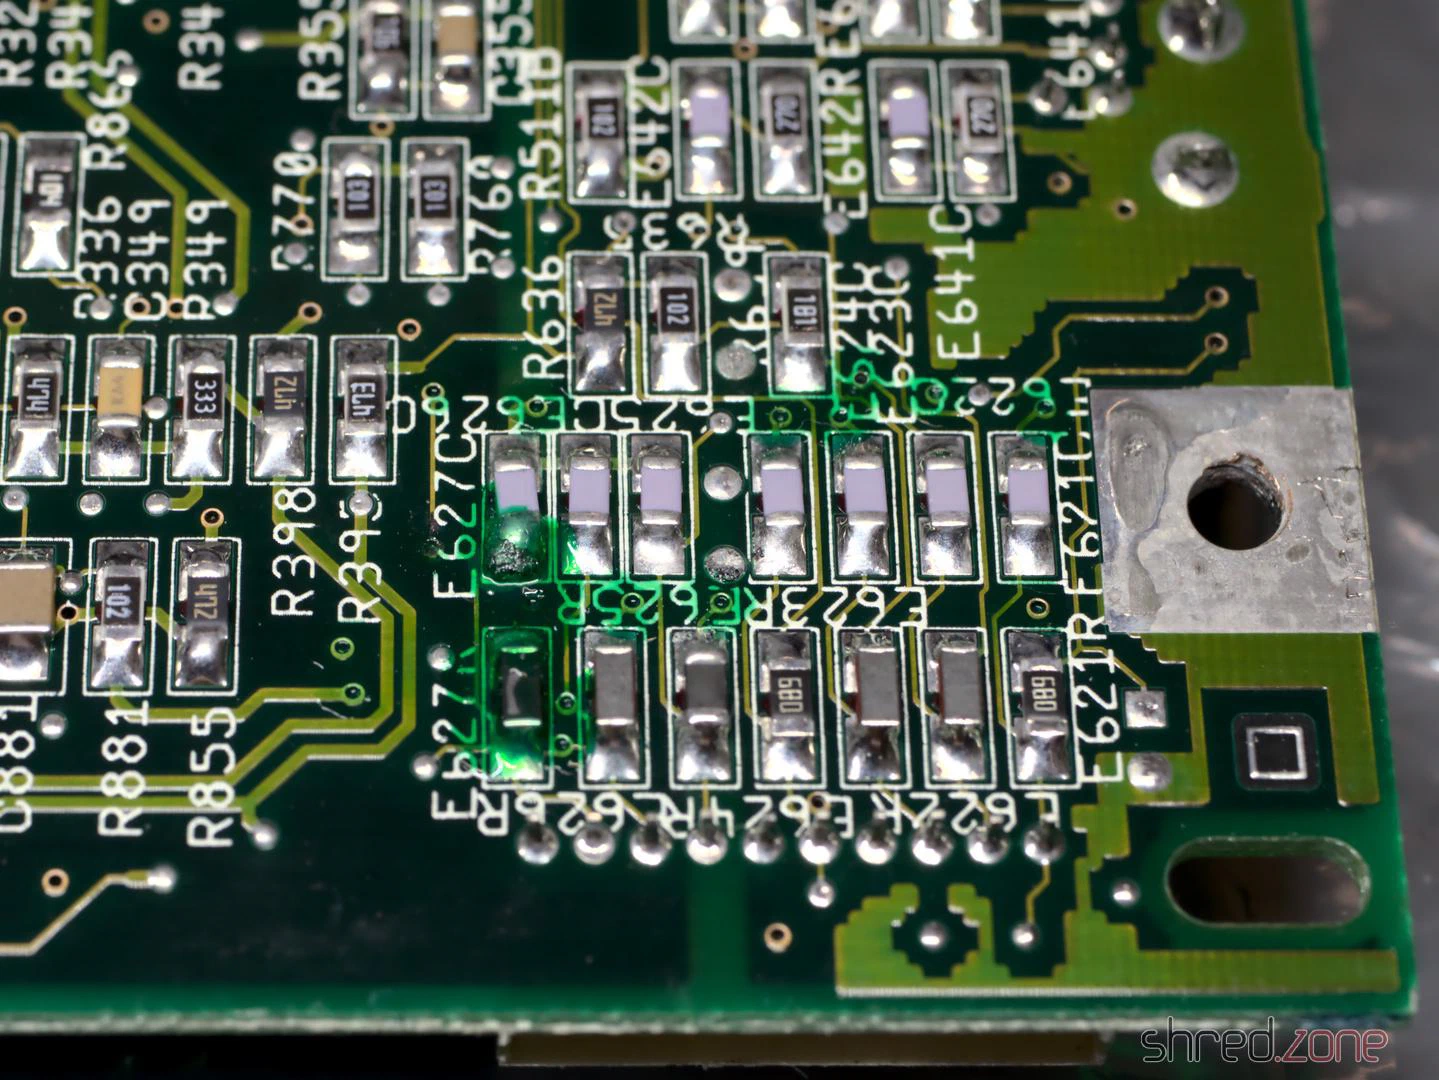
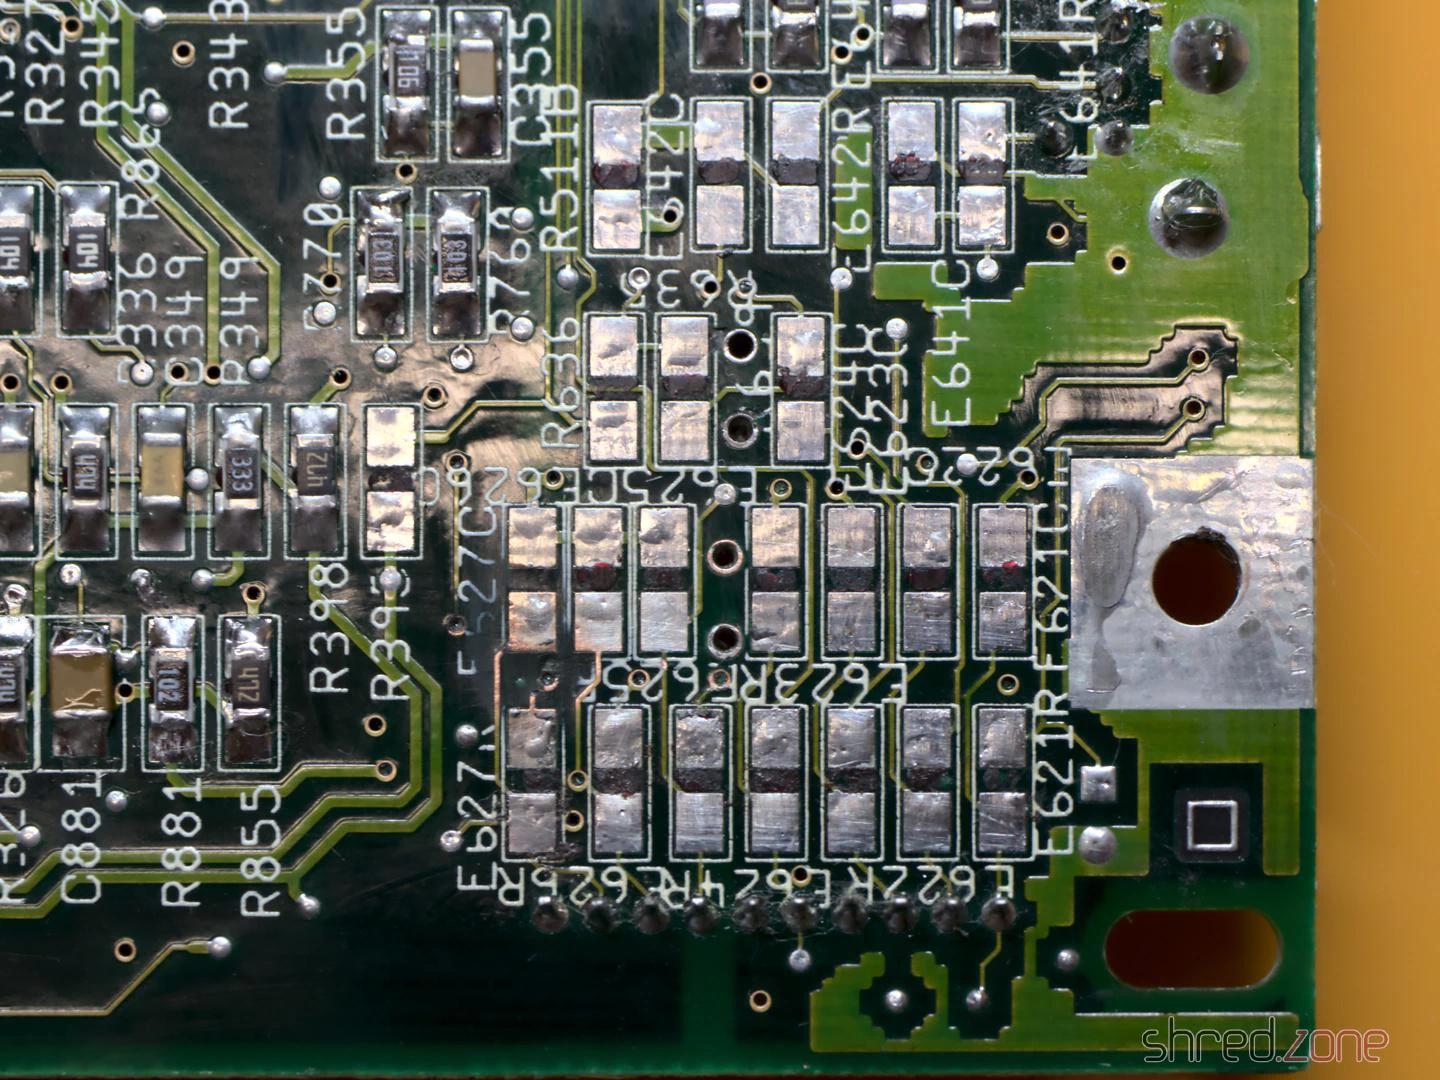
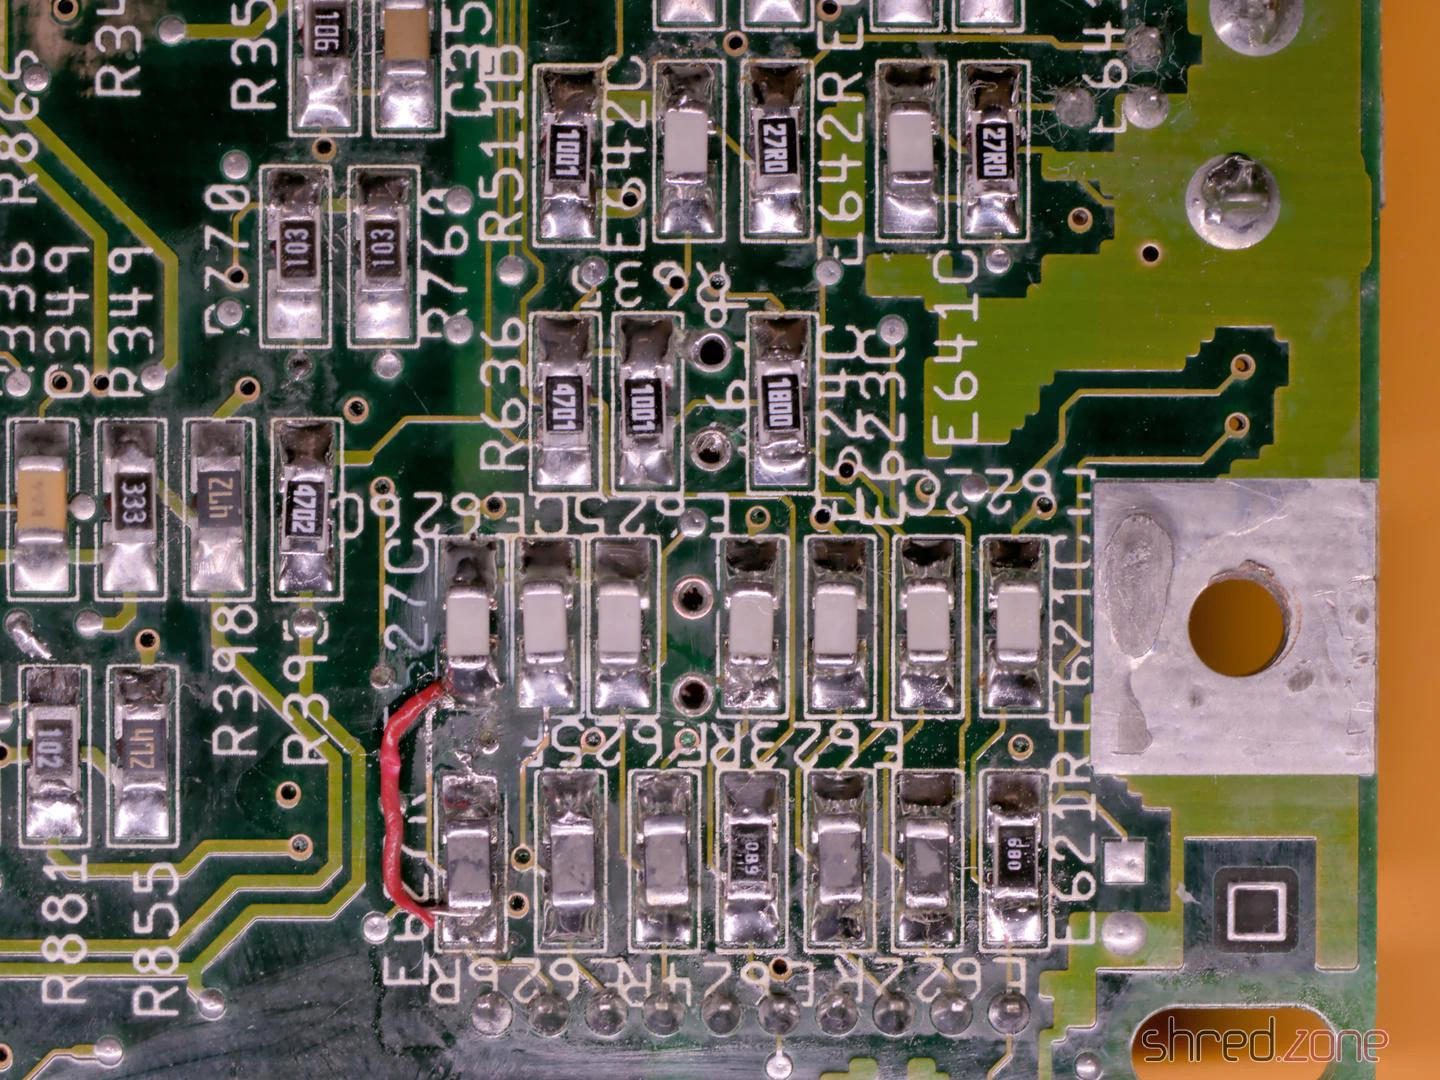
Unfortunately, I tore off a few pads on the 100µF capacitors in the process. I suspect the leaked electrolyte and the thermal stress of two recappings were simply too much for them. Something like this is annoying, but not the end of the world.
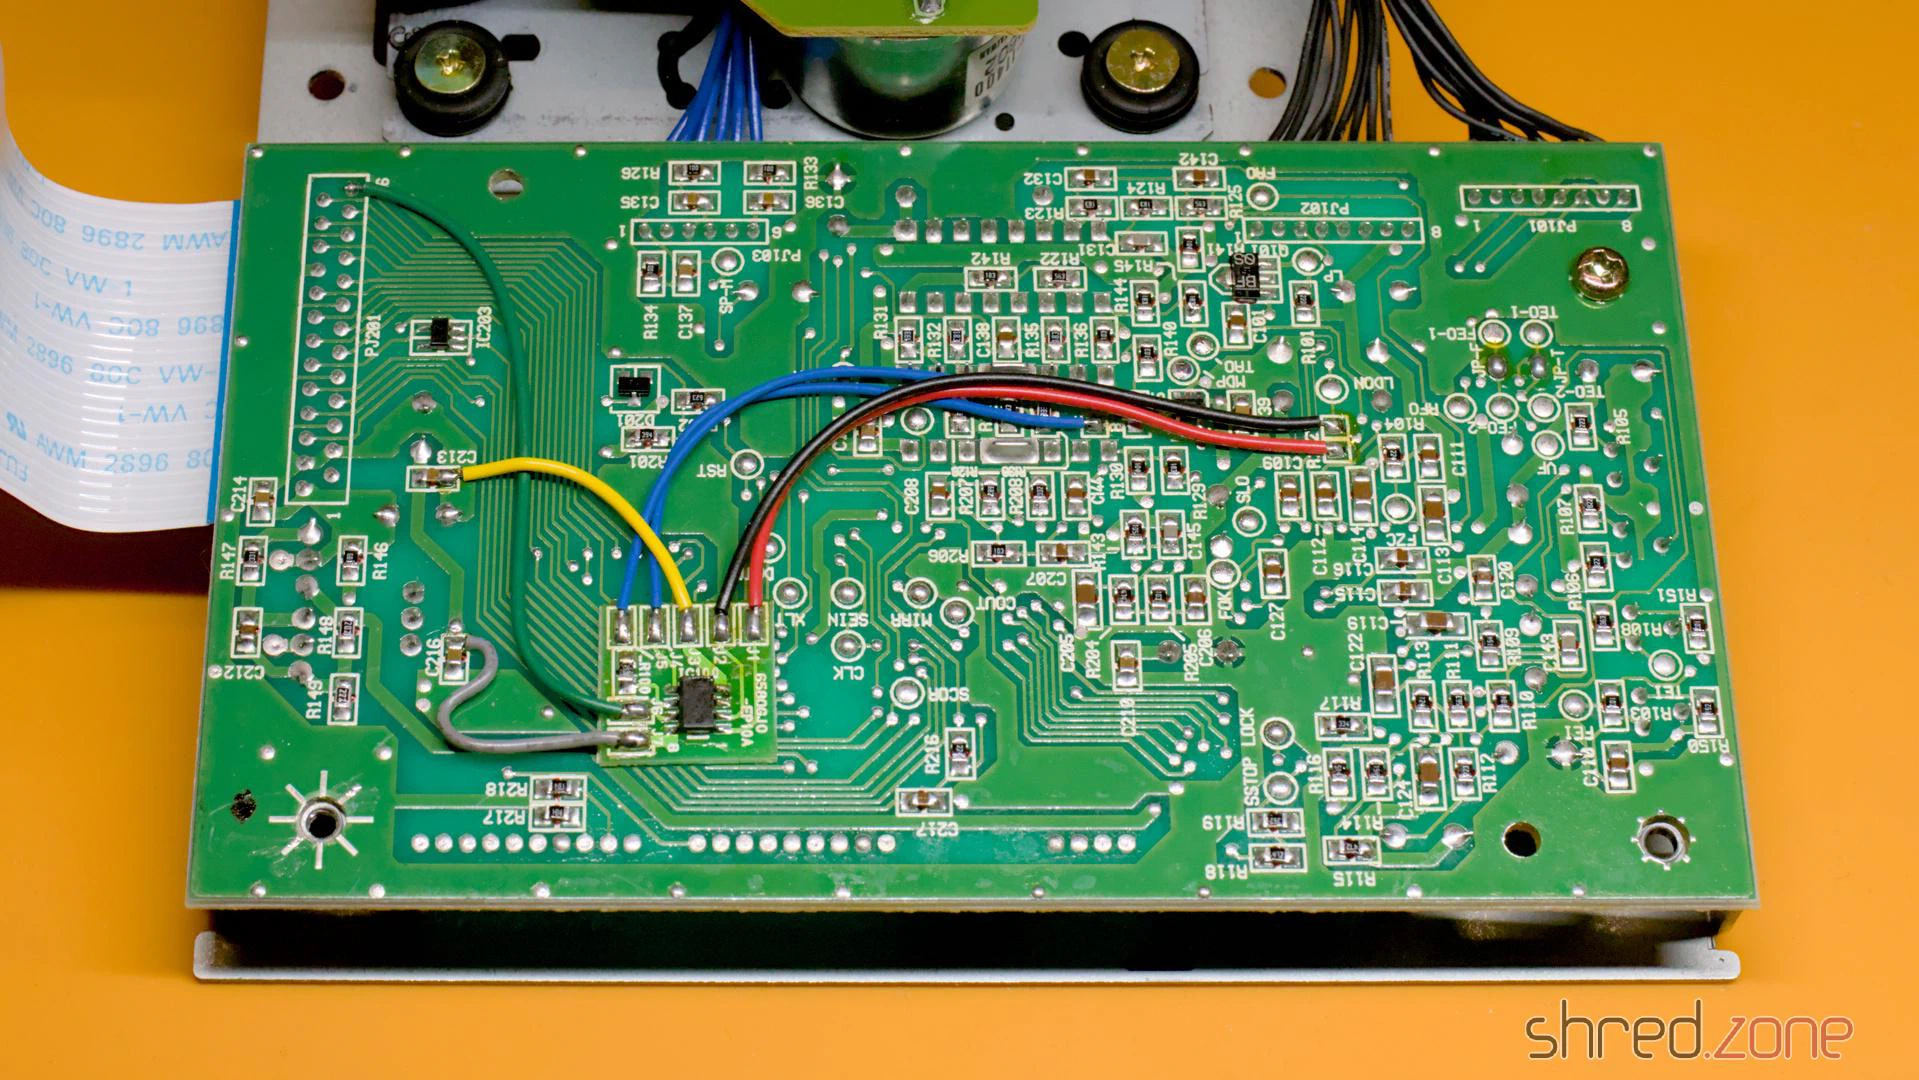
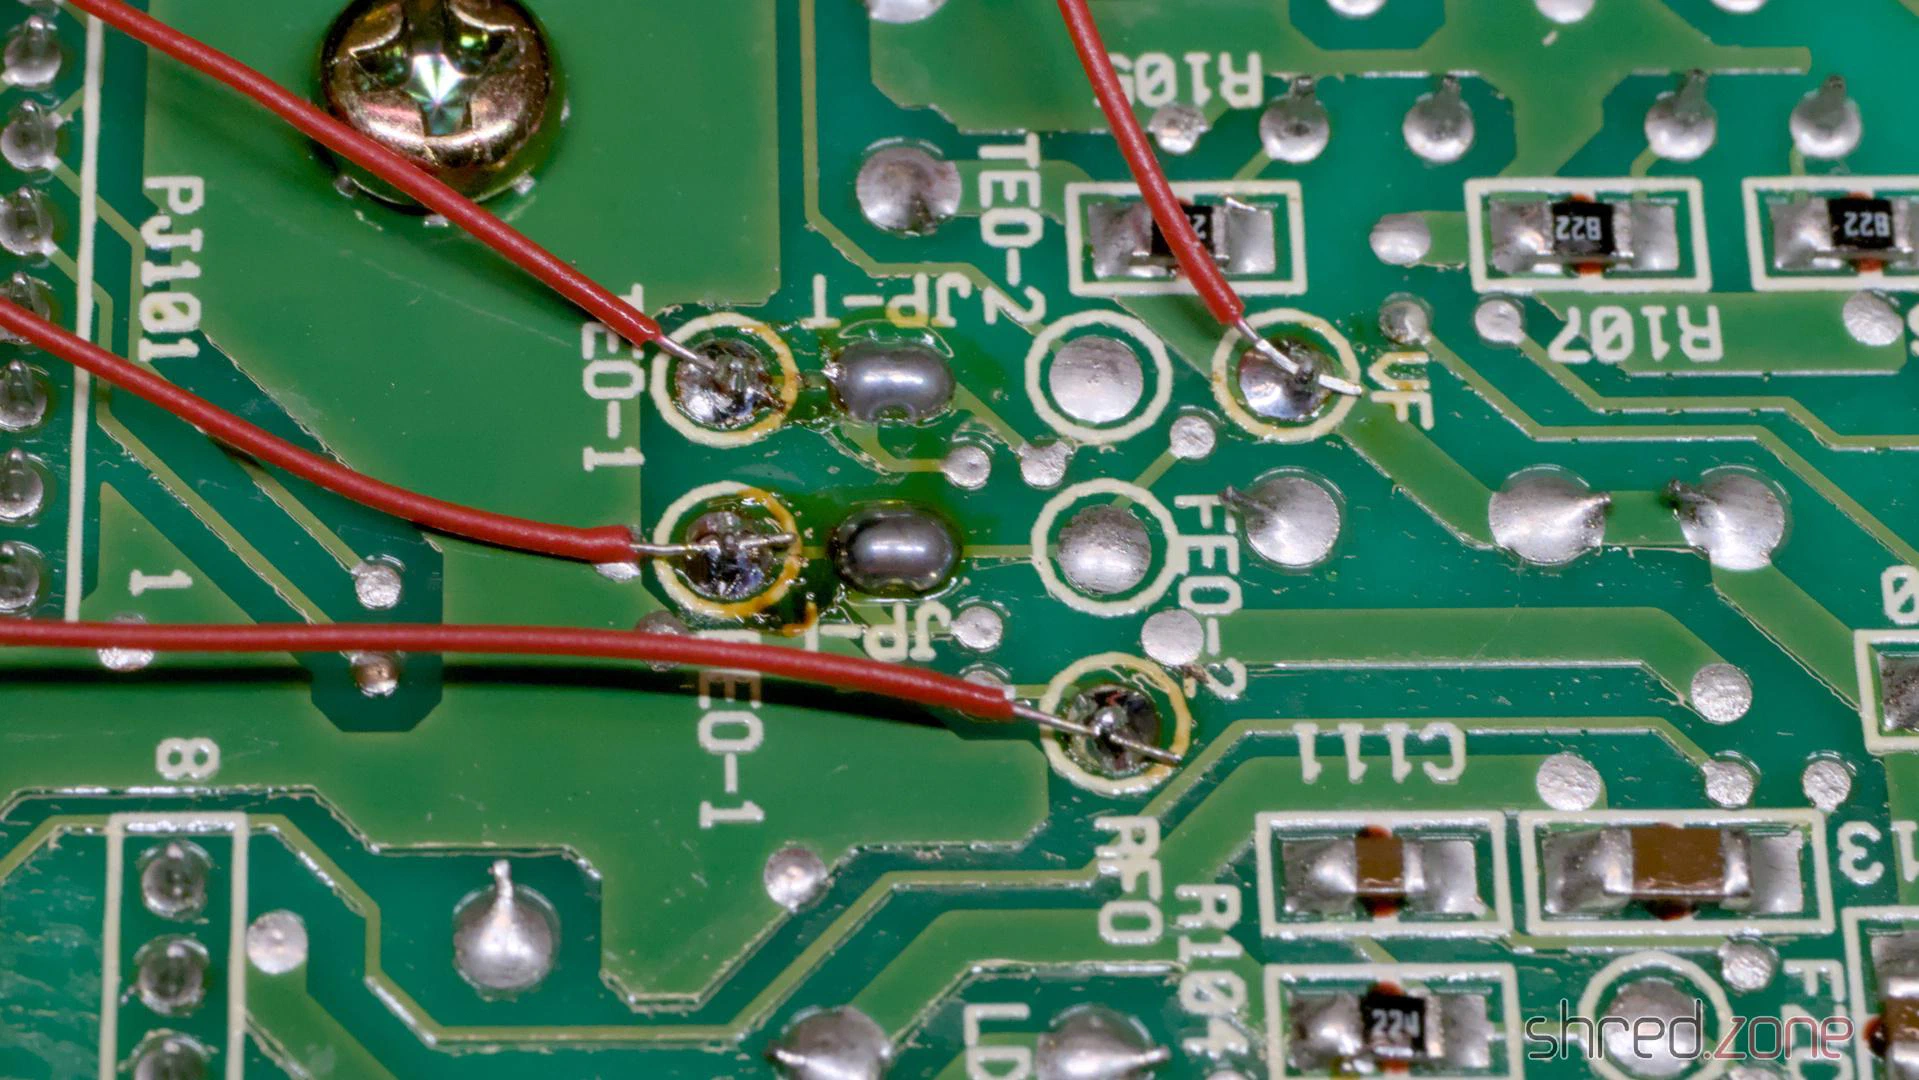
Afterwards, I soldered in new components and repaired the torn-off pads with bodge wire. For two SMD capacitors, the board alternatively offered the use of TH capacitors, which suited me very well. Visually, this corner doesn’t look like much anymore, but it should work again.
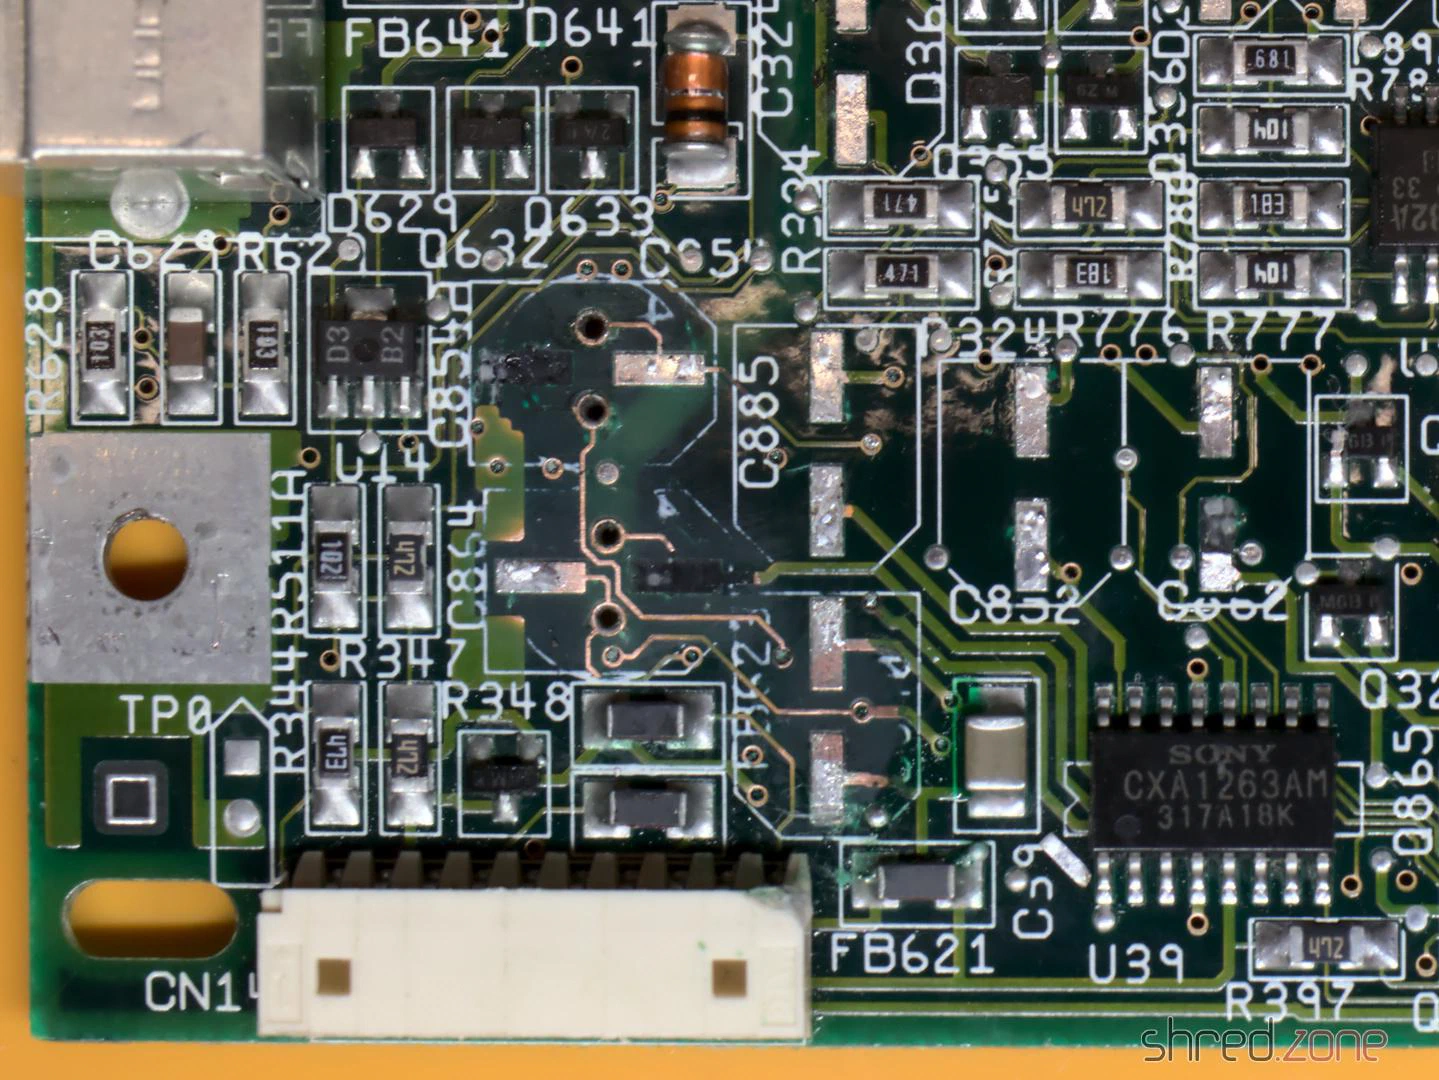
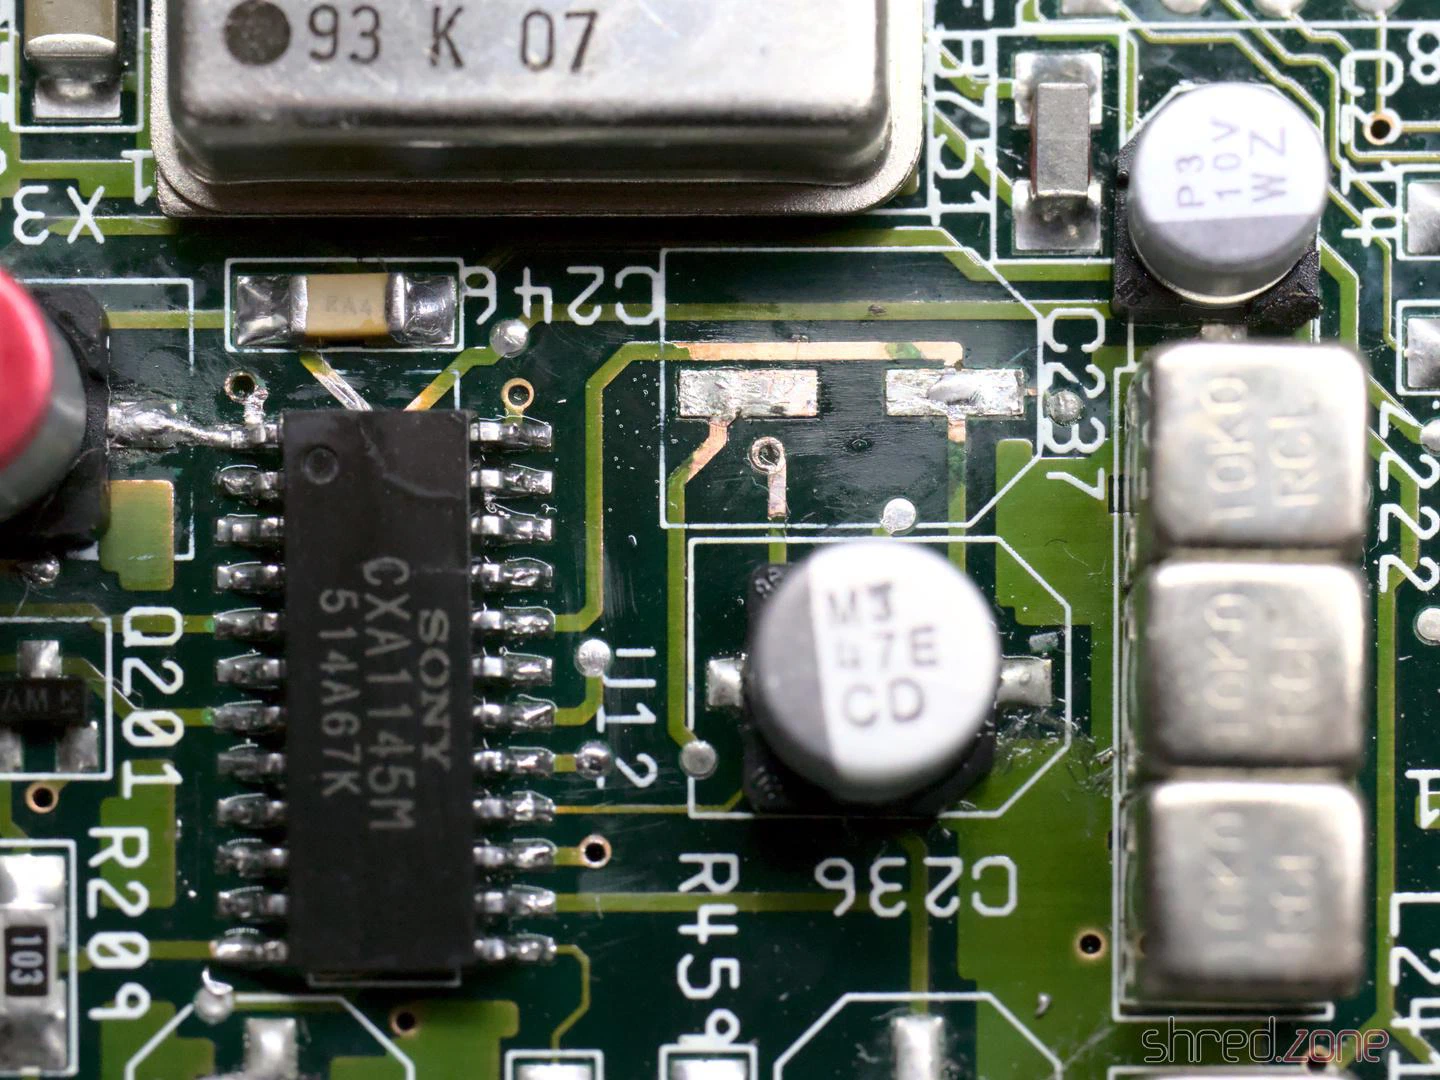
When I buzzed out the tracks and vias on the other 100µF SMD capacitors, I found further breaks at C236 and C237. They carry the luma and composite video signals and would be an explanation for why the picture stays black.
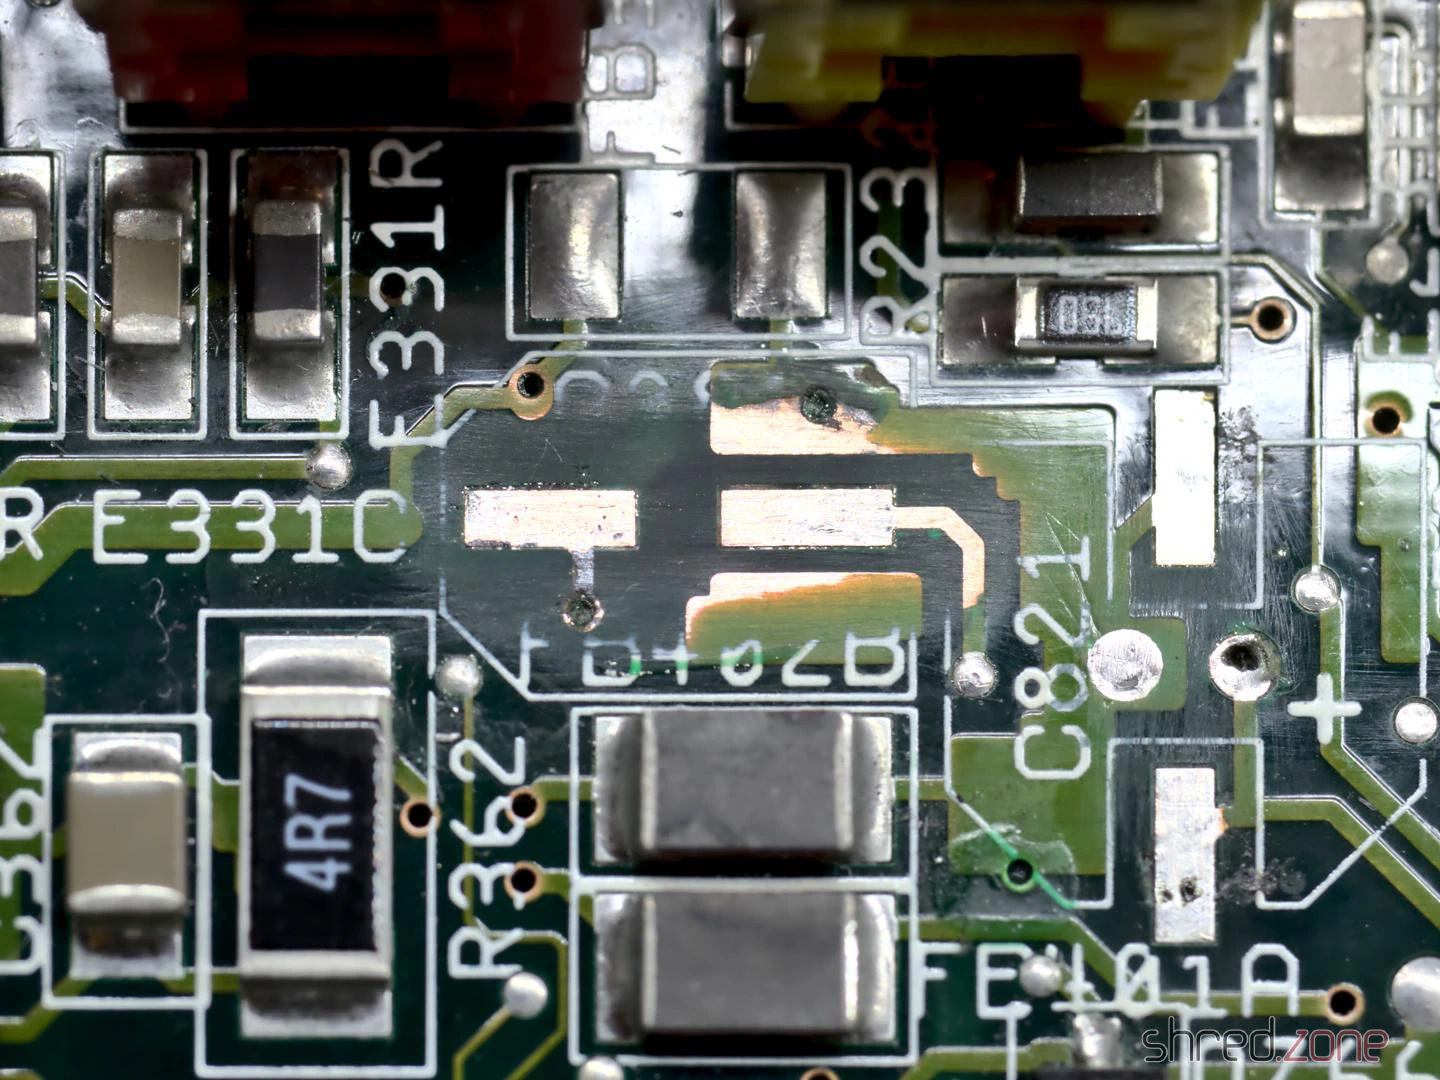
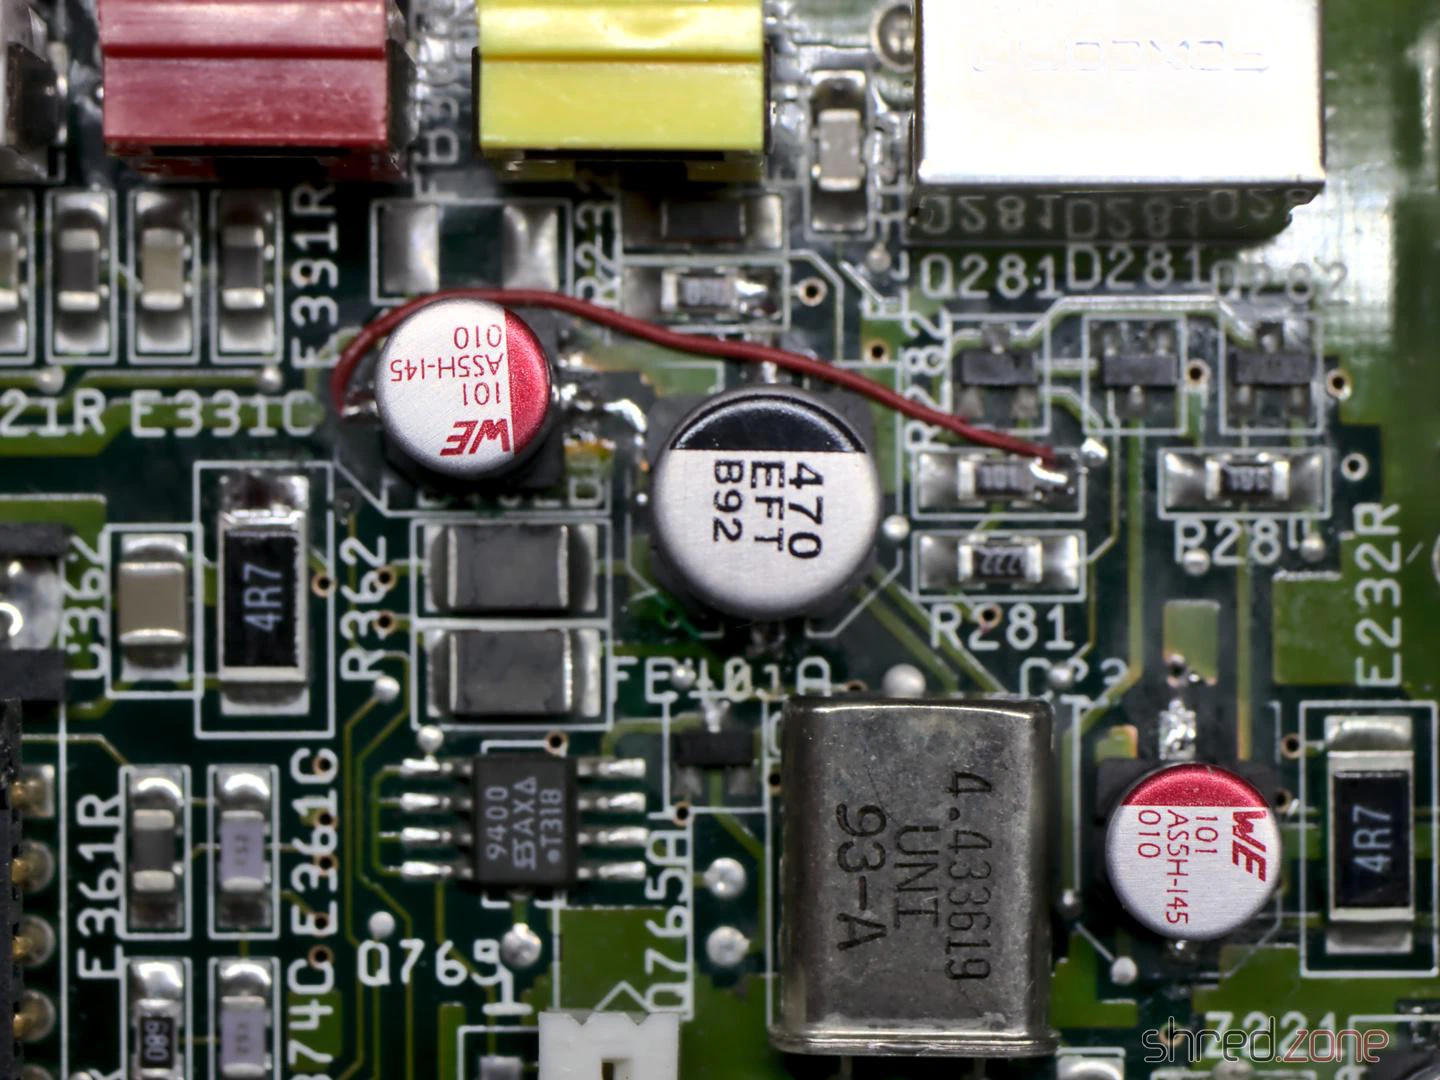
I also found a broken via near C409, which carries the CSYNC signal. As a result, the video sync signal is missing at the outputs. I repaired it by drilling out the via, exposing the connected tracks on both sides, then threading a thin wire through the hole and soldering it to the tracks. (Note: This only works if the via has no connection to one of the inner layers of the board, which was the case here.)
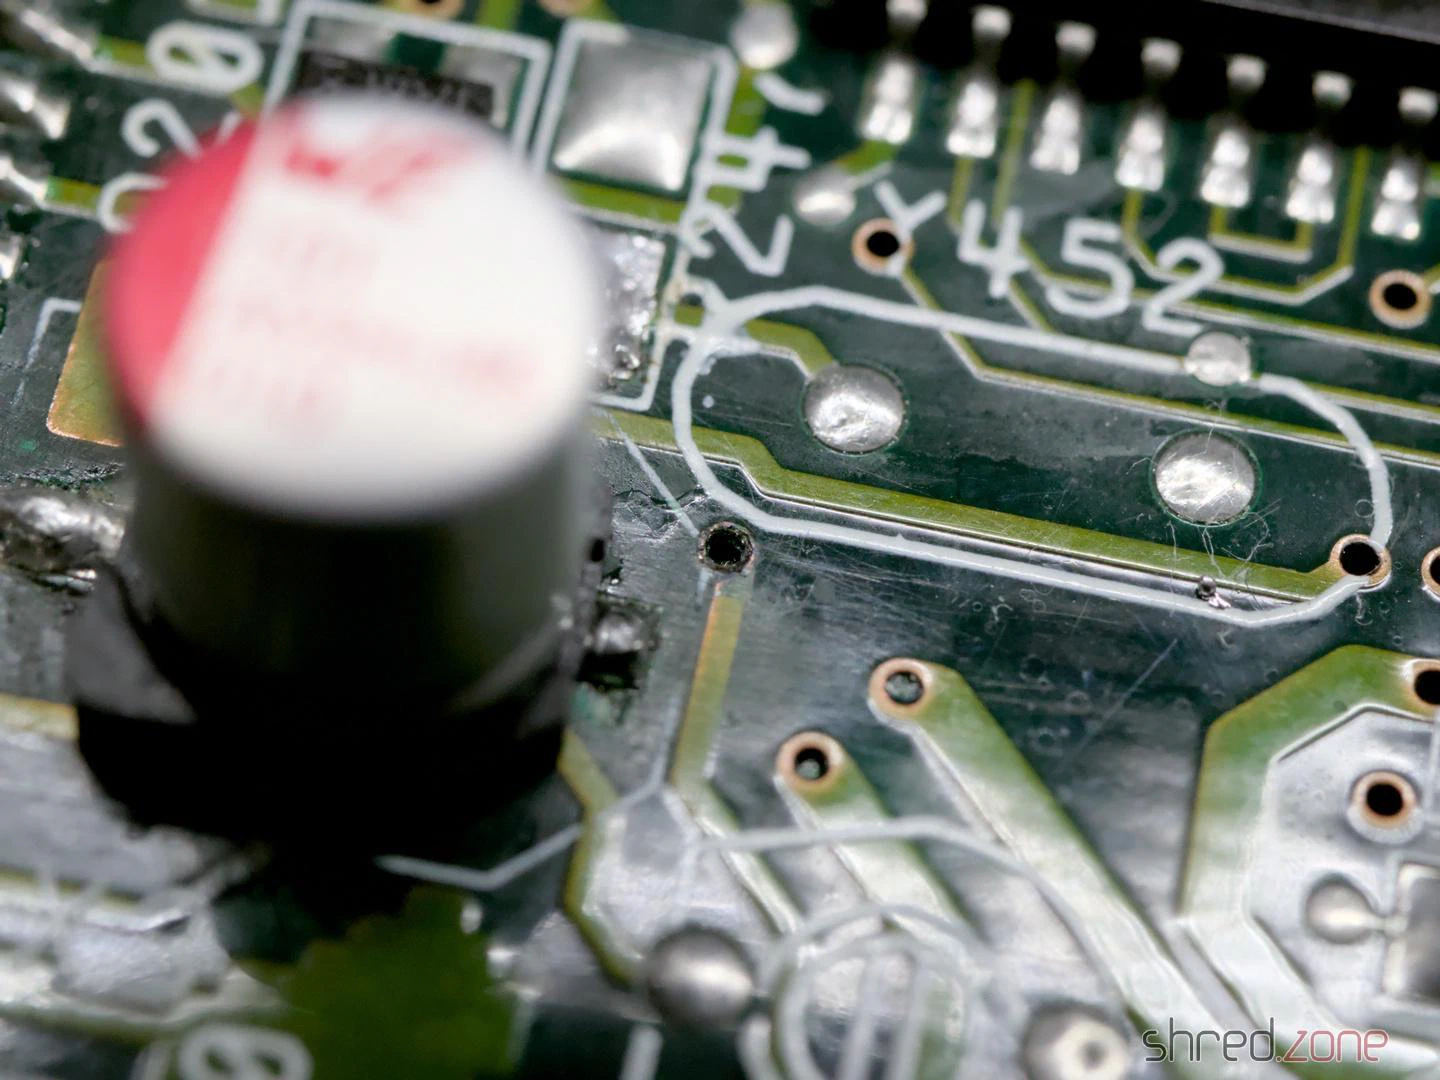
Overall, there were several reasons why the machine no longer showed a video picture.
By the way, two TH capacitors on the board have a peculiarity. At C408 and C811, the silkscreen shows the positive pole on the wrong side. This led to even Commodore soldering the capacitors in the wrong way round from the factory, which is why you will find quite a few CD³²s with bulging capacitors in this spot. I decided to solder in SMD capacitors there too, which can be soldered in as shown on the silkscreen.
So, power on, and to my surprise the Amiga worked again.
I checked all video and audio outputs and found a signal everywhere. The machine also ran stably. The mainboard was thus repaired and overhauled.
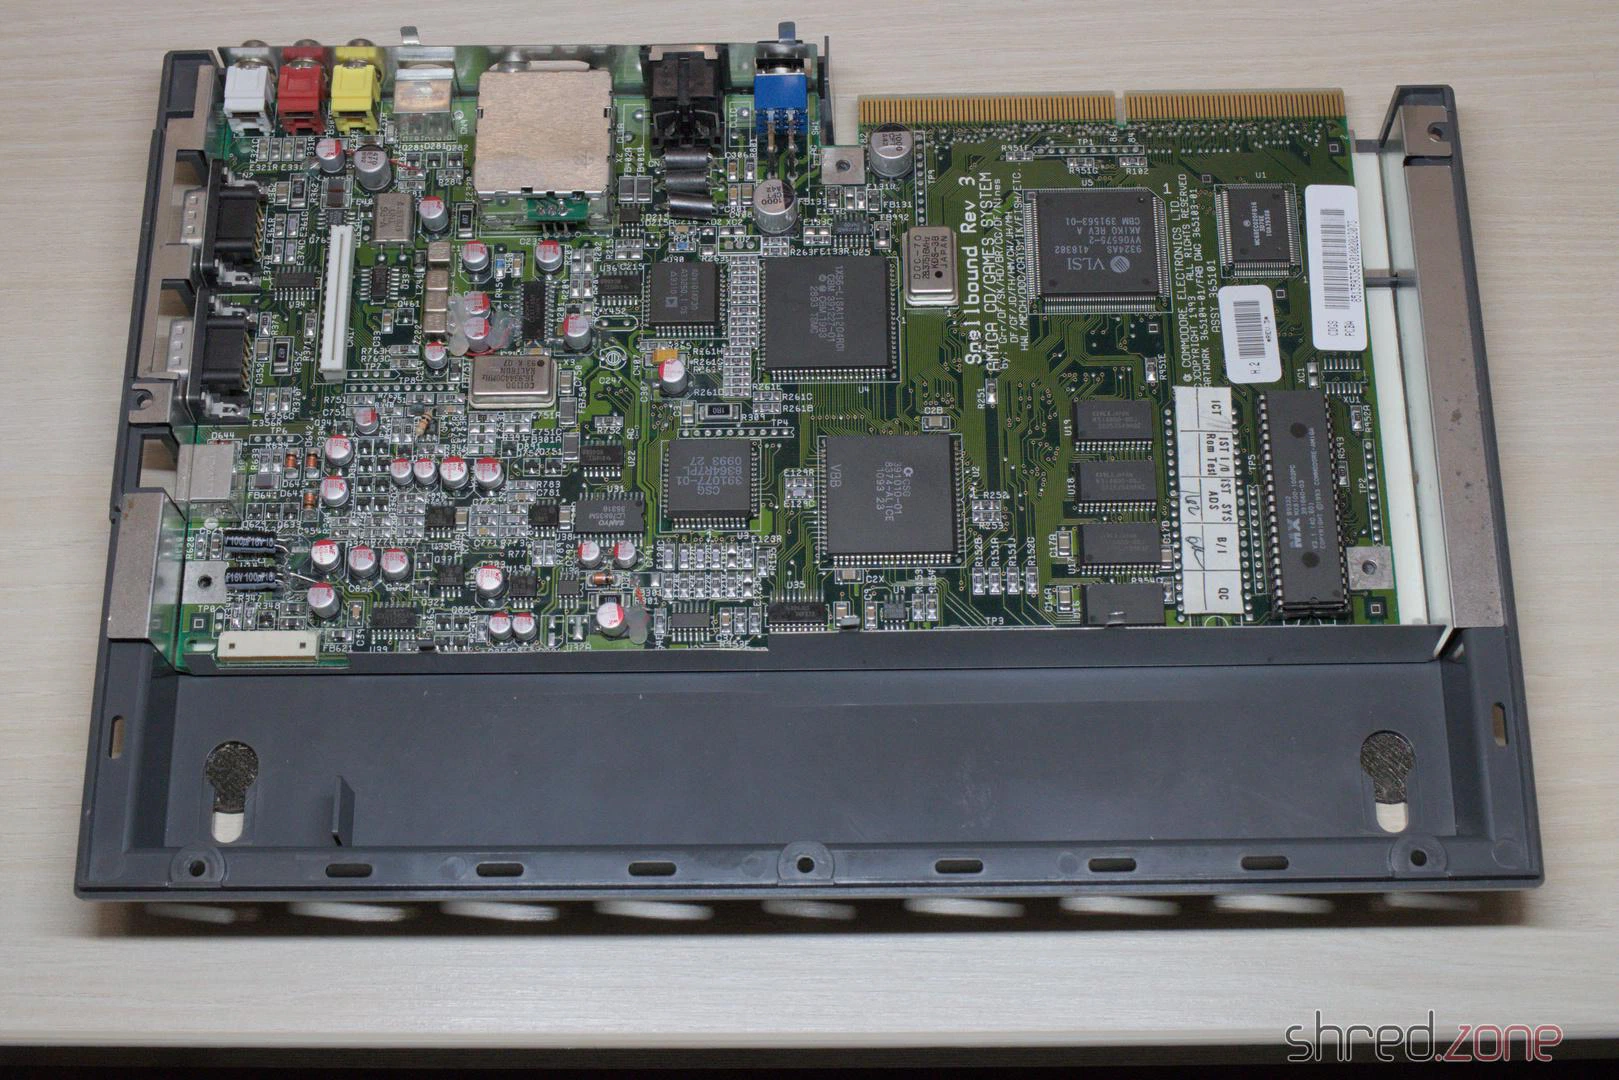
Even though it was an unexpectedly difficult affair, I am glad that I was able to repair the machine.
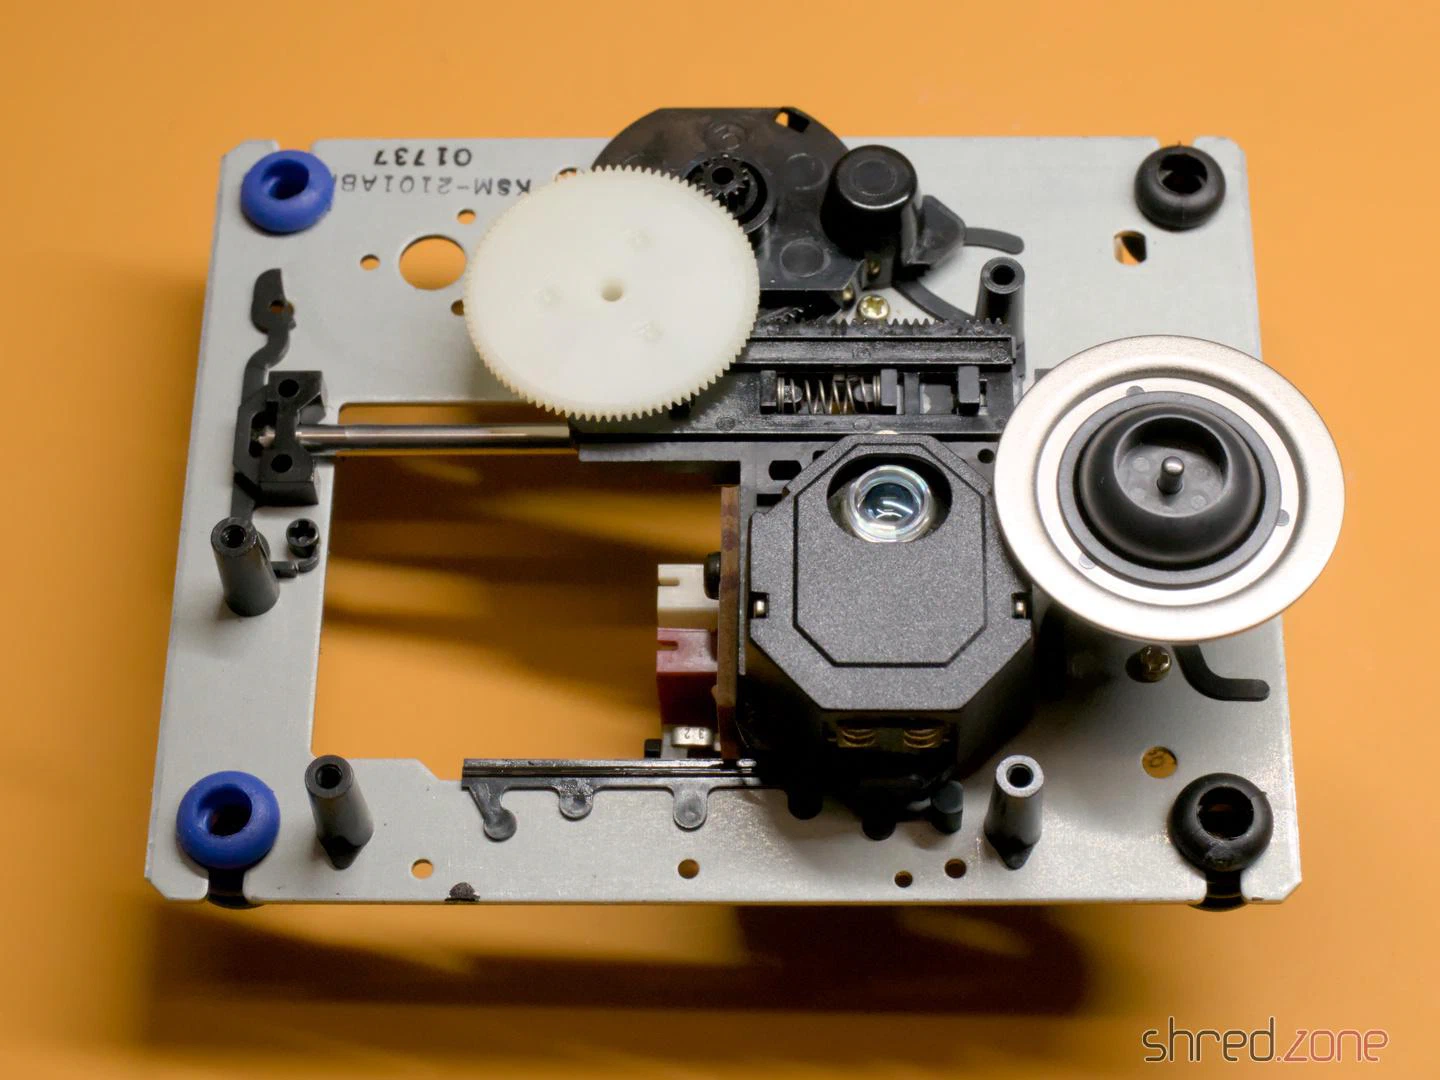
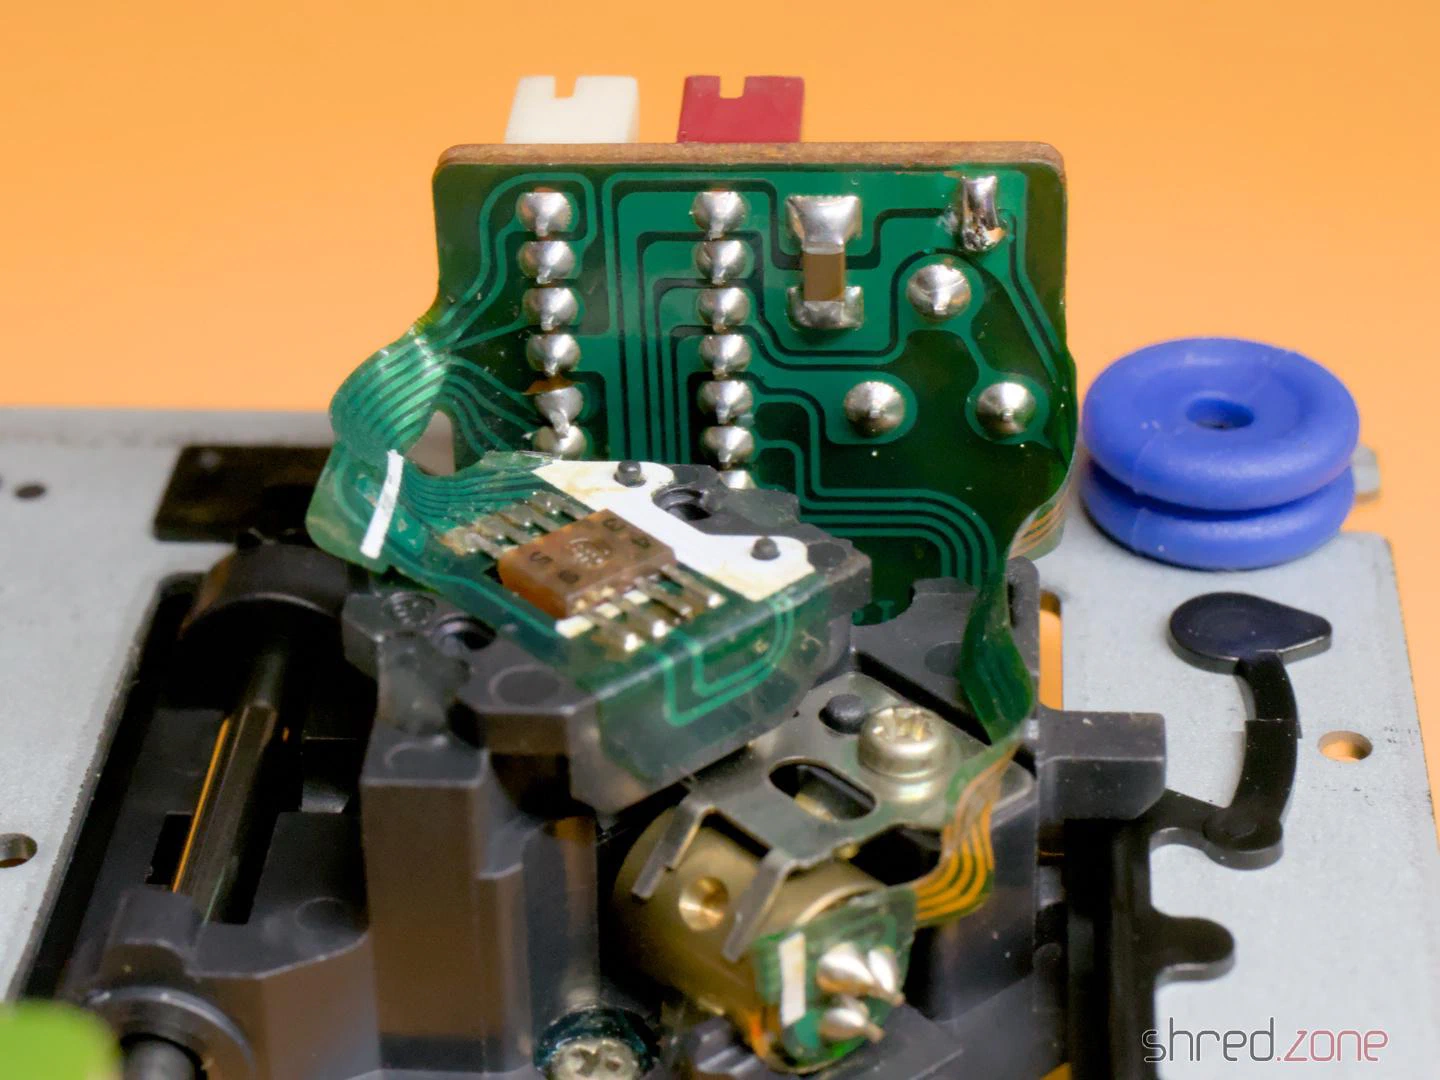
In the next part I will replace the laser module and calibrate the CD drive.