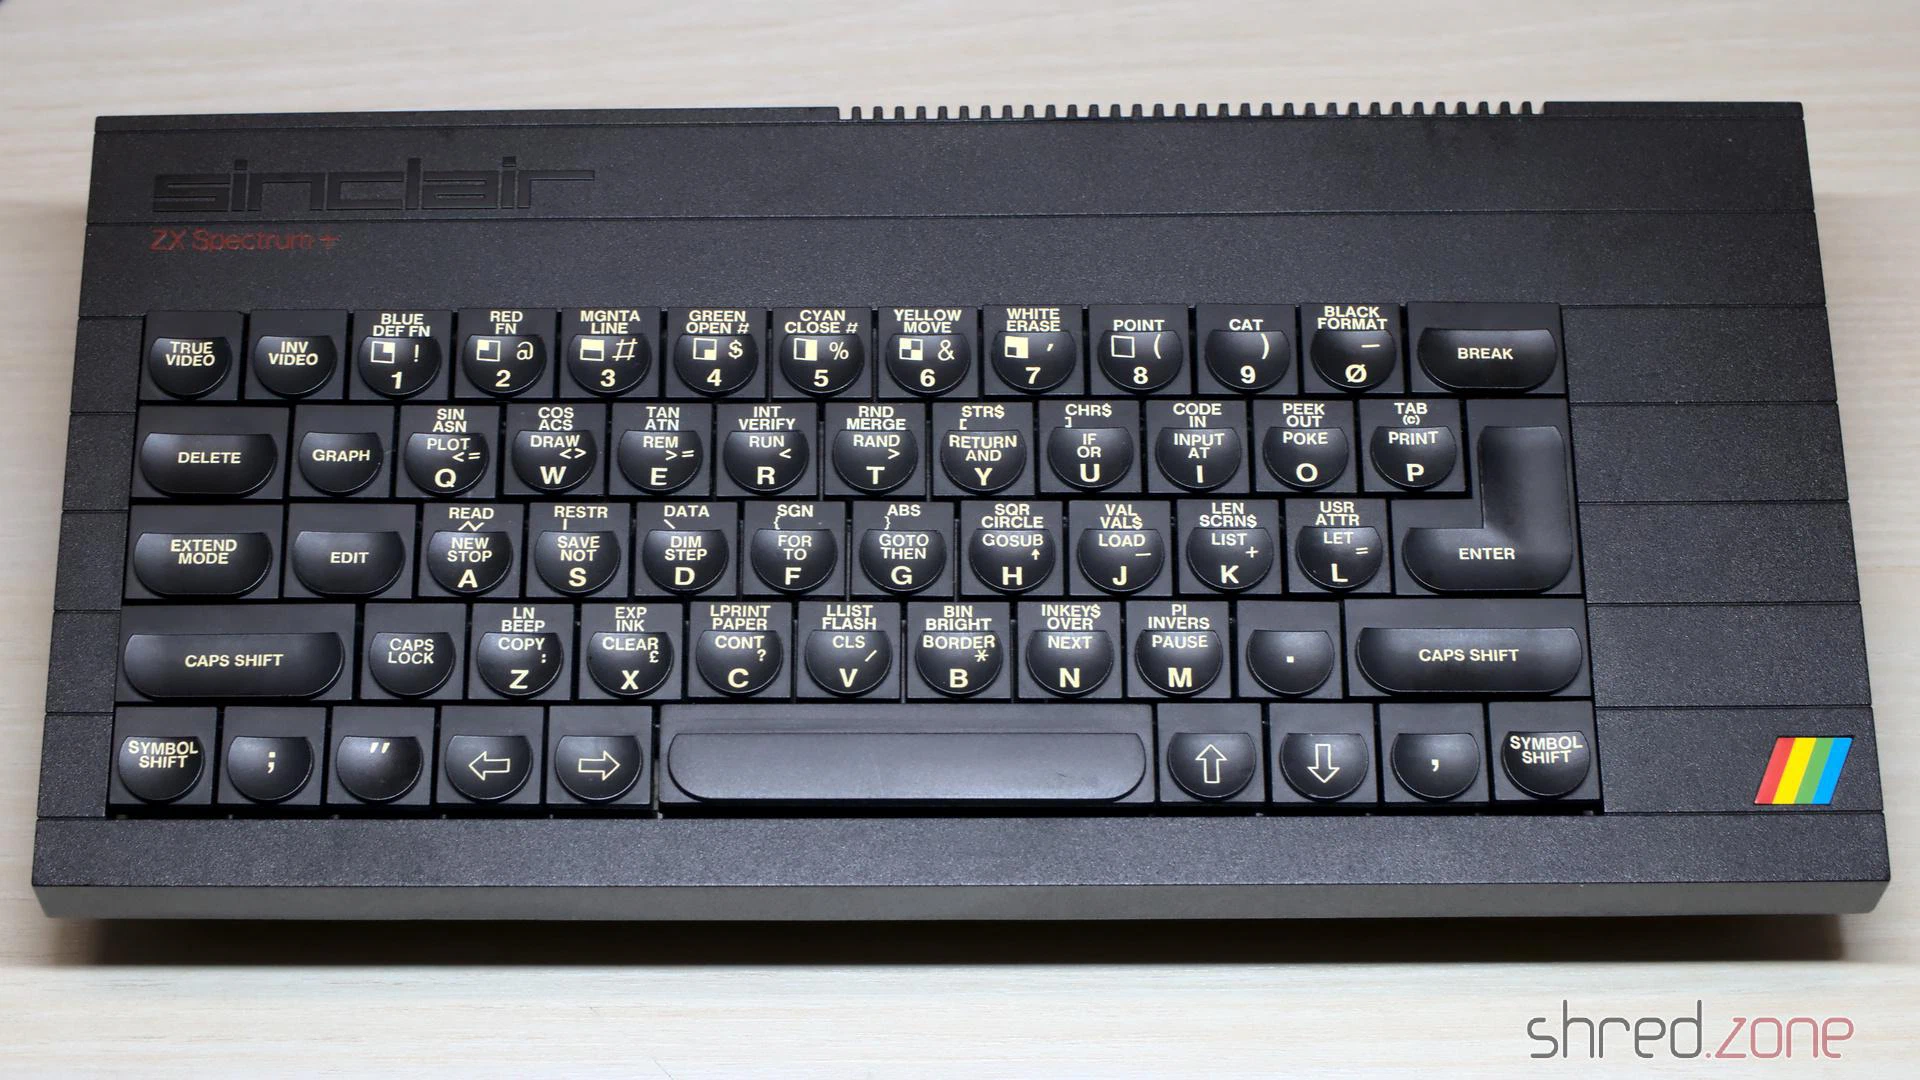
Let’s take a look inside a ZX Spectrum Plus. Basically, it’s the same as a ZX Spectrum, but with a (slightly) better keyboard and a reset button. However, this machine here held a few surprises.
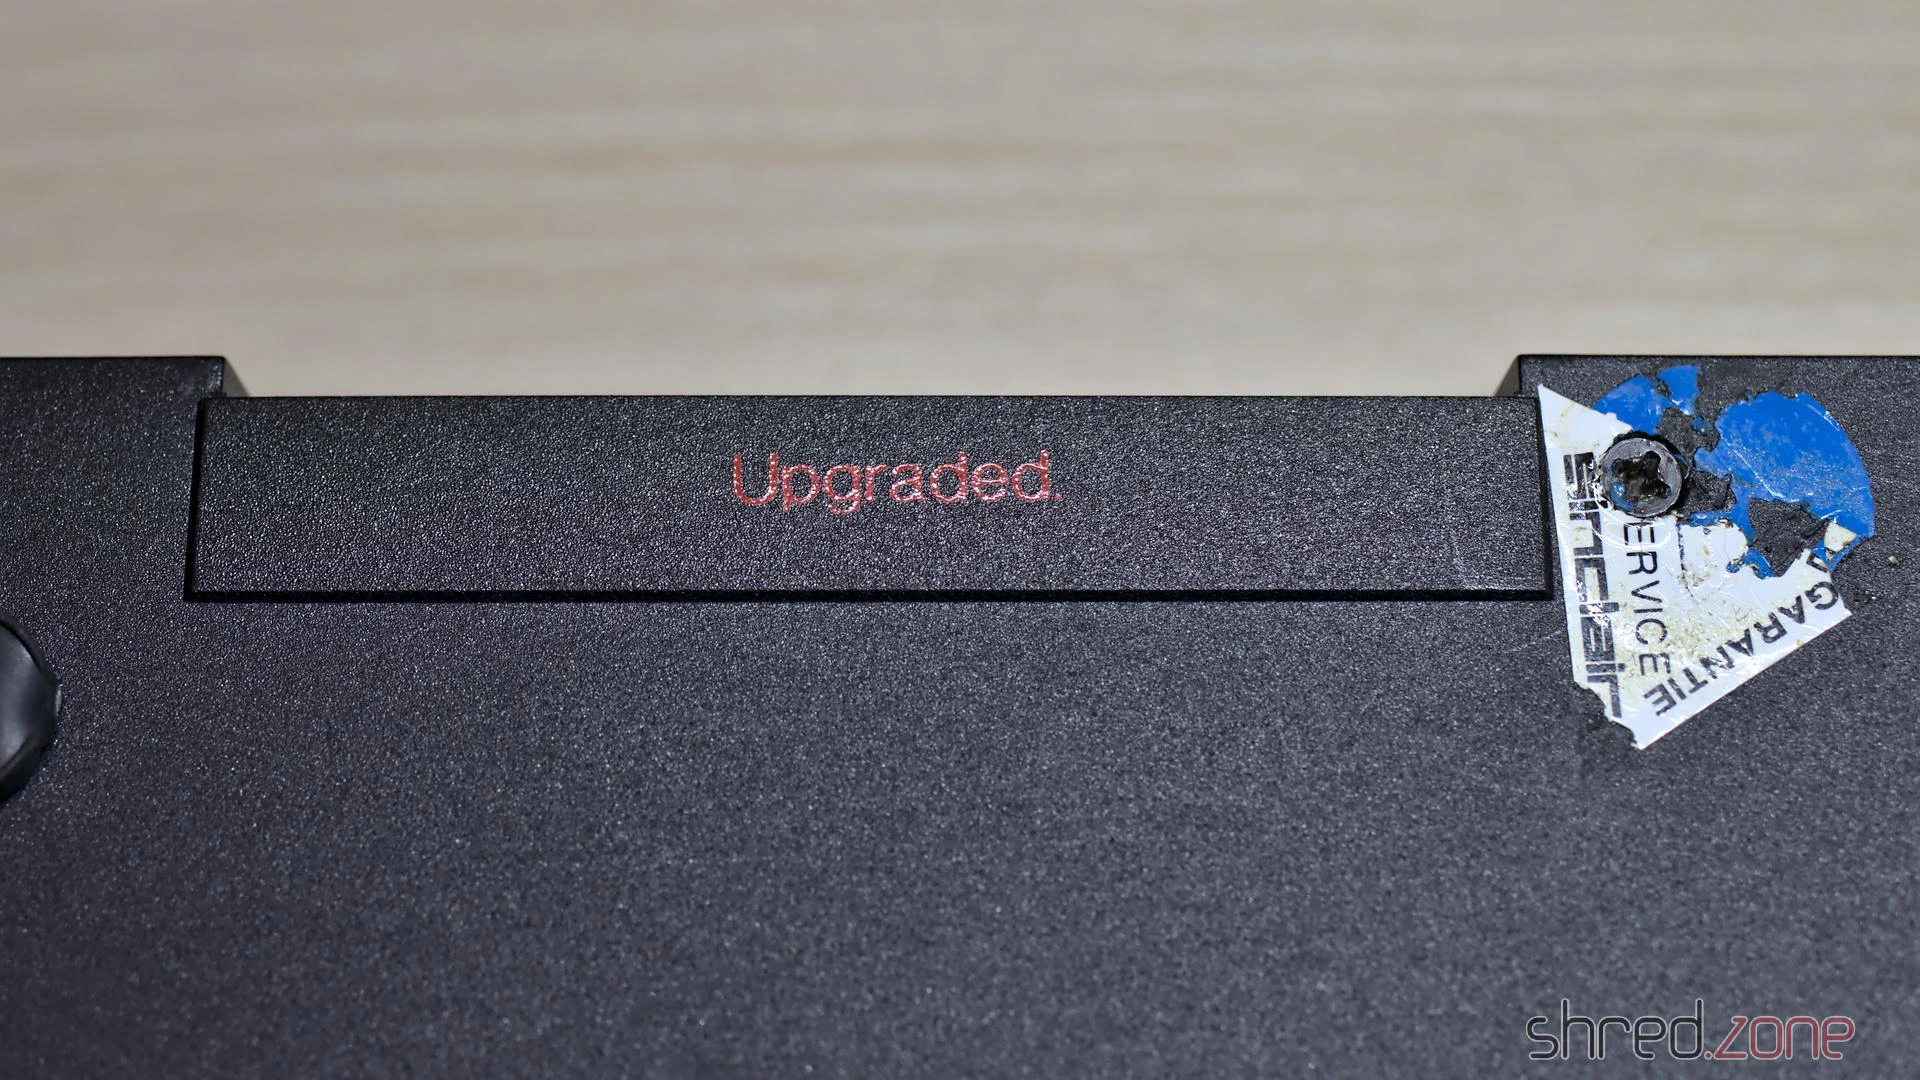
The first surprise was that instead of a serial number, the word “Upgraded” was stamped into the case. Next to it was a (damaged) warranty seal from Sinclair Germany. I didn’t know that Sinclair had sold upgrade packages for the ZX Spectrum.
Inside the case, I found an Issue Two board, which is a rare sight in a ZX Spectrum Plus. For an obvious reason: the Issue Two heatsink is too large for the Plus case, it only fits in at a very awkward angle.
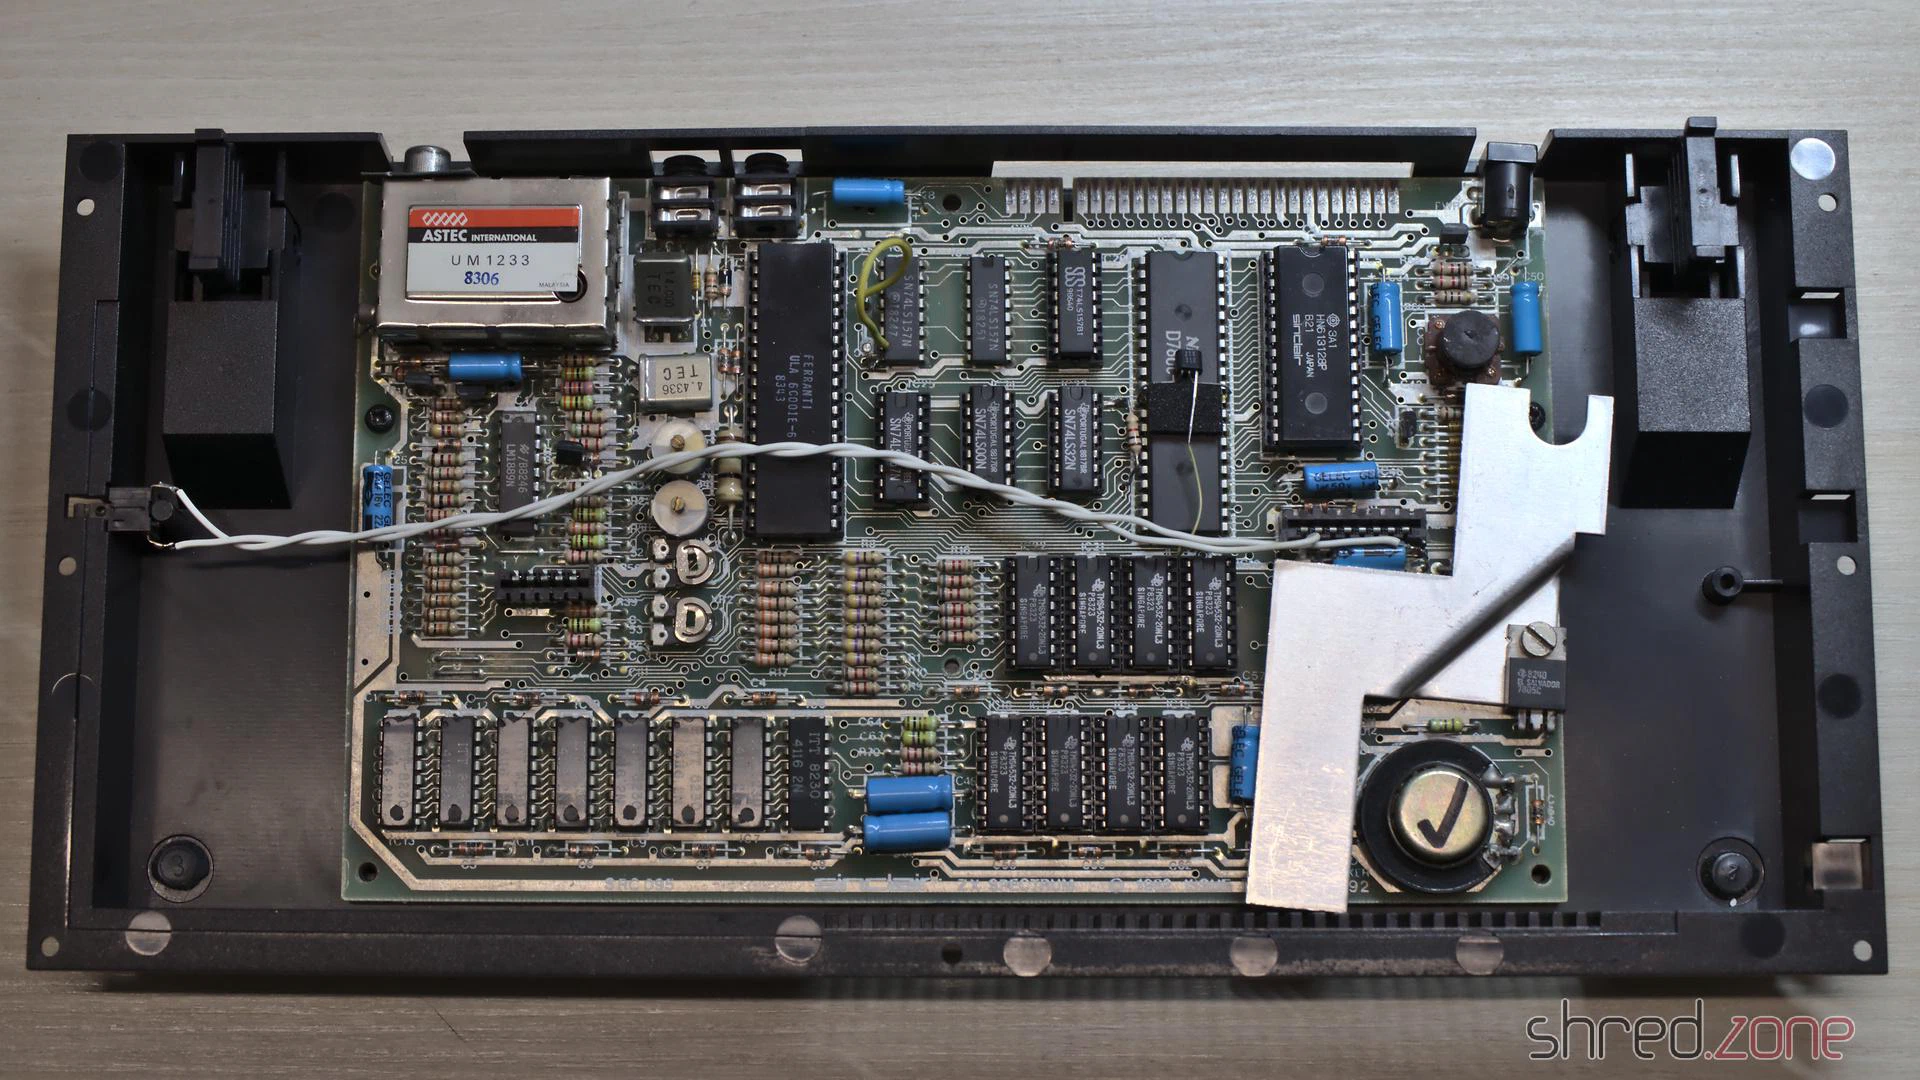
I will replace the 7805 with a DC/DC converter anyway, so the sight of this twisted heatsink will disappear too.
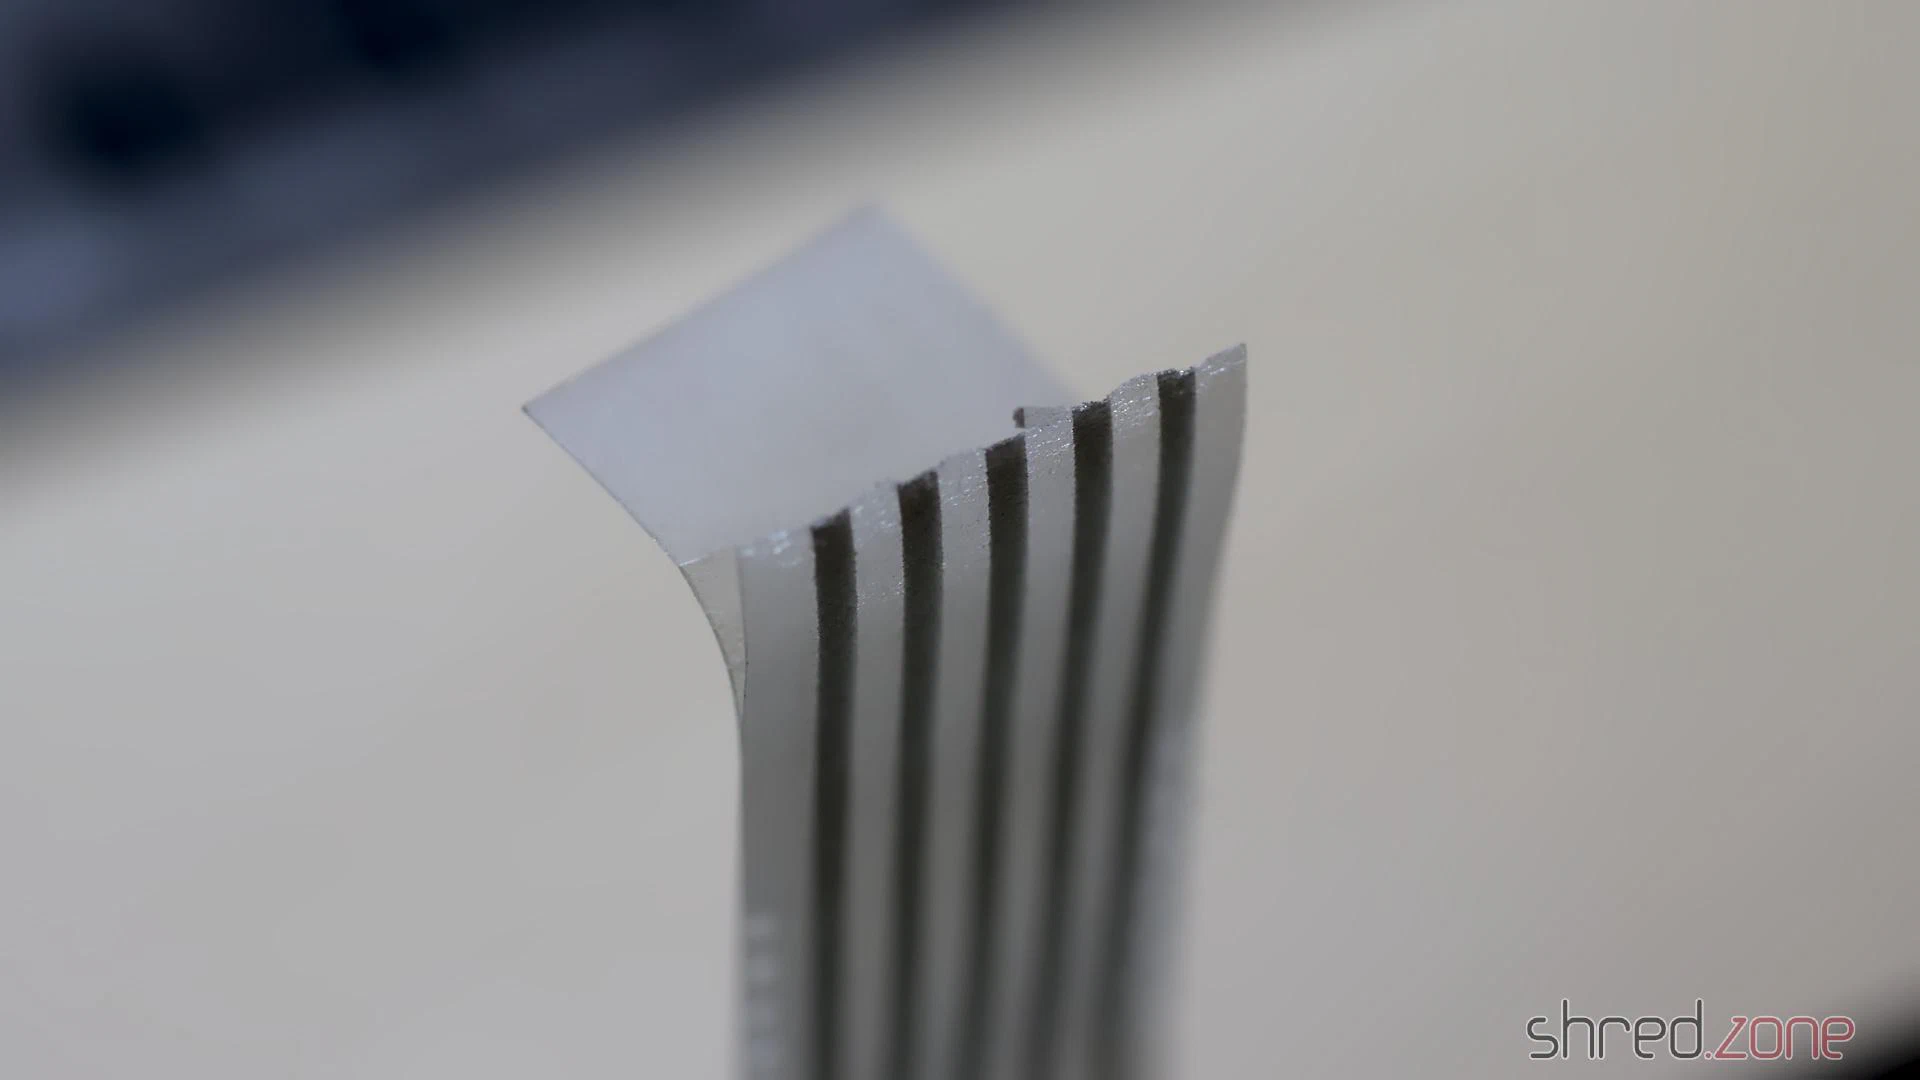
I also noticed that the keyboard membrane had become brittle over the years and had to be replaced with a modern replica.
Technical Check
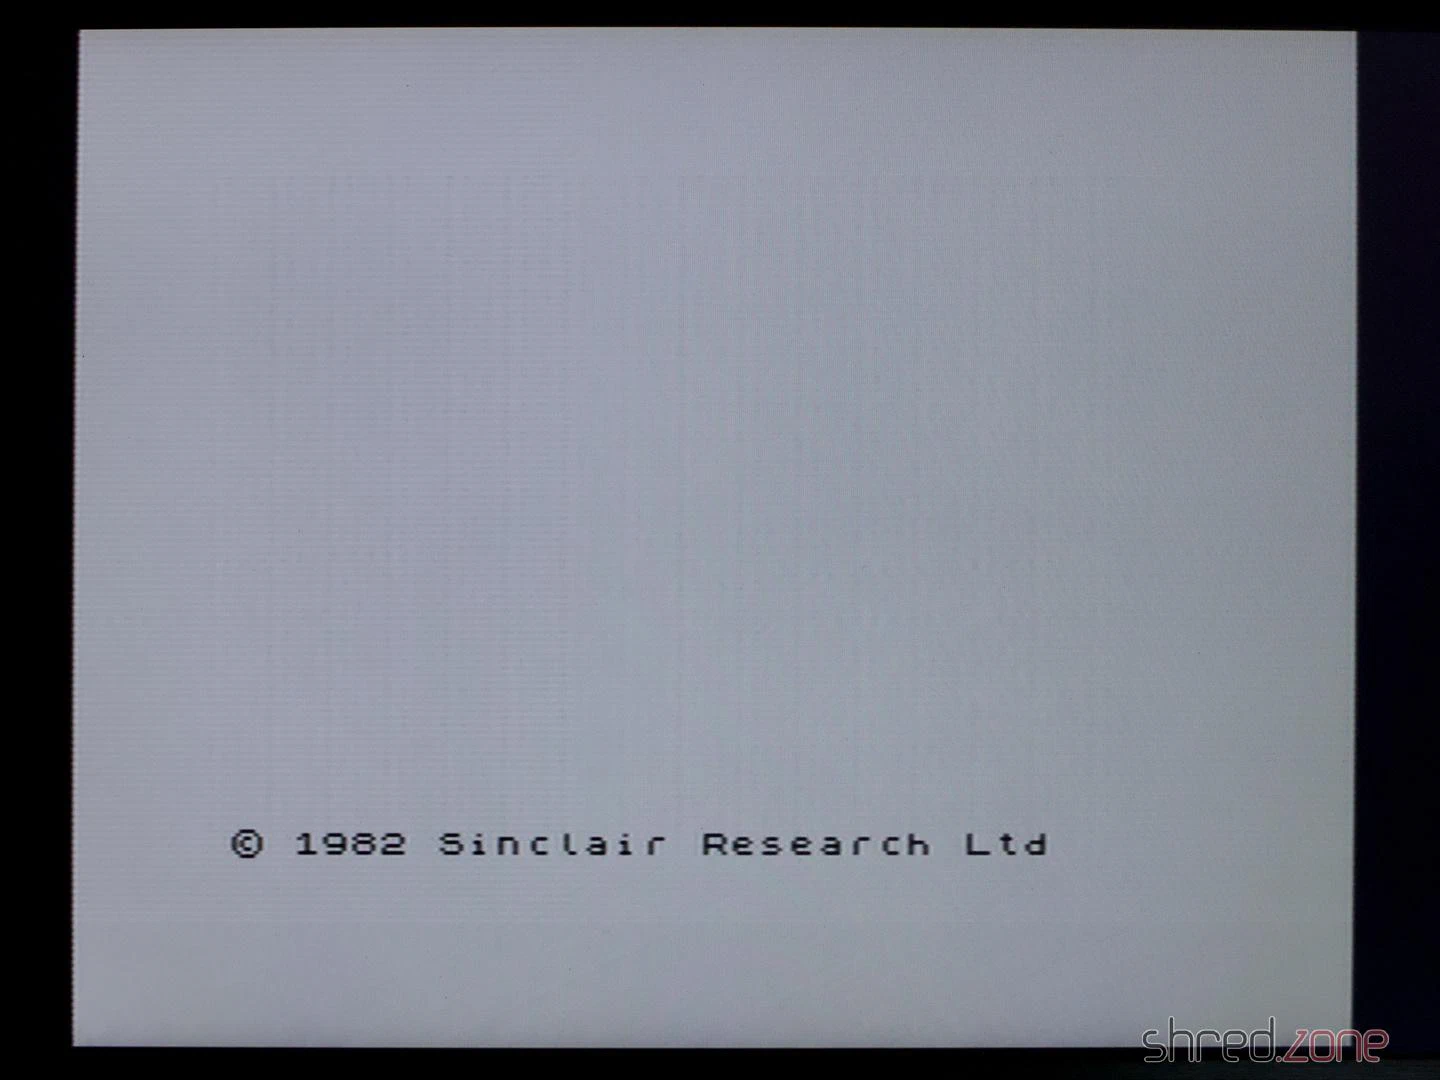
The very first thing I do is the Composite Mod. It only takes a piece of wire and a few minutes with the soldering iron. It’s always worth investing the time, even if the Speccy turns out to be beyond repair later. However, a first check showed the start screen, so everything seemed fine at first.
Then I plugged in the diagnostic module, and the trouble began.
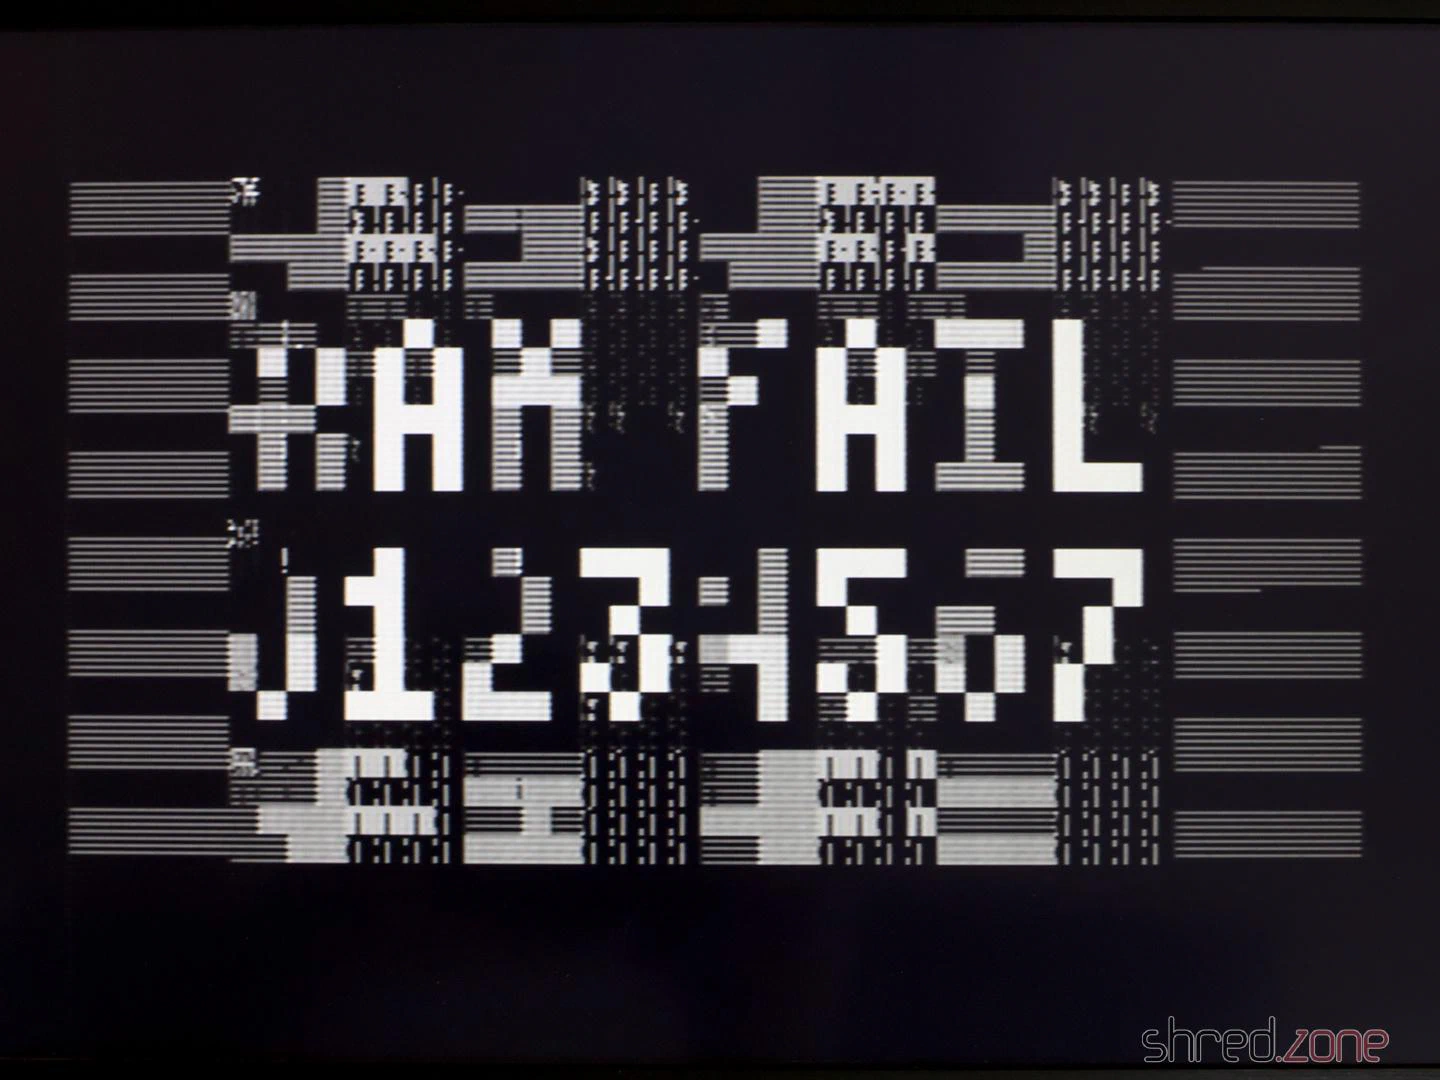
The diagnostics reported that all eight lower RAM chips were faulty. The LEDs on the module showed that -5V and 12V were missing. A voltmeter confirmed that -5V had failed and only 7V was present on the 12V line. So the voltage converter seemed to be faulty. I found it strange: when I unplugged the diagnostic module, the system started up again, even though both voltages were still missing.
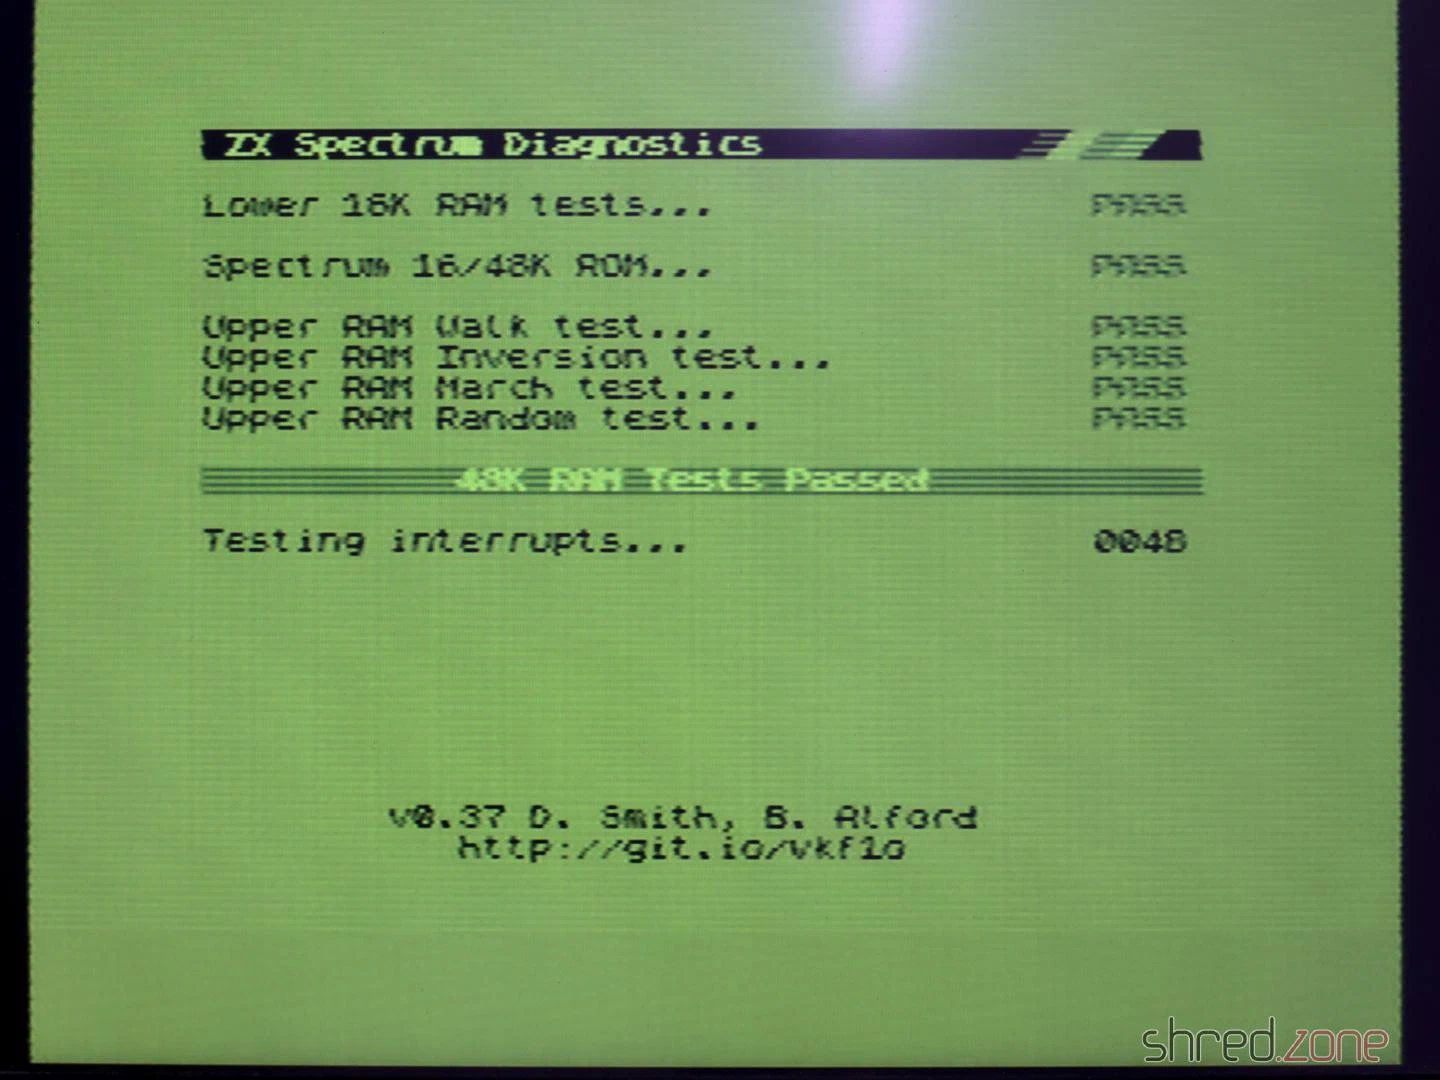
I checked the coil, but it had no short circuit between the windings. So I replaced the usual suspects of a faulty voltage converter: TR4, D15, and D16. I also replaced the 7805 with a DC/DC converter as planned and renewed all electrolytic capacitors. The -5V and 12V were fine after that, and all diagnostic tests were passed.
The repair wasn’t successful, though. Because now the screen had a strong green tint, the colours were pale, and there were visible horizontal lines.
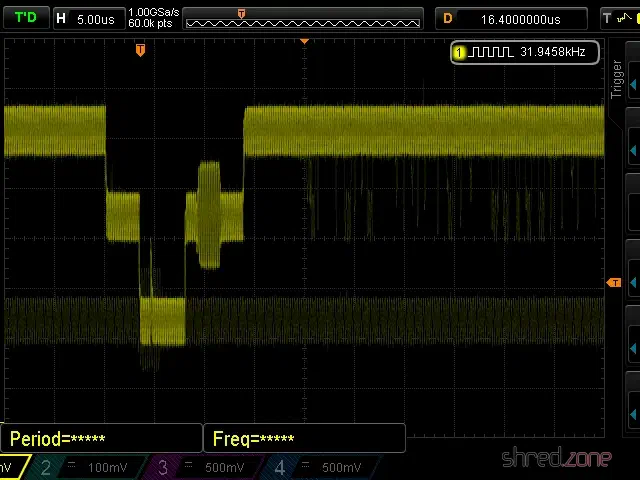
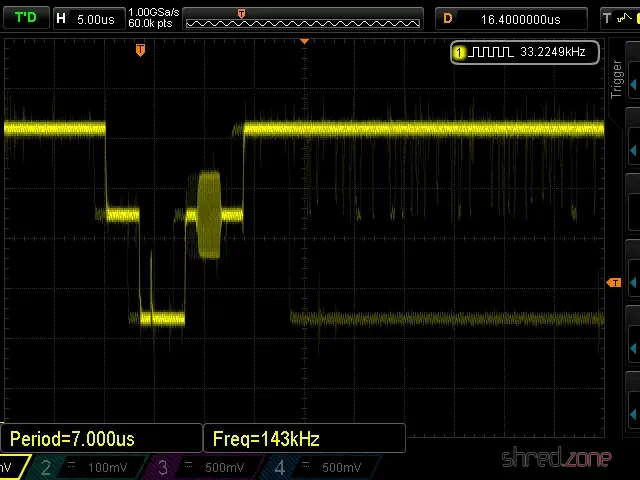
On Issue Two boards, there are two potentiometers for calibrating the white balance. You just need to connect an oscilloscope to the composite line and then adjust both pots until the signal noise is reduced to a minimum. But I could only slightly improve the green tint; it didn’t disappear completely. The annoying horizontal lines remained as well.
That was the best I could get out of the signal. And that is pretty dismal.
Why was the white balance perfect before I repaired the voltage converter? I found out that the 12V is necessary for generating the colour signal. Because of the faulty voltage converter, the 12V was missing, and so the image was displayed in monochrome. But since the start screen doesn’t use colours anyway, everything seemed fine. After I repaired the 12V, a colour signal was generated again, and the image suddenly got a colour cast.
I initially suspected the ULA, but the problem persisted when I swapped it for a working one. Then I swapped the LM1889N. The strange horizontal lines disappeared, and the colours got a bit better too, but still not perfect.
I still couldn’t set a clean white with the pots. Then I noticed that pot VR1 wasn’t working very well and crackled when adjusted. So I replaced it with an encapsulated one from Piher that just about fitted. After that, I was finally able to calibrate the signal so that it had minimal noise. Still not perfect, but good enough.
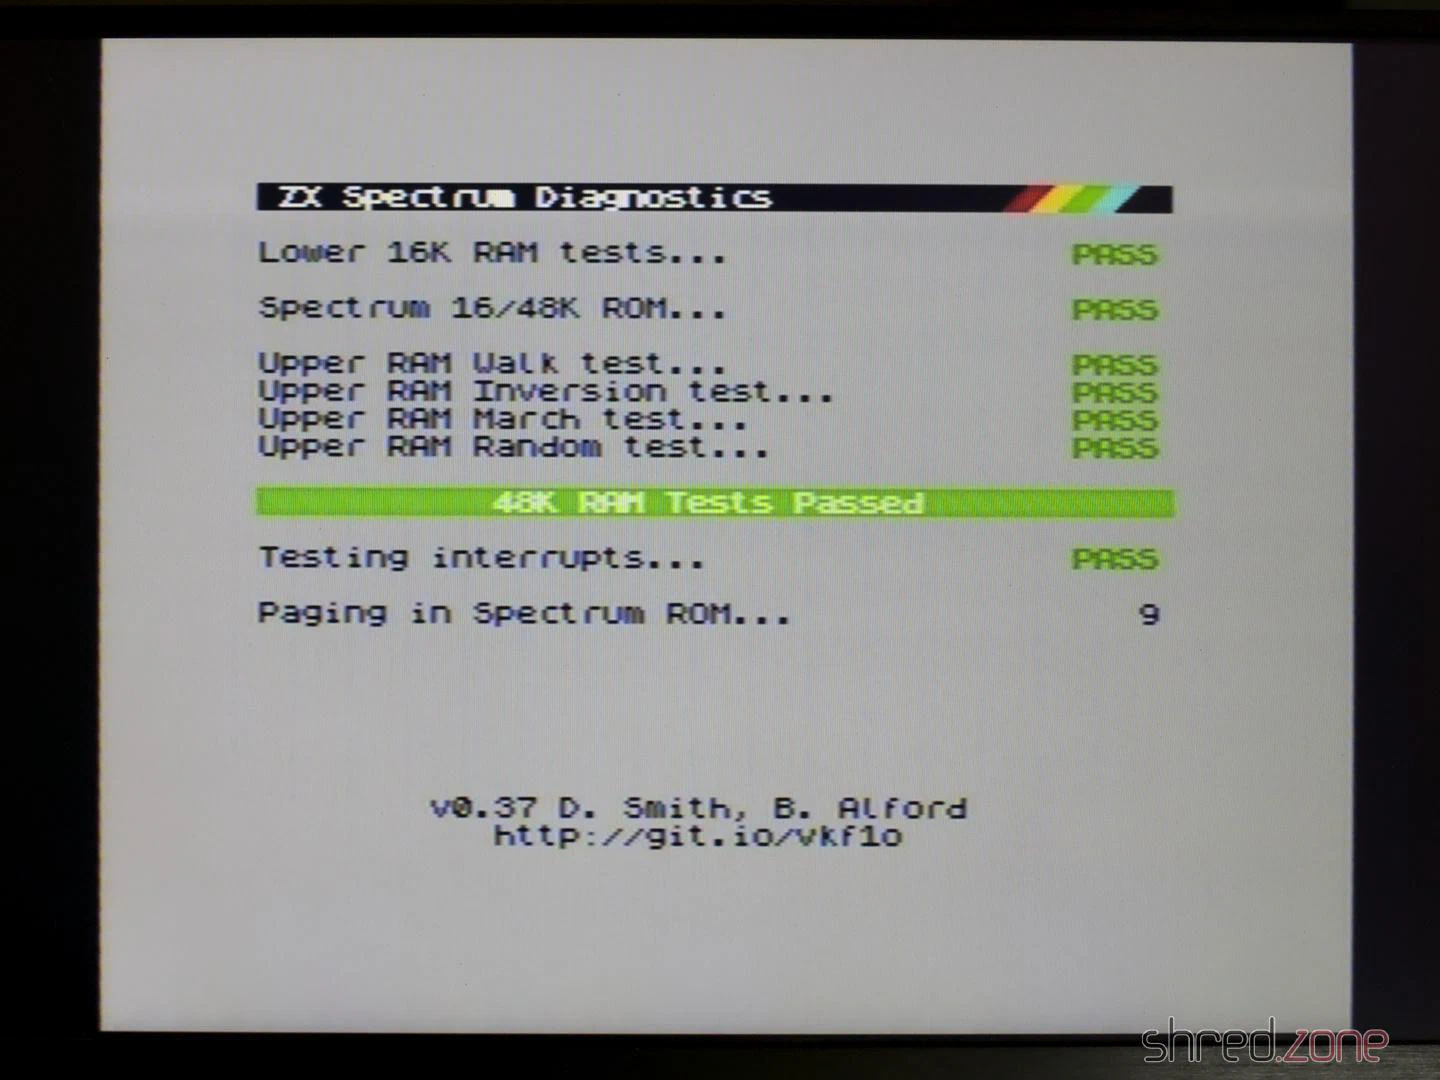
The result was a picture with a good white balance, where the passed diagnostic tests were the only green things.
As a test, I reinstalled the previous LM1889N again, and the colour problems as well as the horizontal lines returned. So the green screen problem was a combination of a faulty LM1889N and a faulty potentiometer.
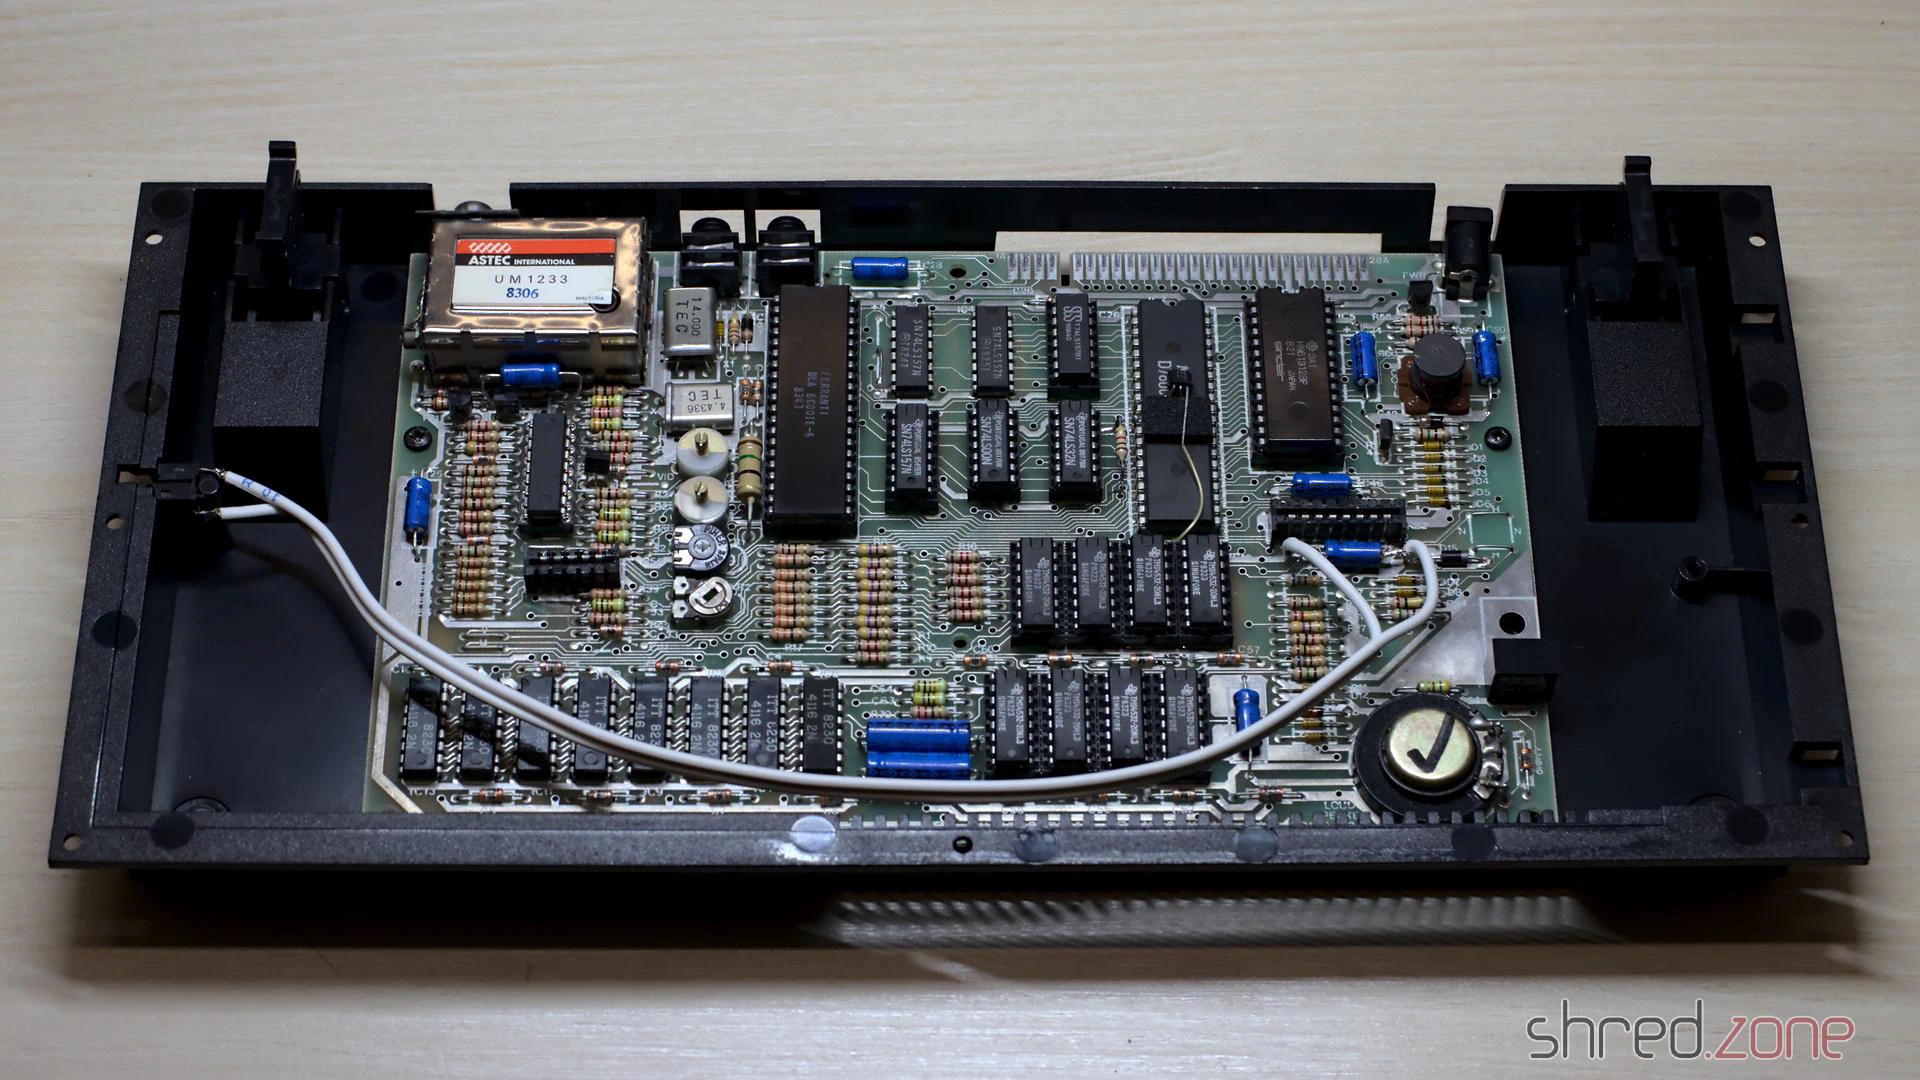
The hardware part is finished. Let’s look at the keyboard next.
The Keyboard
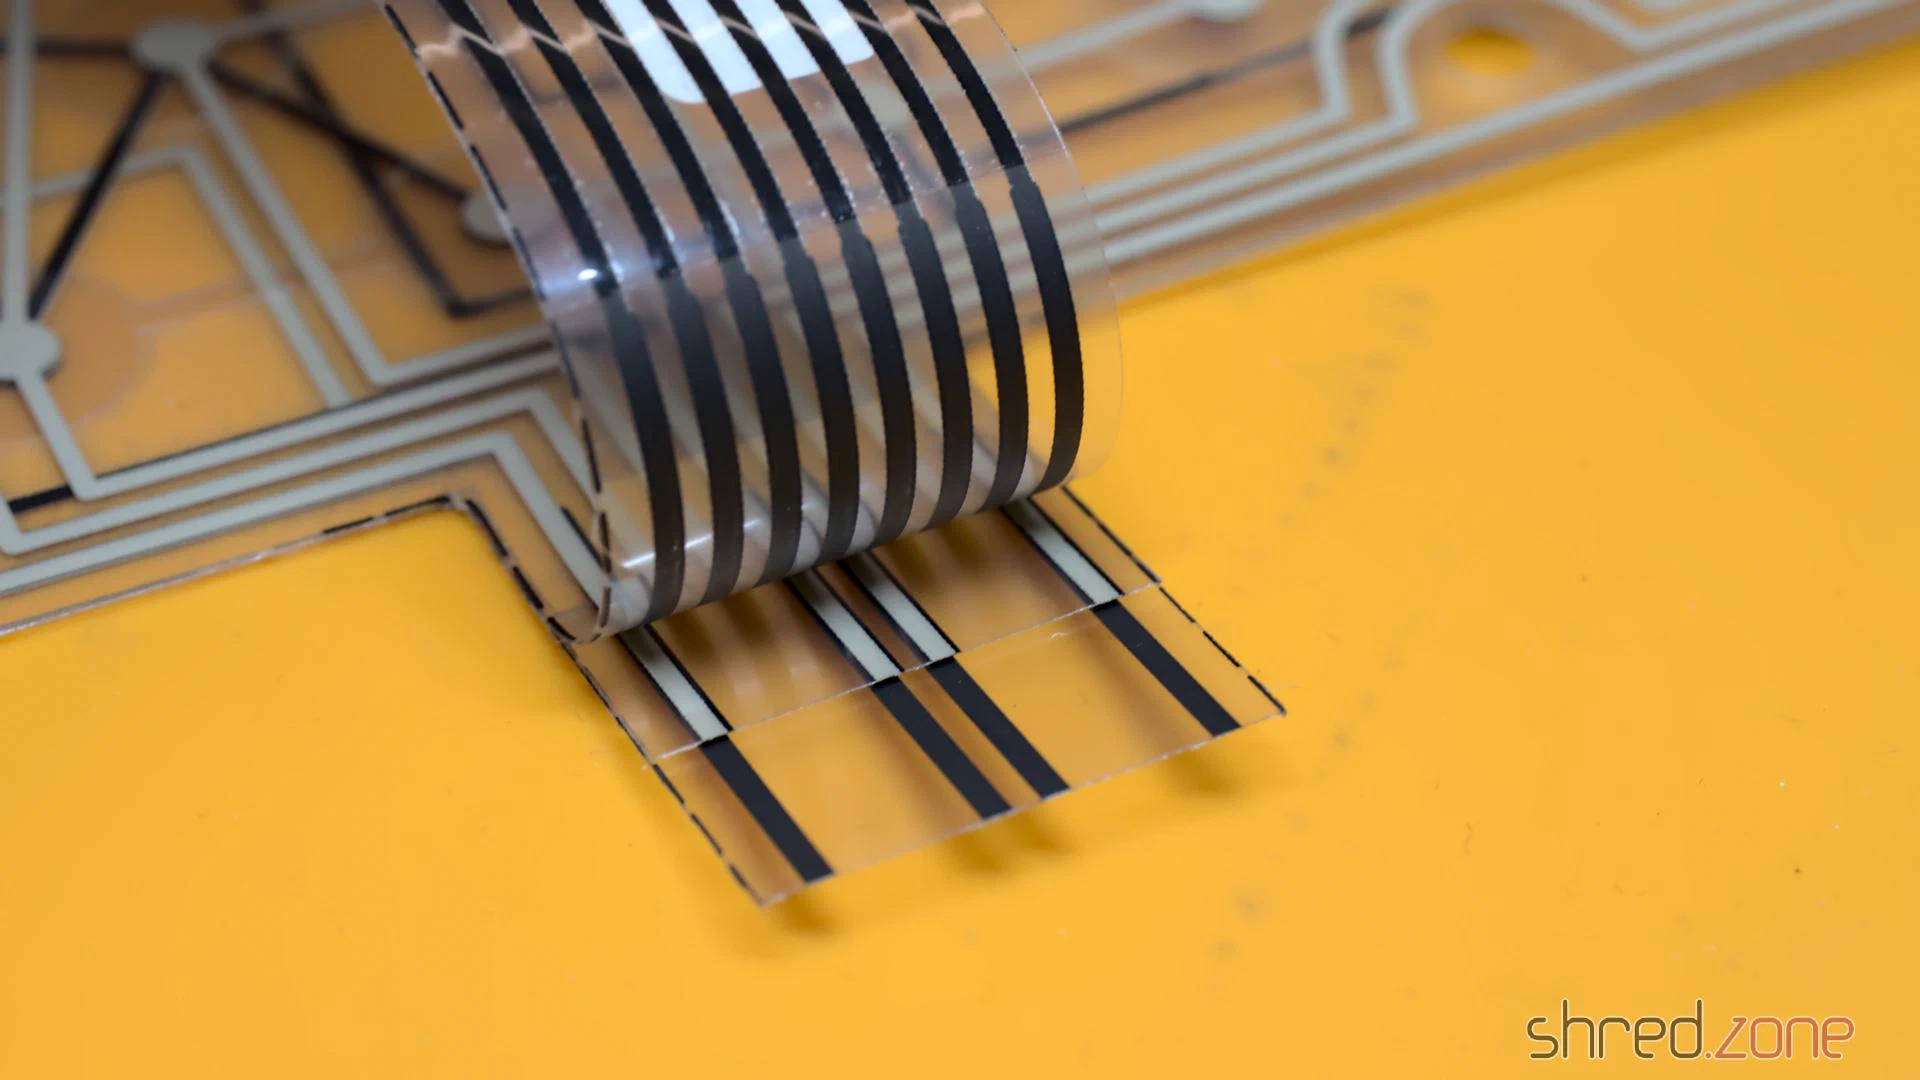
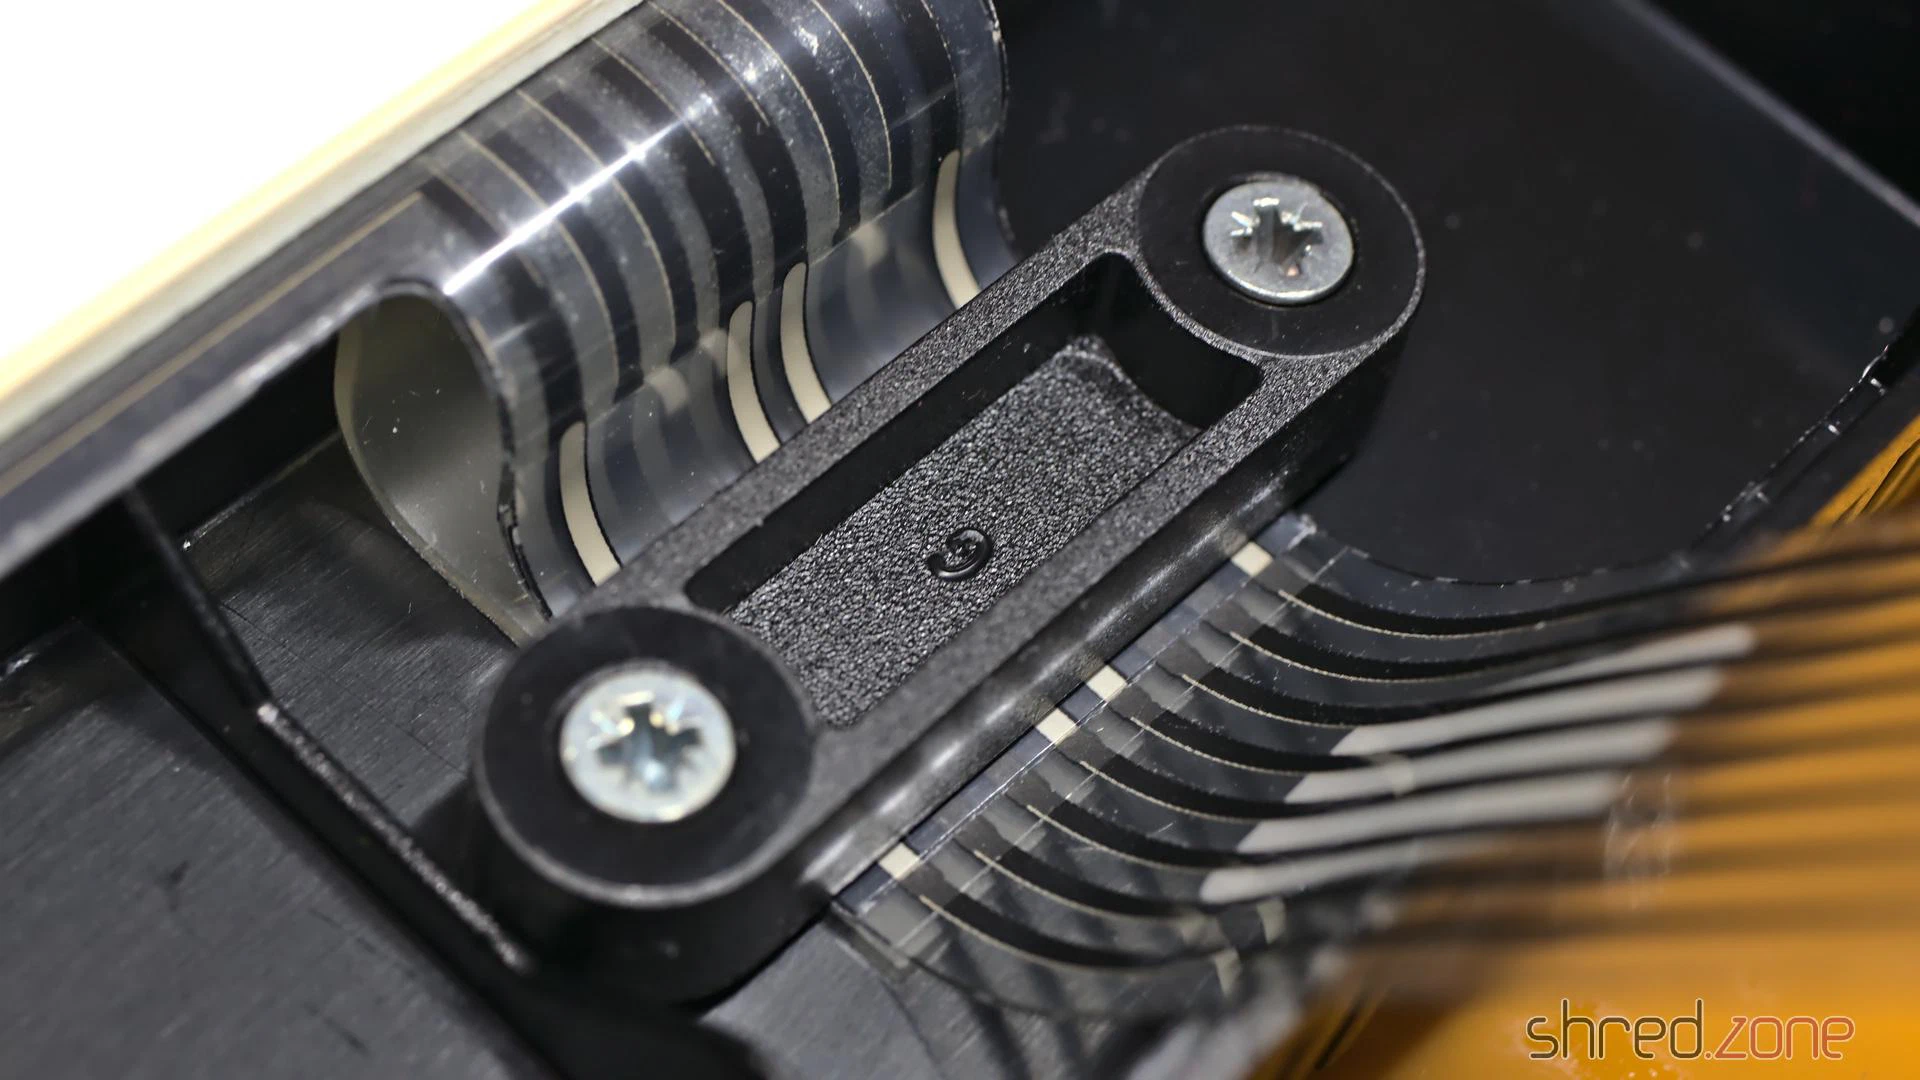
The ZX Spectrum Plus keyboard is a bit special. On the connection side, there’s no difference to the ZX Spectrum keyboard. However, the ZX Spectrum Plus has a few more special keys, like cursor keys or a dedicated delete key. These keys have to perform two key presses simultaneously and in the correct order. This is achieved by two interconnected membrane layers. A key press then closes the contacts on both layers.
These layers are connected to each other at the top end of the membrane connectors. So it is important to work precisely at this point and make sure that the layers are correctly aligned and securely fastened under the brackets. Please don’t tighten the screws too much, the plastic is almost 40 years old. 😉
After a thorough cleaning, I was able to reassemble the machine.
And that’s it. Now I finally have a ZX Spectrum Plus in my collection too.