When I saw this Amiga 1200, I immediately felt sorry for it. The case and the keyboard were already heavily yellowed, but even worse was the botched attempt to fit a Gotek drive into the case. To make room for it, the previous owner obviously broke open the area around the floppy drive with pliers or wire cutters, completely ruining the beautiful old case.
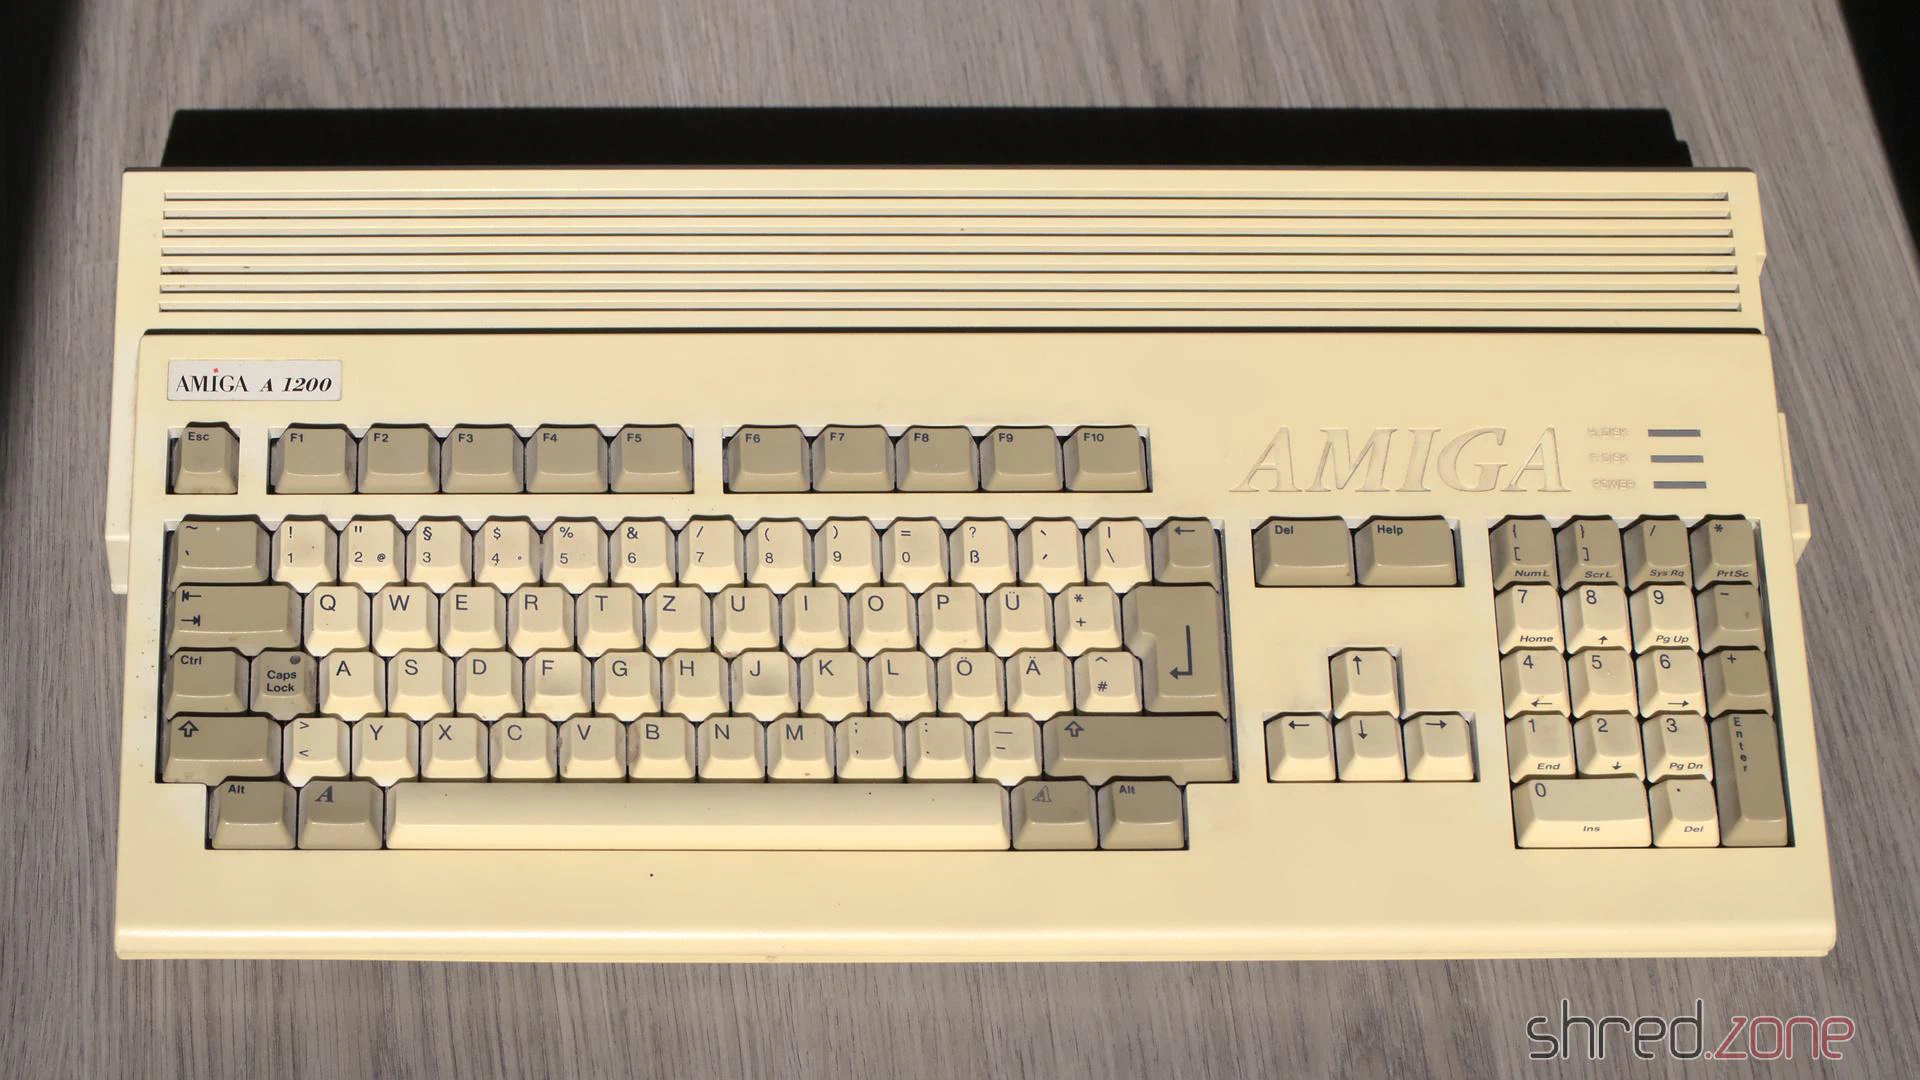
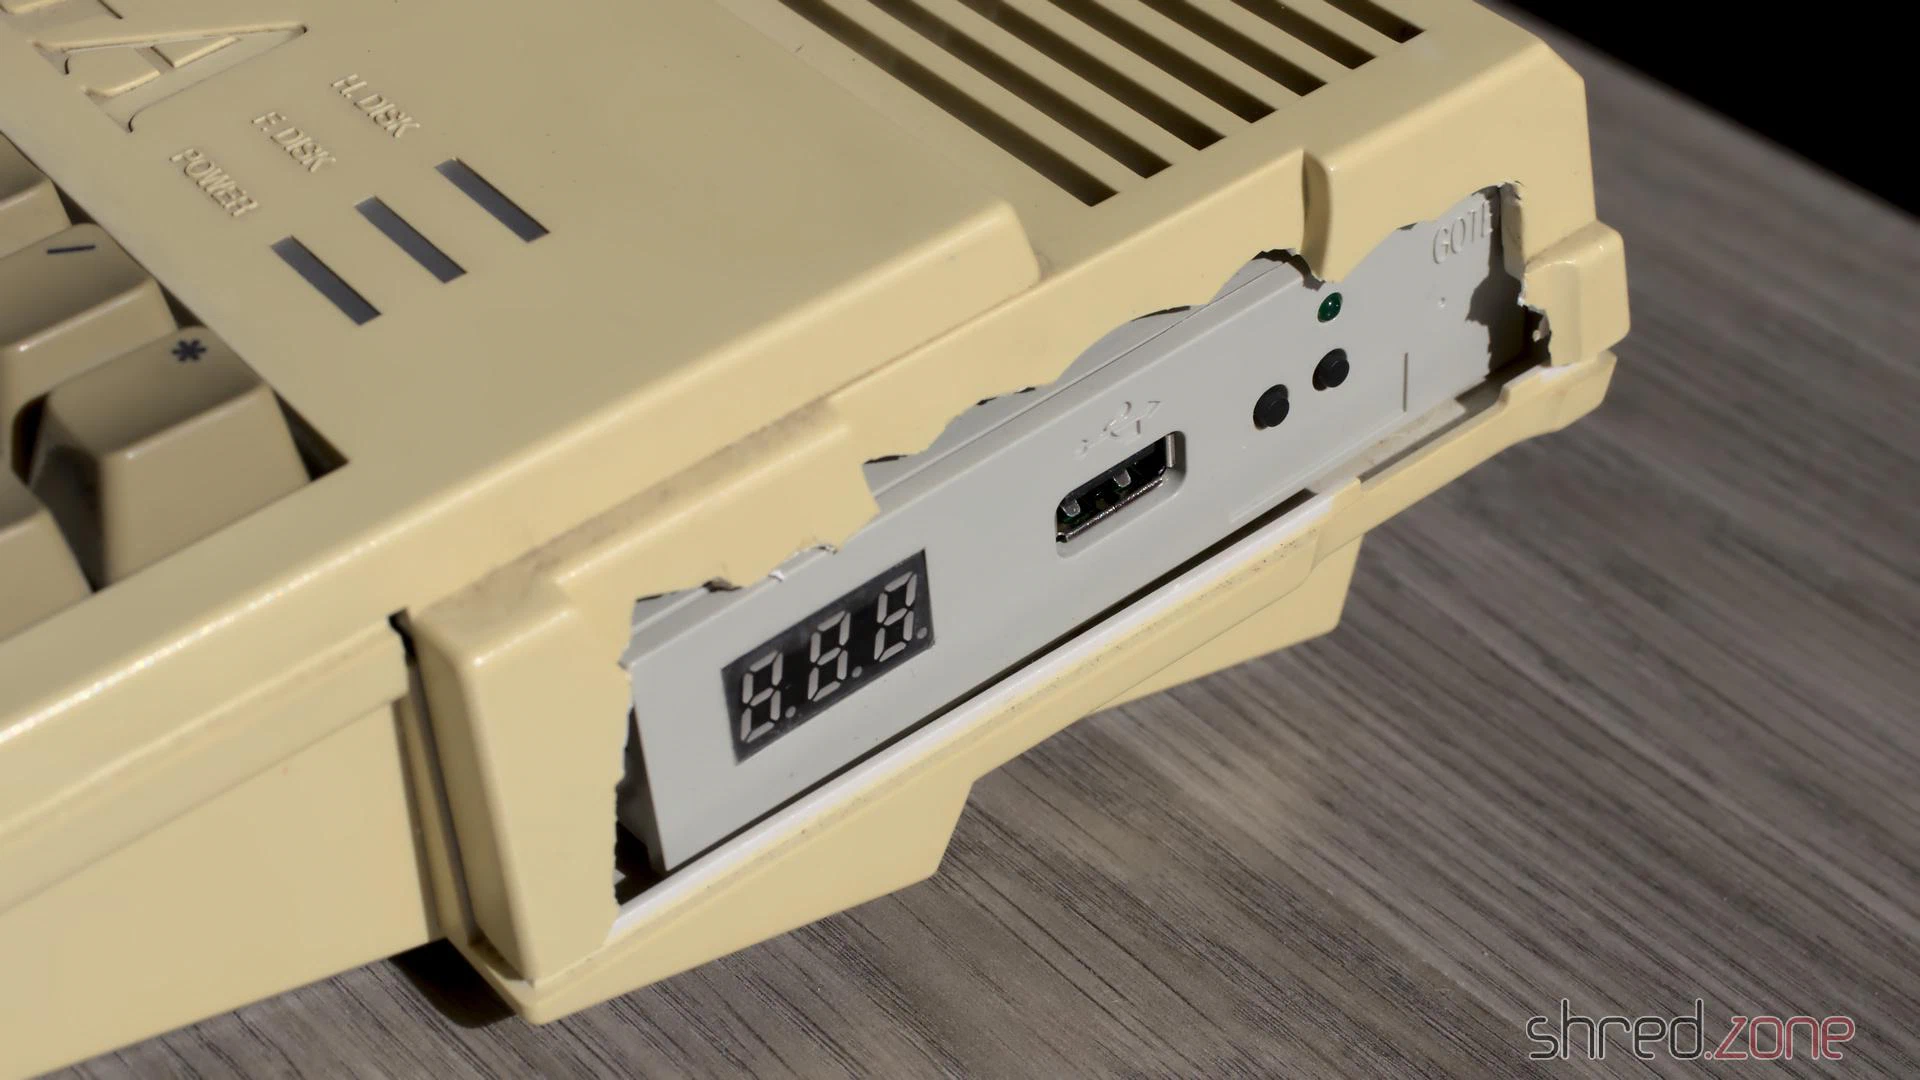
Originally, I had planned to bleach the case and the keyboard. I wanted to tidy up the ugly opening at the floppy drive with a rotary tool and then close it with a 3D-printed part as best as possible.
But then I had a much better idea. 😁
The motherboard
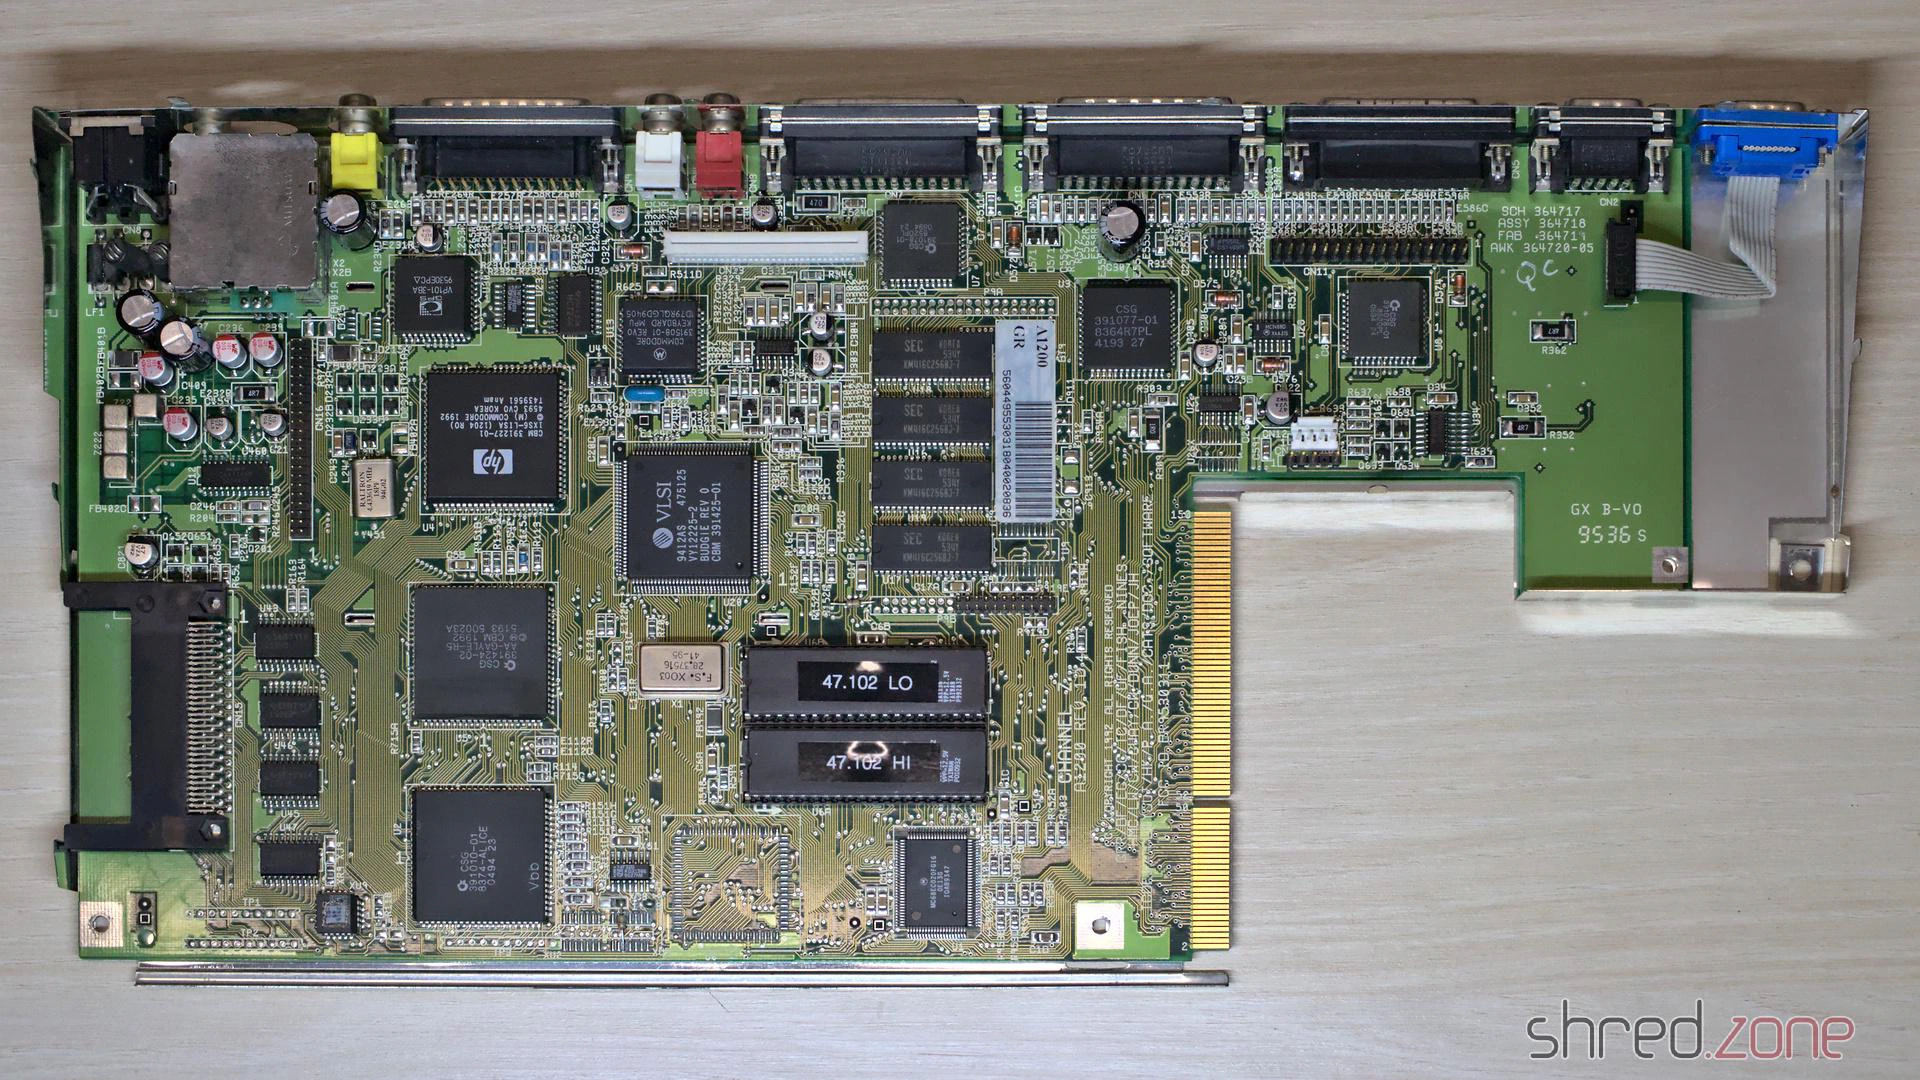
First, let’s take a look inside. A Rev 1D.4 board in good visual condition is installed. I replaced the electrolytic capacitors and updated to AmigaOS 3.2.1.
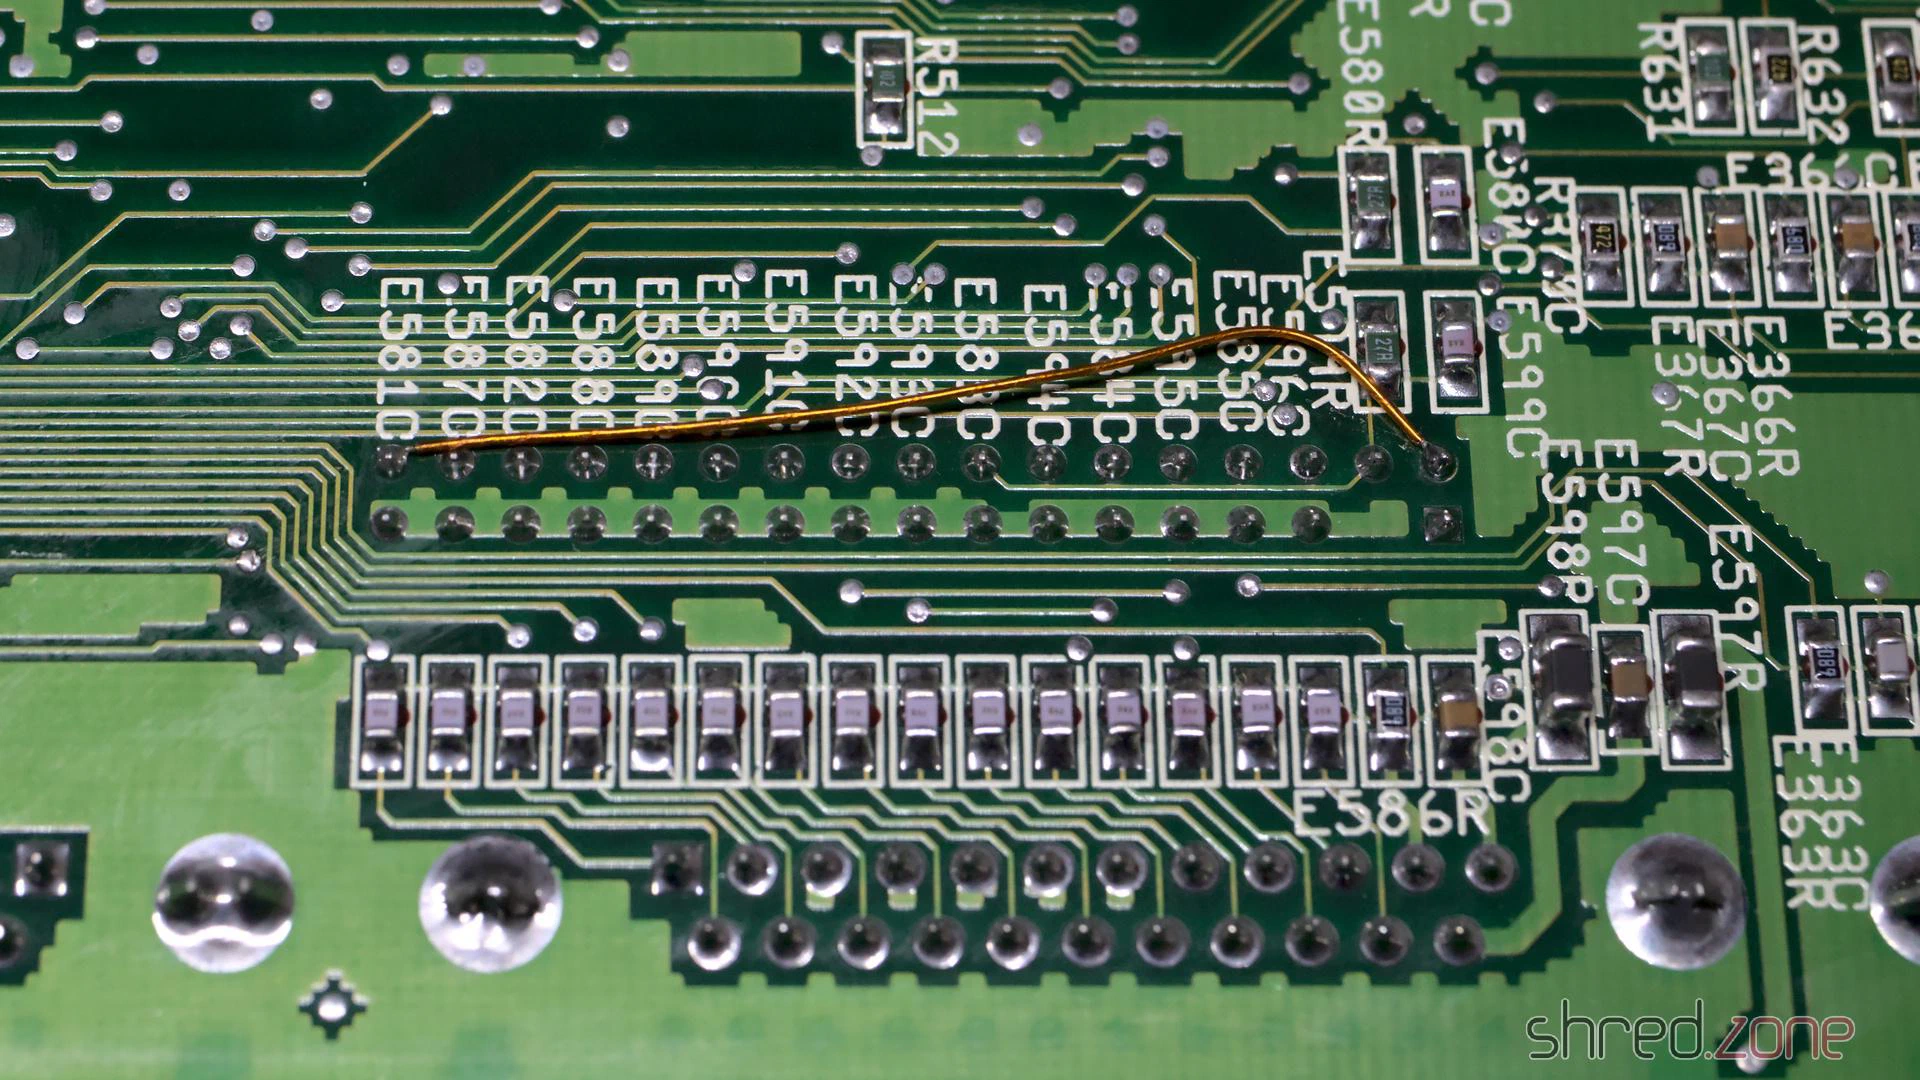
On the underside of the board, I found a copper wire for a so-called “floppy fix”. When Escom produced the last Amiga 1200s, there were no Amiga floppy drives left. Instead, they installed standard PC floppy drives. However, many games and demos didn’t run on the machines modified in this way.
The original floppy drive of this computer was no longer present, and Gotek drives can perfectly emulate Amiga floppy drives. So I decided to reverse the floppy fix. To do this, the jumper wire is first removed. To restore the original RDY signal, a wire is then soldered from pin 34 of the internal drive connector to pin 1 of the external floppy port.
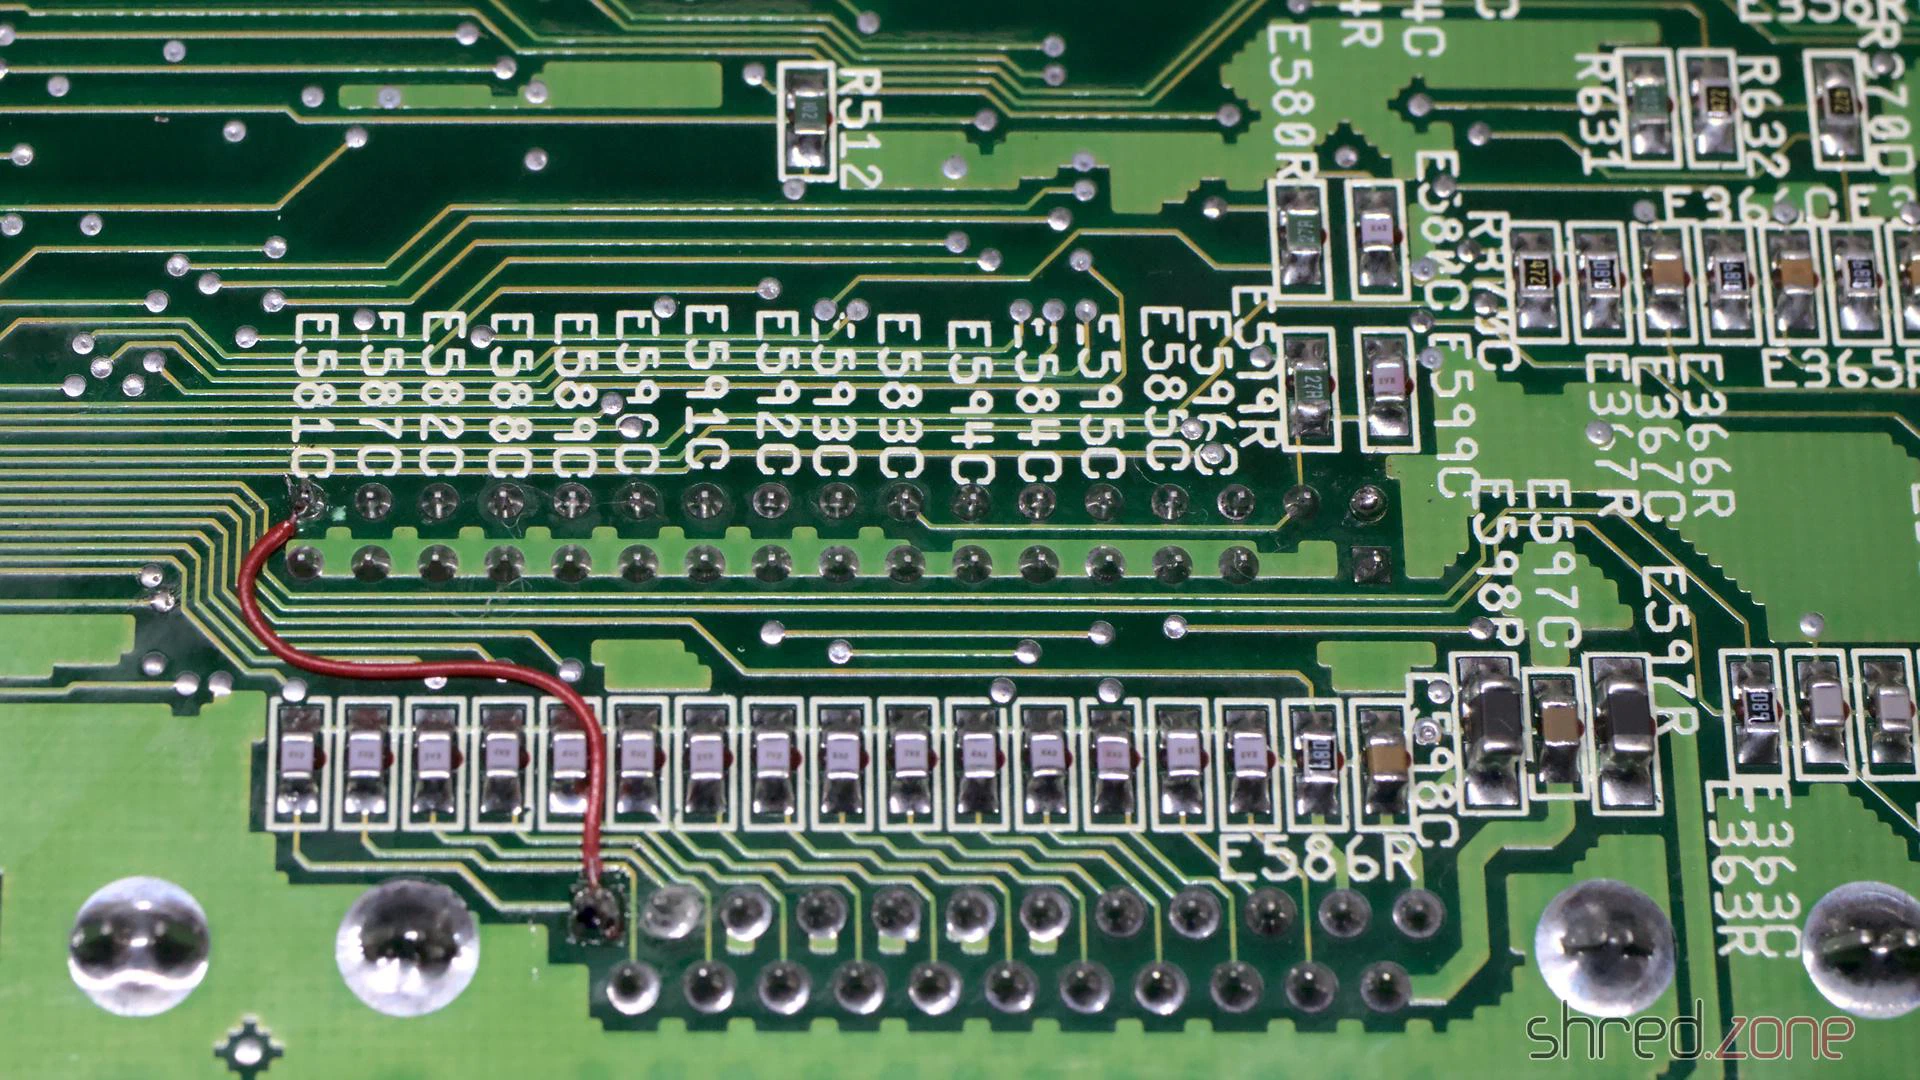
Since I was working on the underside of the board anyway, I also wanted to remove E123C and E125C to improve the stability of accelerator cards. However, the capacitors hadn’t even been populated in the first place, so that was sorted.
That meant it was time for a first thorough test run. Everything went well so far, until I noticed that the right mouse button didn’t work on either port. A separate blog article describes the cause and the fix. In short: you have to replace four resistors with ferrites.
My work on the board was finished after that. It now passed all diagnostic tests.
The extras
As with my other restorations, I don’t just overhaul the machine, but also future-proof it with a few extras.
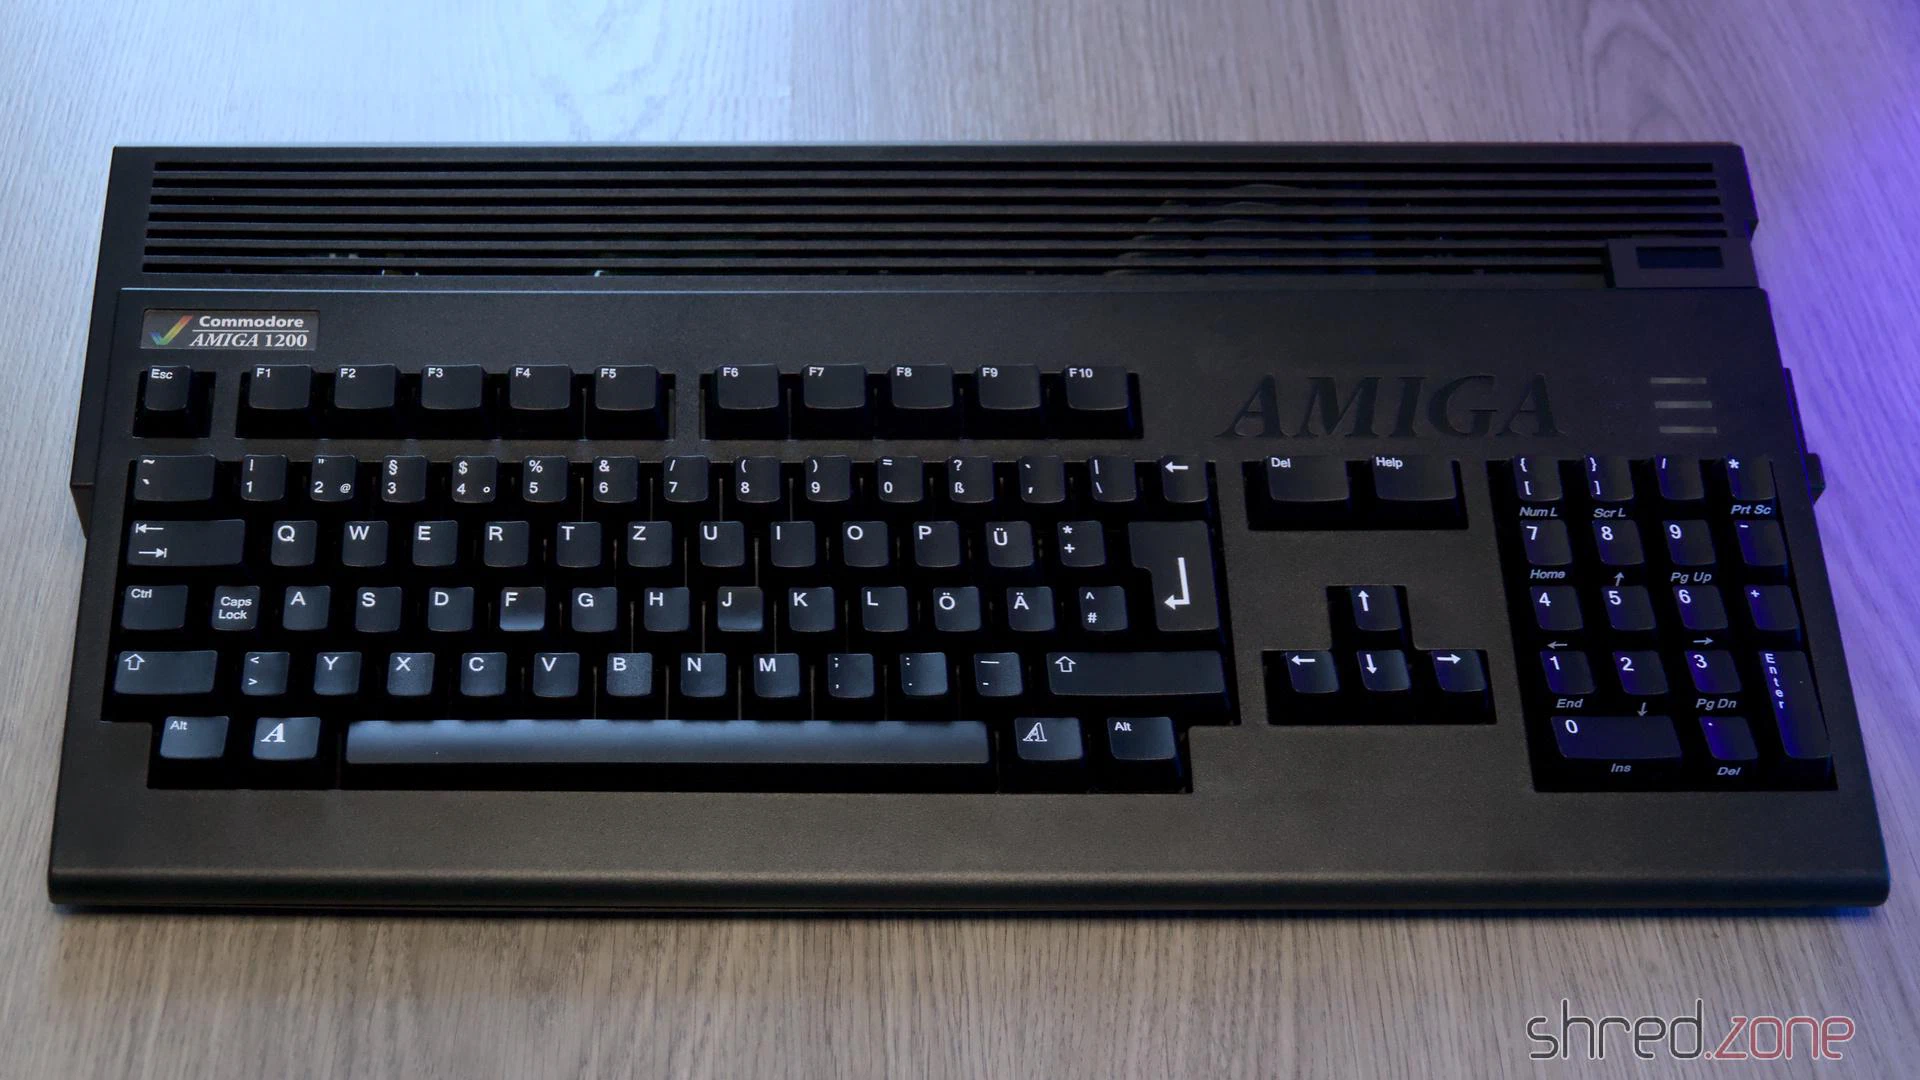
First up: the yellowed case with the ugly cut. It was clear to me that the case would never look truly nice again, even with a half-decent restoration attempt. Besides, I had always wanted a black Amiga. Therefore, I treated the Amiga to a brand new, black a1200.net replica case instead.
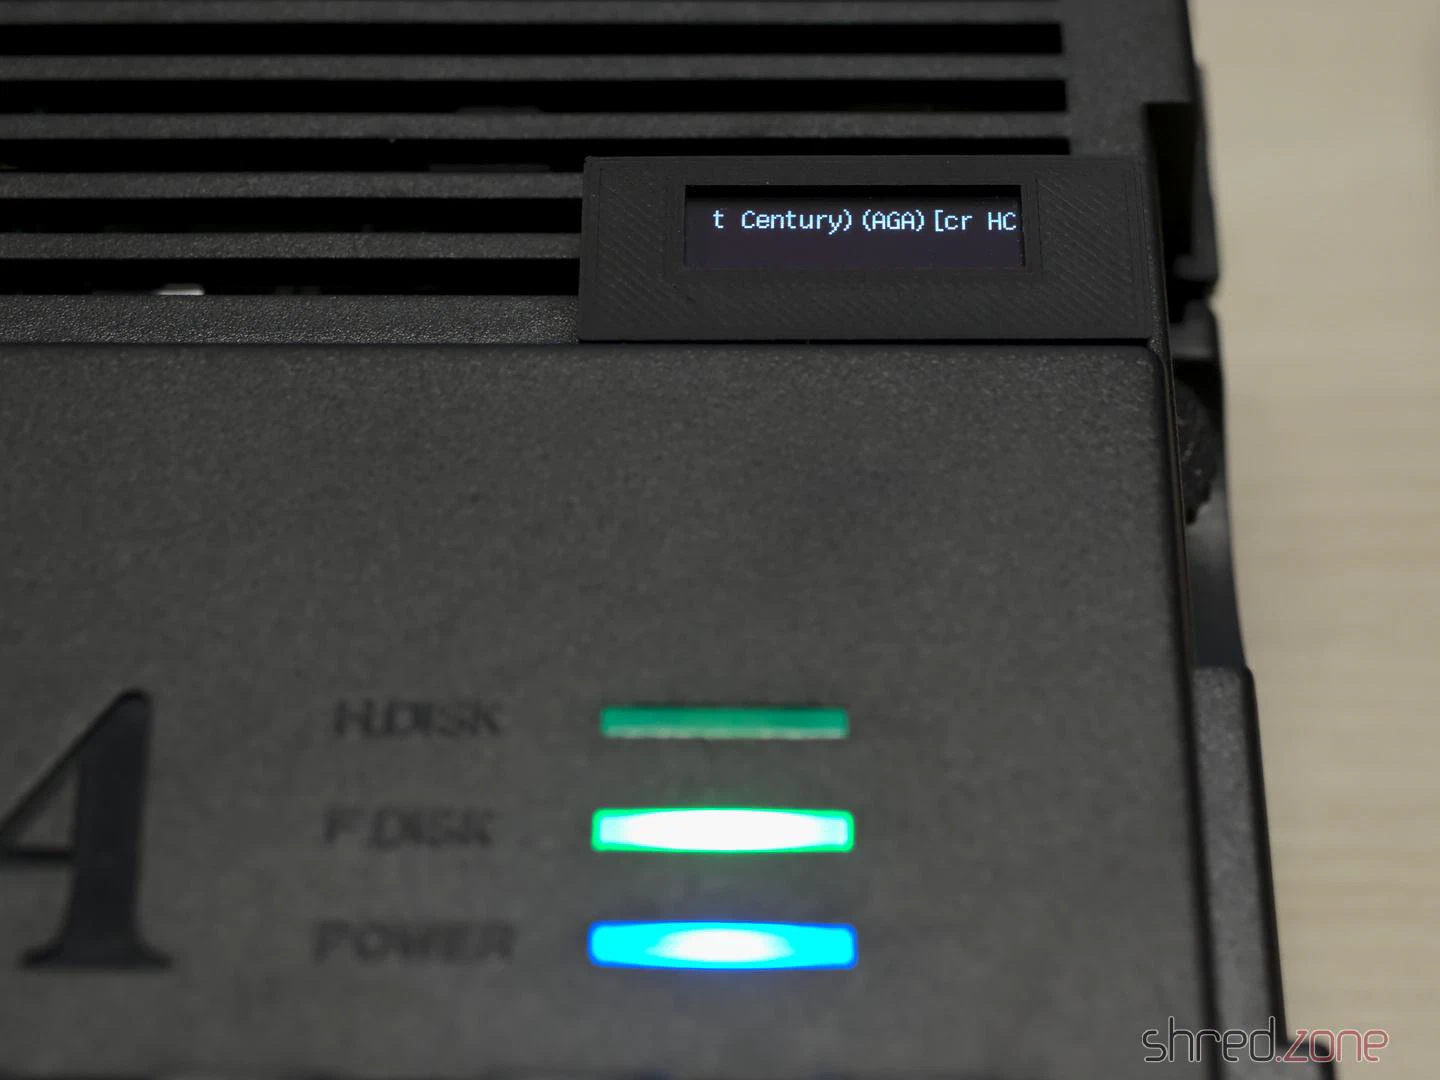
The floppy drive was missing. Instead of the Gotek drive that was originally supposed to take its place, I chose a Centuriontech GoEX drive. Instead of a USB stick, it uses an SD card. It also features a rotary switch that makes selecting the floppy image easier. Matching OLED displays are available as accessories, but for my new Amiga, I wanted a much smaller display that wasn’t as conspicuous.
I used a 0.91" OLED display, the kind you can find in practically any maker shop. Here it is important to swap pins 1 and 2 when soldering the cable, as the power pins on this type of display are swapped compared to the original GoEX display module.
I printed an A600 display module case, which fortunately also fits an A1200. I joined the individual parts together with hot glue. In hindsight, I should have used normal glue, as the hot glue softened the PLA of the print a little. The cable is then routed through the cooling vents of the Amiga and the module is clipped on, gluing is not required.
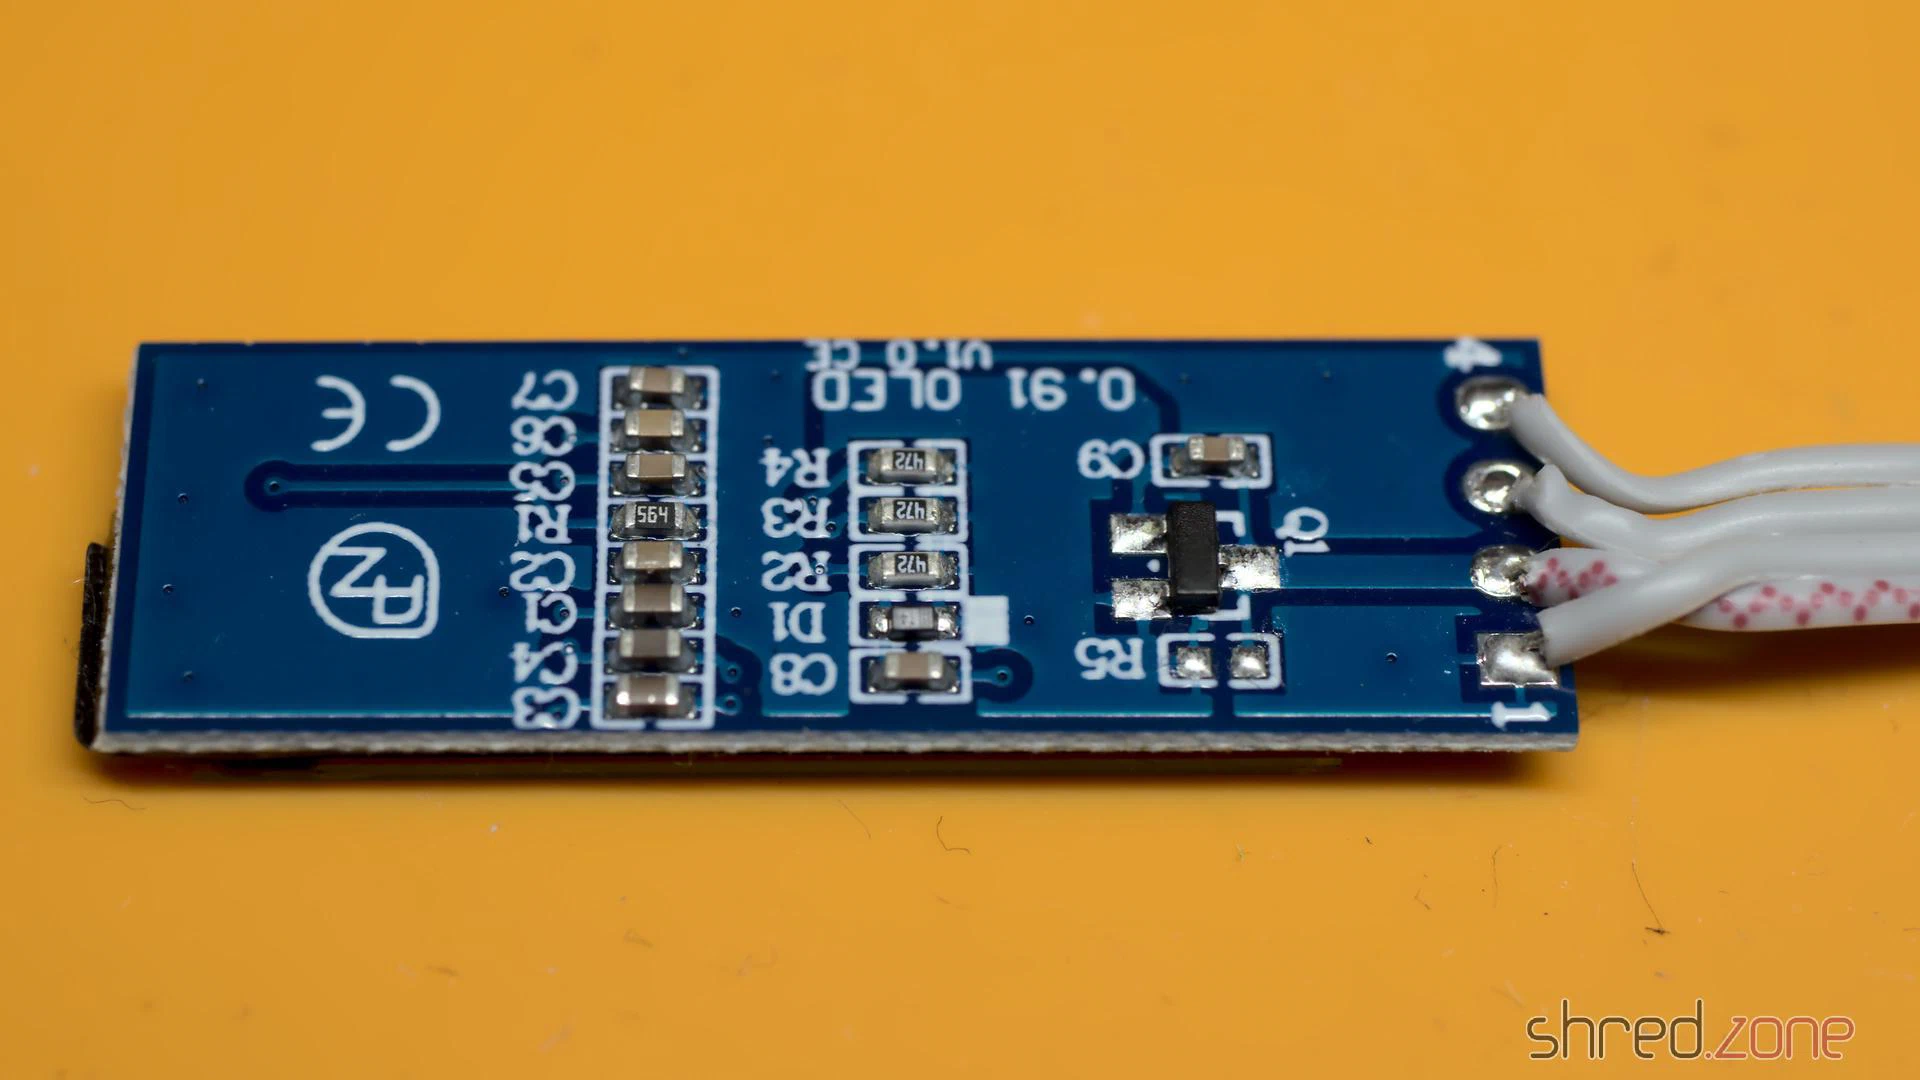
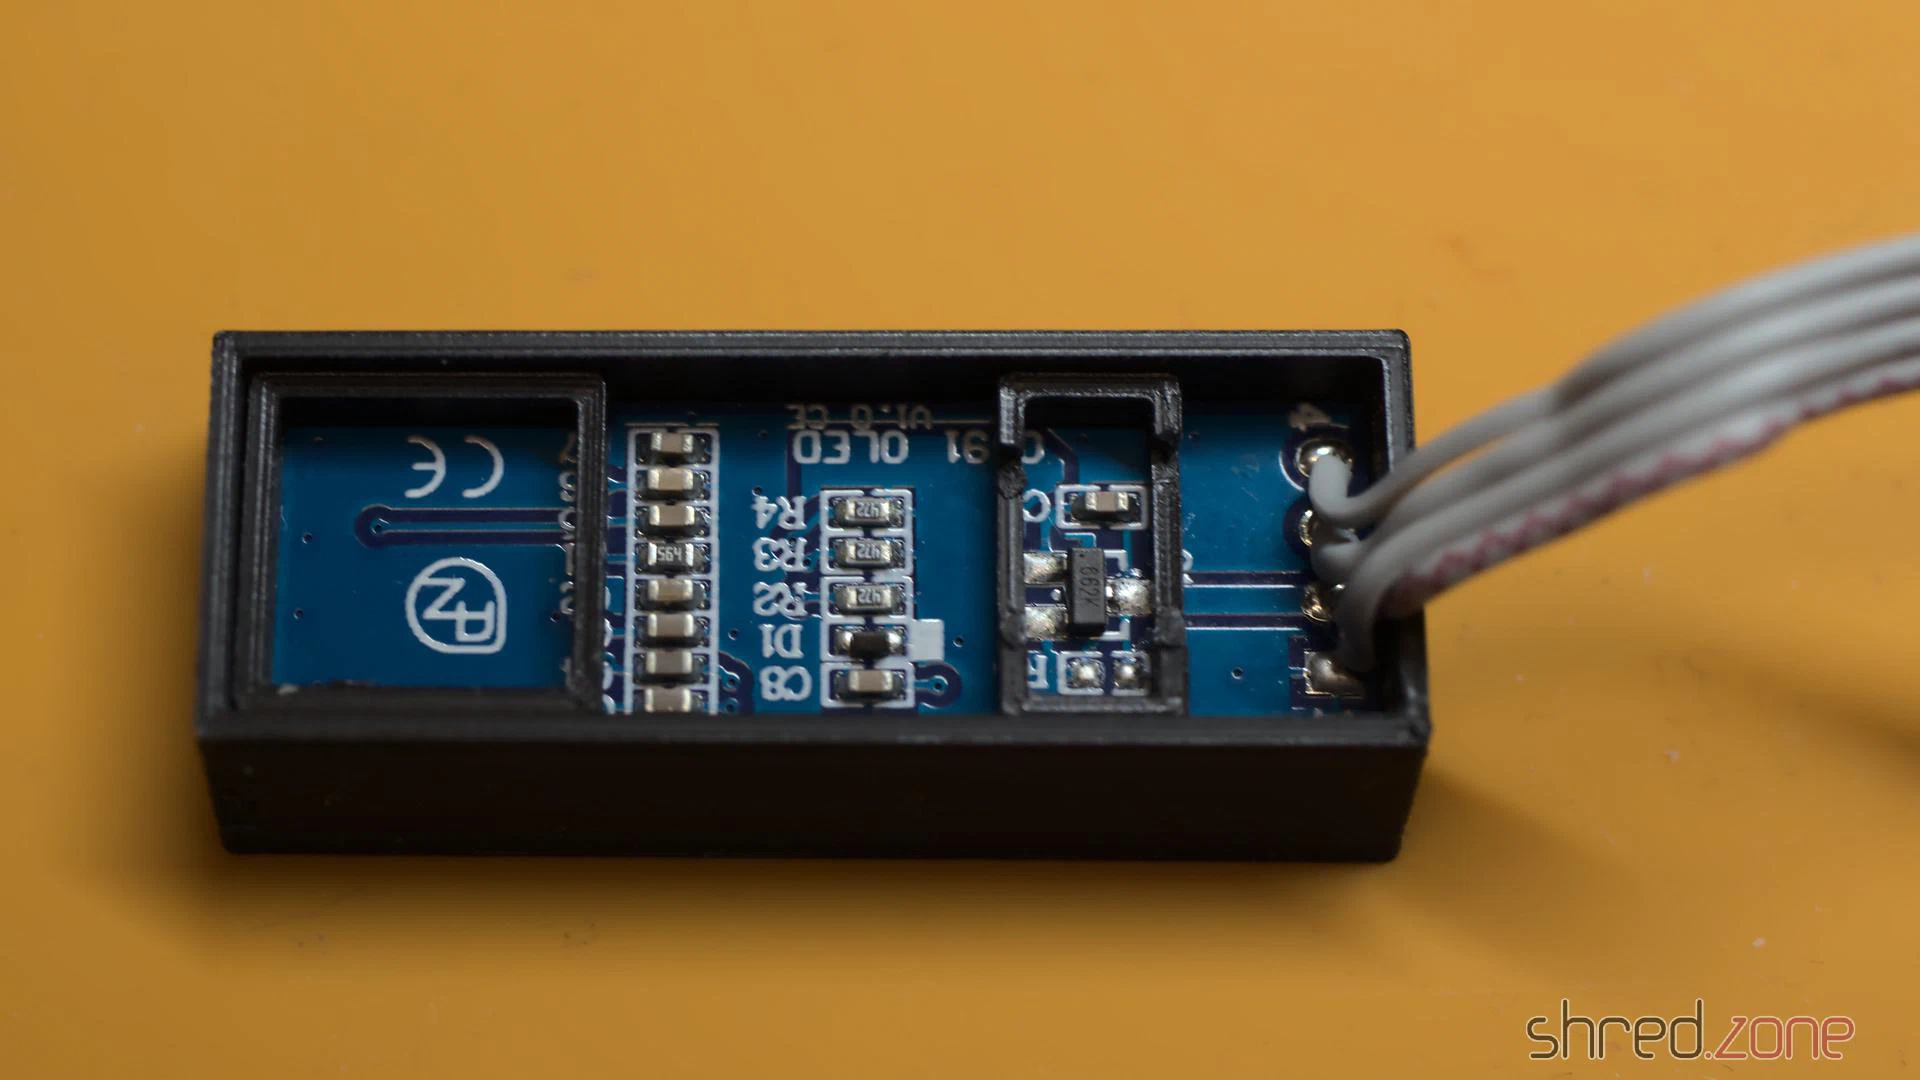
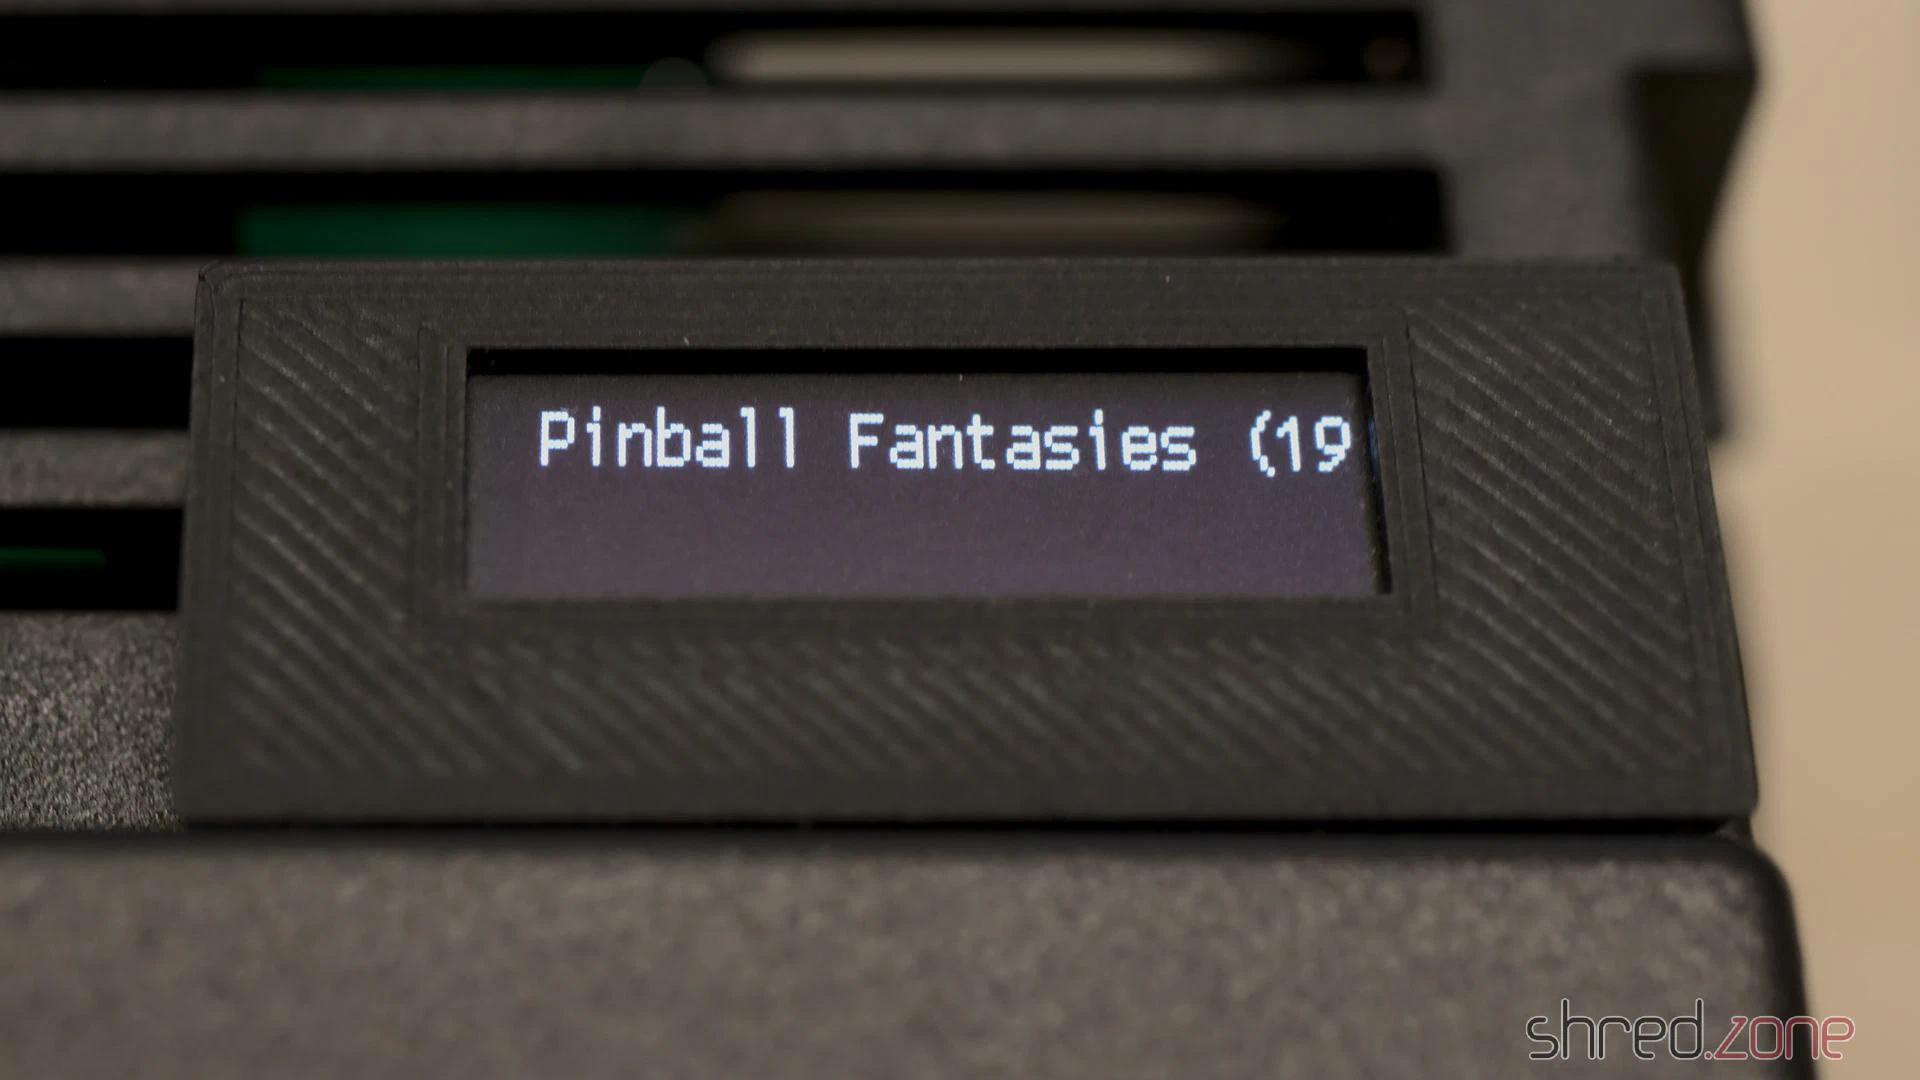
For the GoEX to use this OLED size correctly, a file named FF/FF.CFG must be created on the SD card with the following line:
display-type = oled-128x32
For a pixel-perfect image via HDMI, I also installed an Indivision AGA MK3. It turned out that the a1200.net replica case seems to have slightly different dimensions than the original case. I therefore designed a modified trapdoor and bracket for this case type.
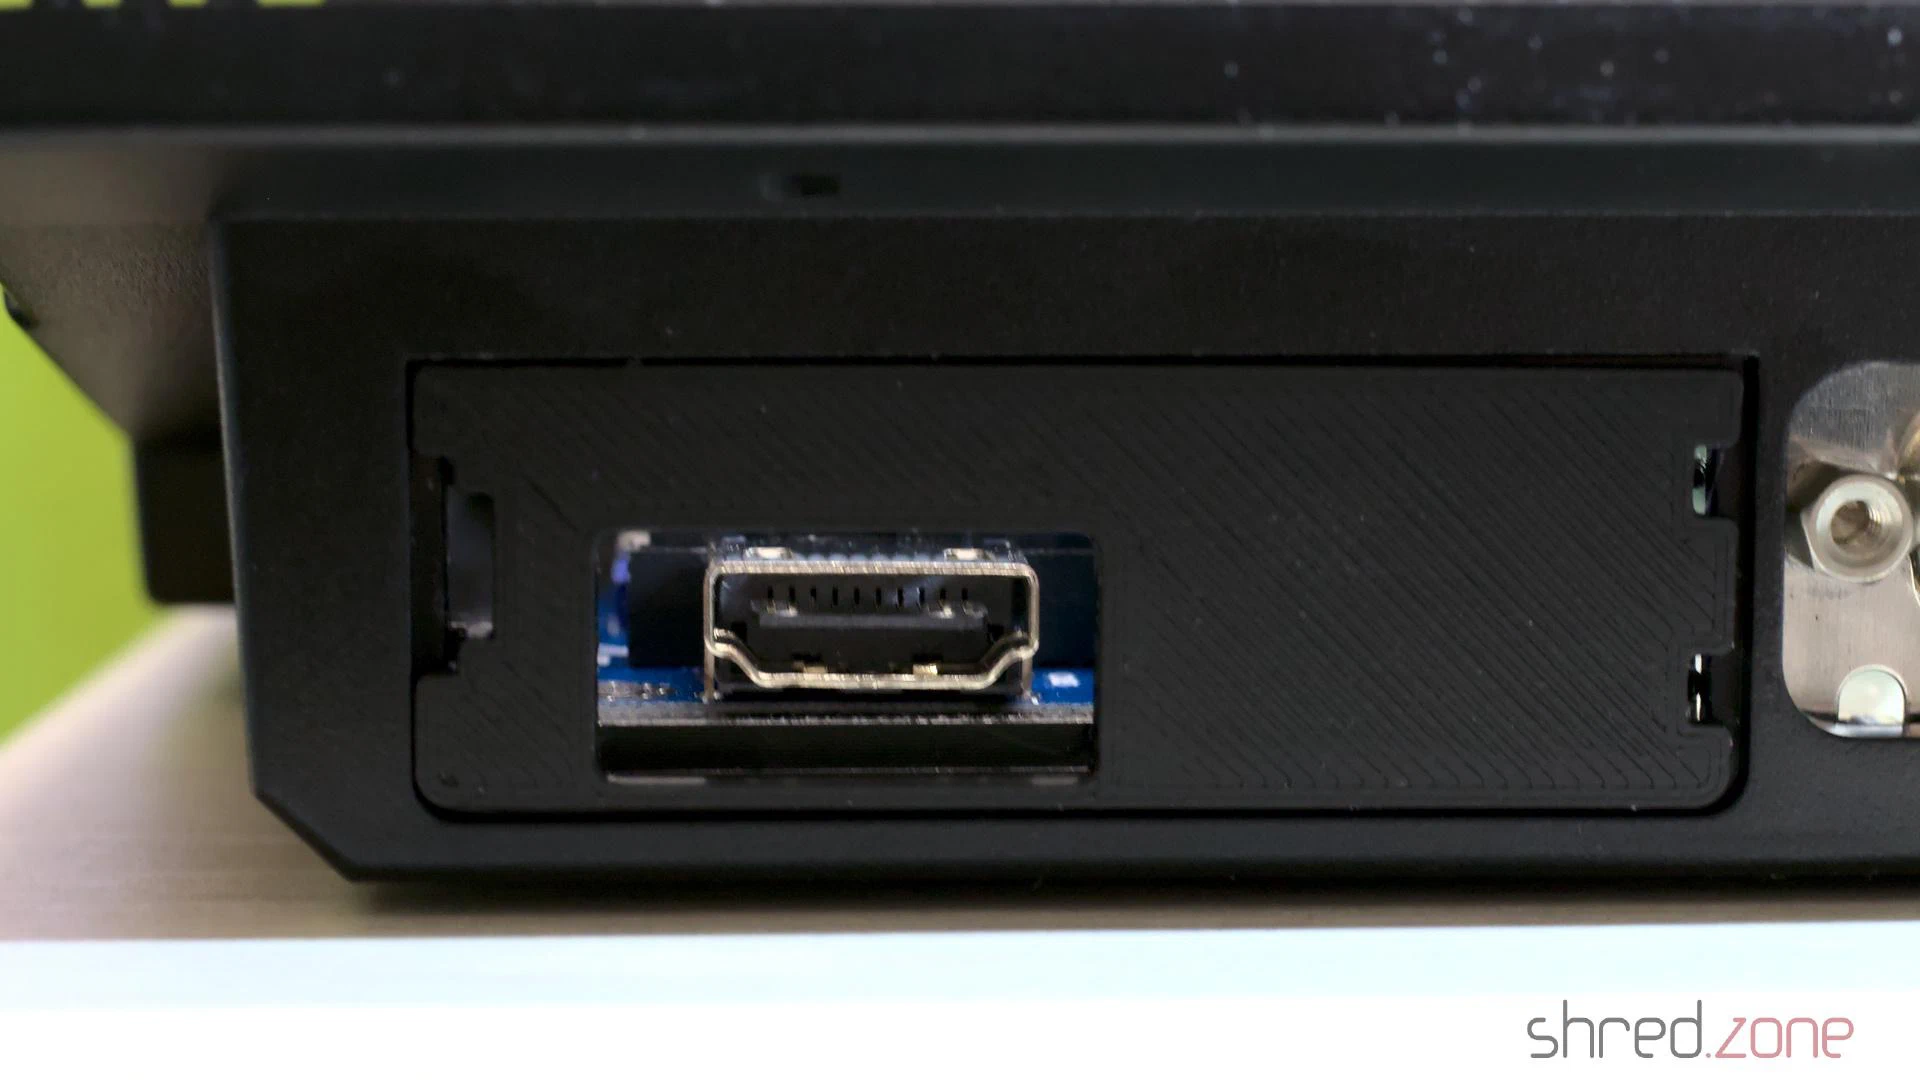
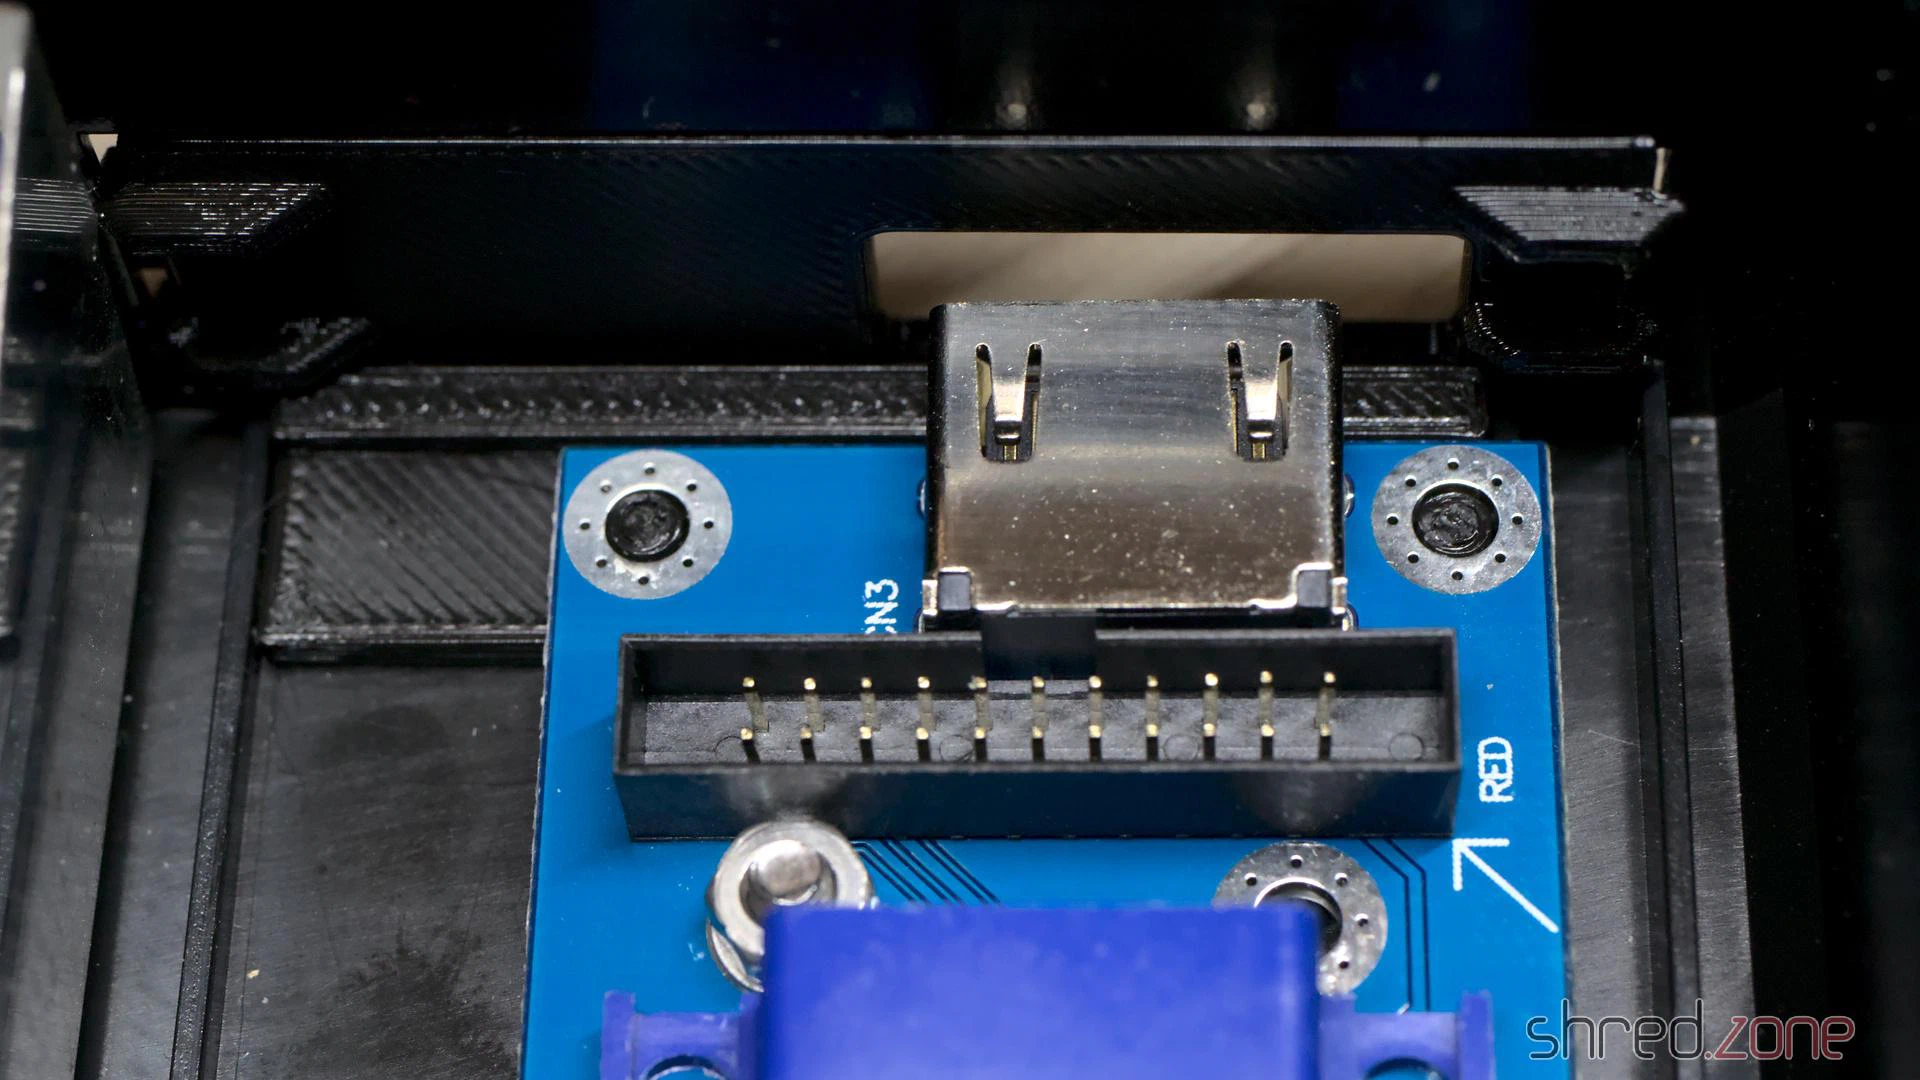
When I got the Amiga, there was already a Marpet Developments M1207 RAM expansion in the expansion slot. It was treated to a fresh coin cell battery and now provides the machine with an additional 4 MB of Fast RAM, a 68882 FPU and a real-time clock.
And last but not least, the machine got custom LEDs, with the power LED in my signature colour, blue.
Assembly
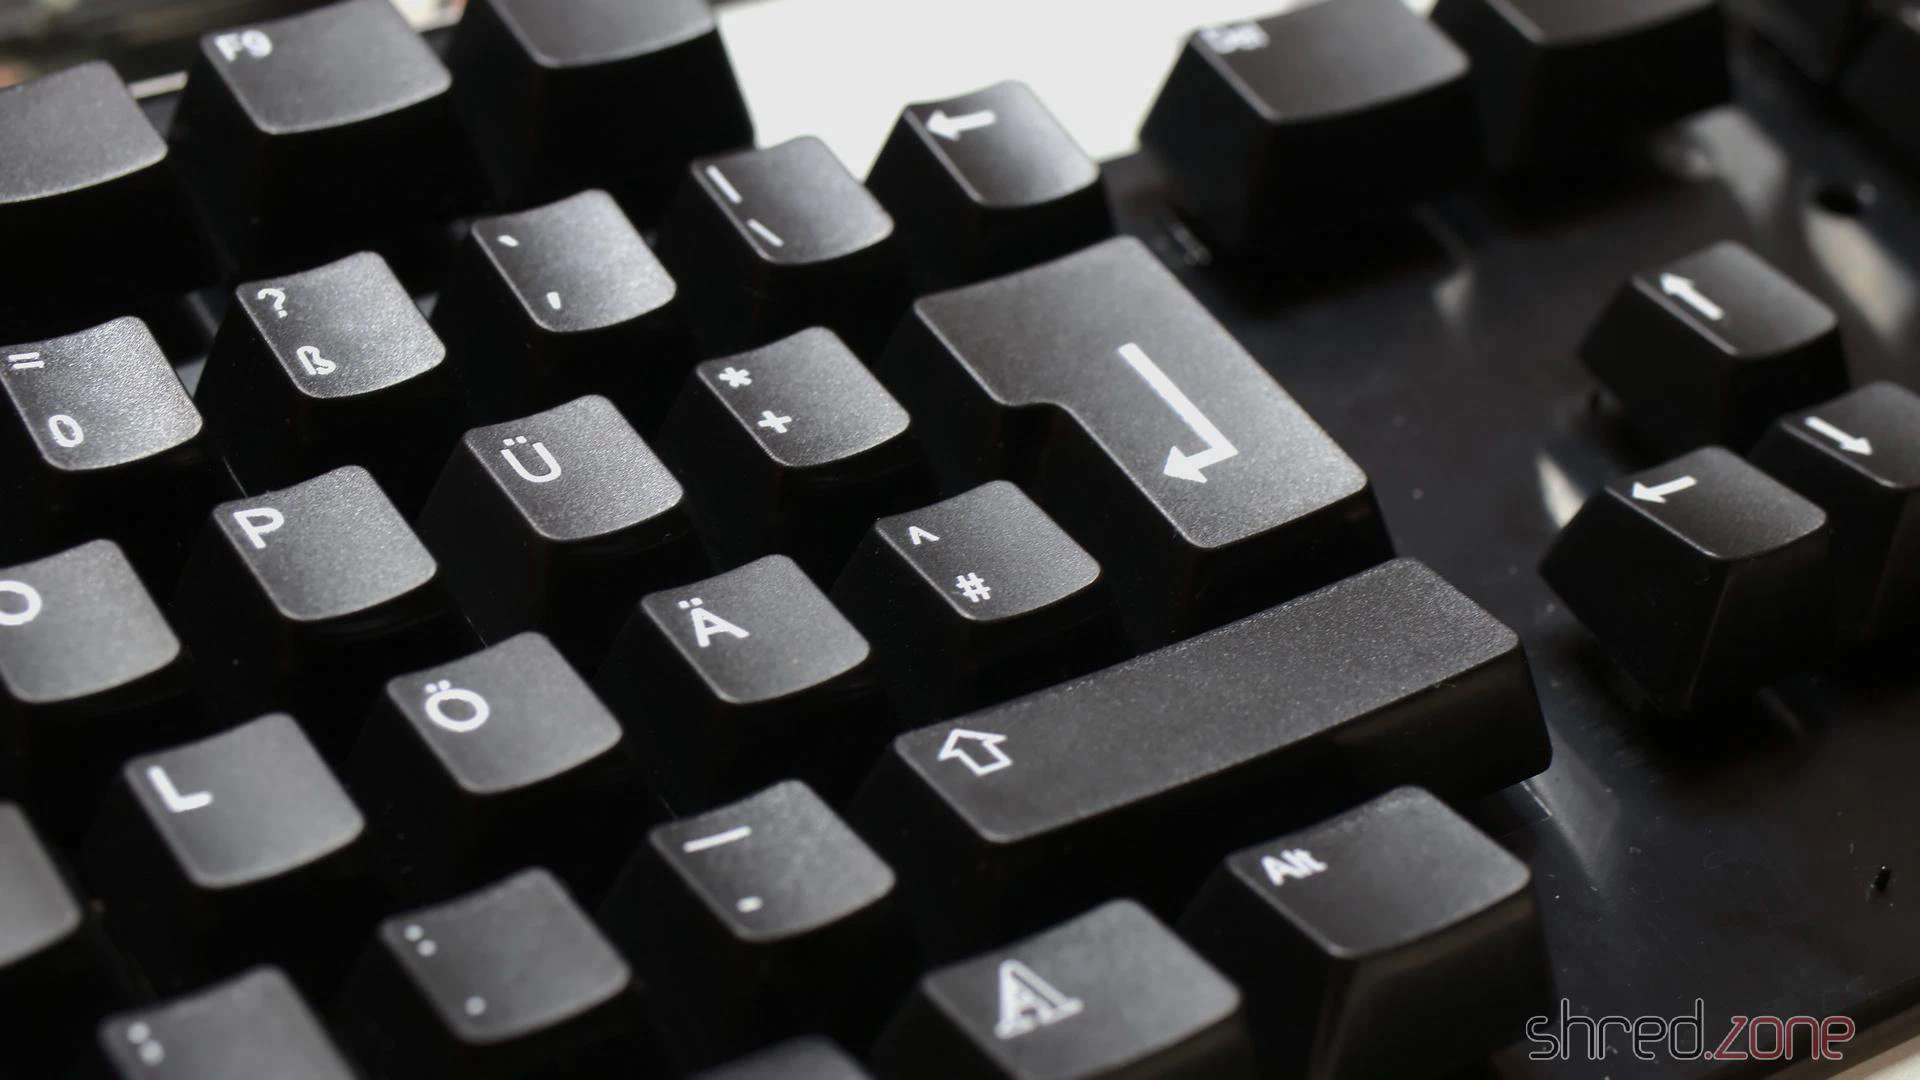
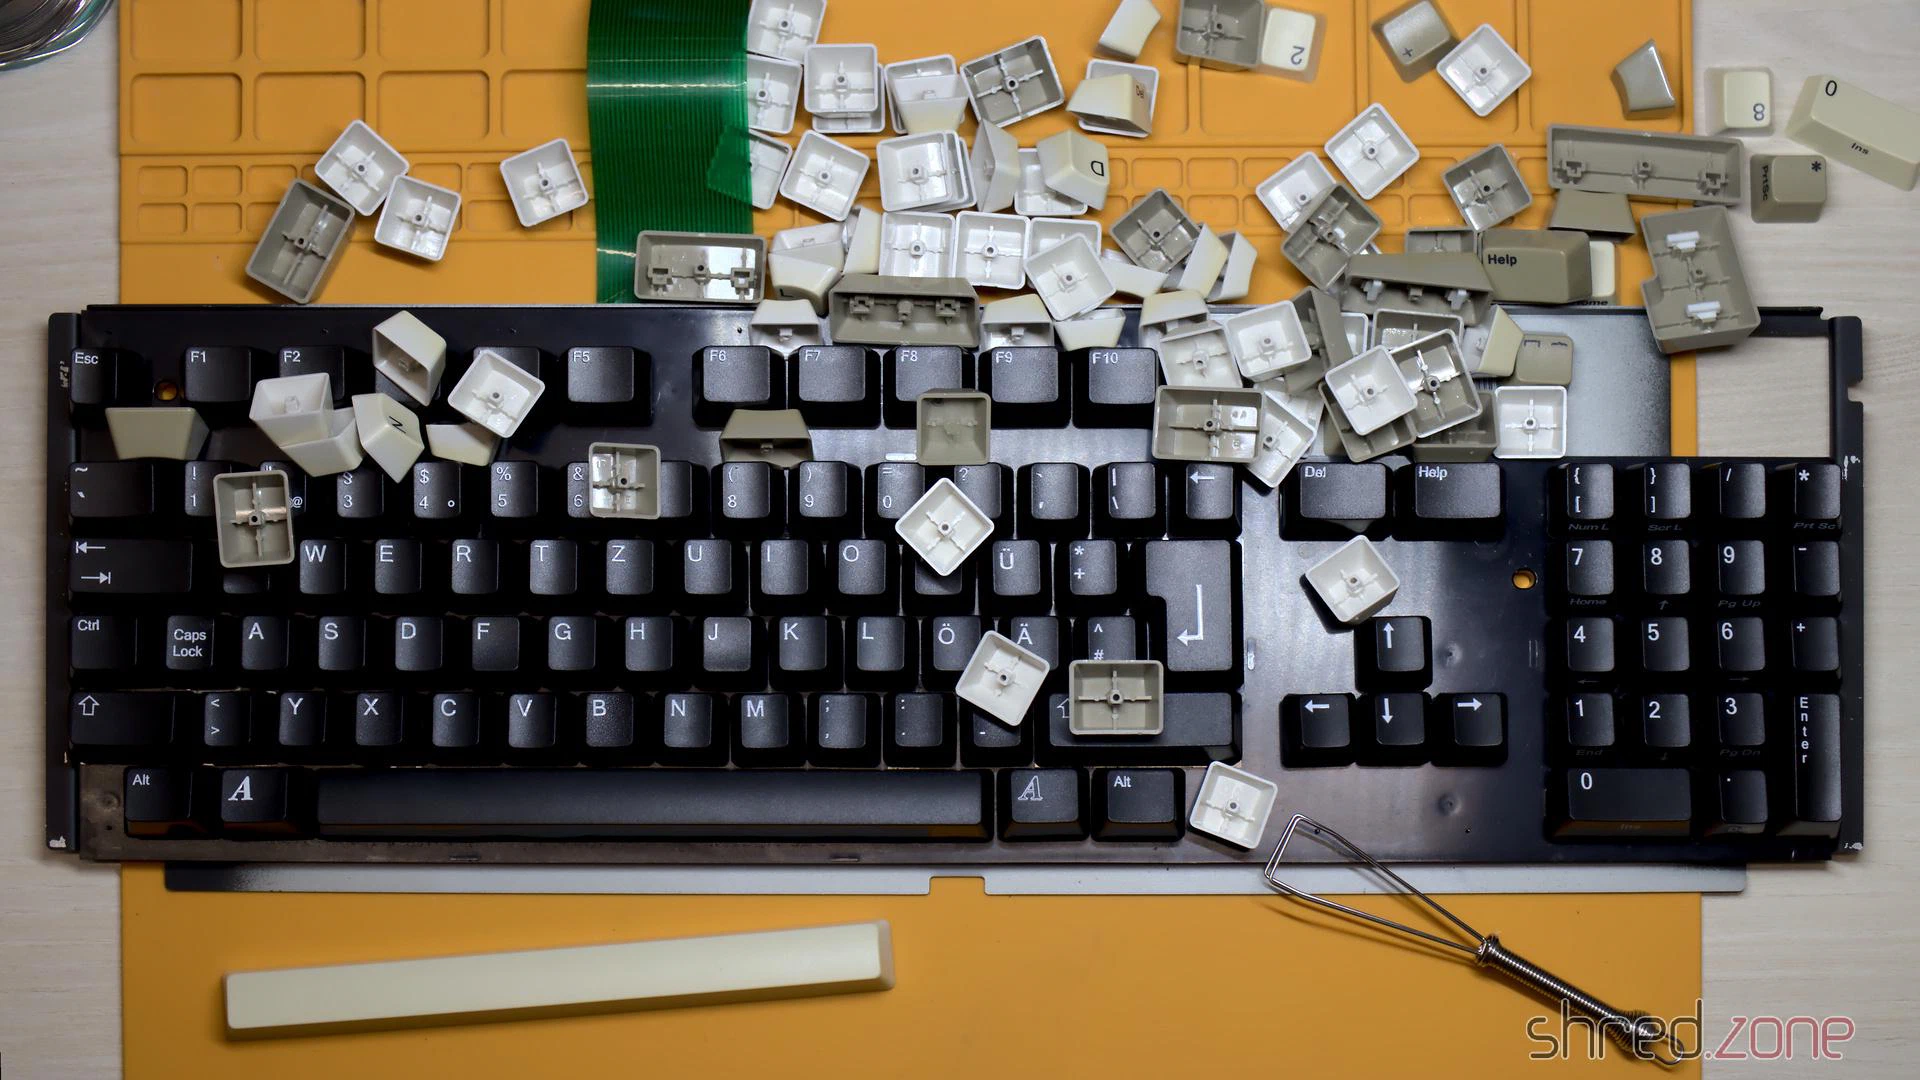
What’s still missing? The black keycaps, of course, to match the black case. After many years of waiting, they were finally available, and I had a set delivered just in time for Christmas.
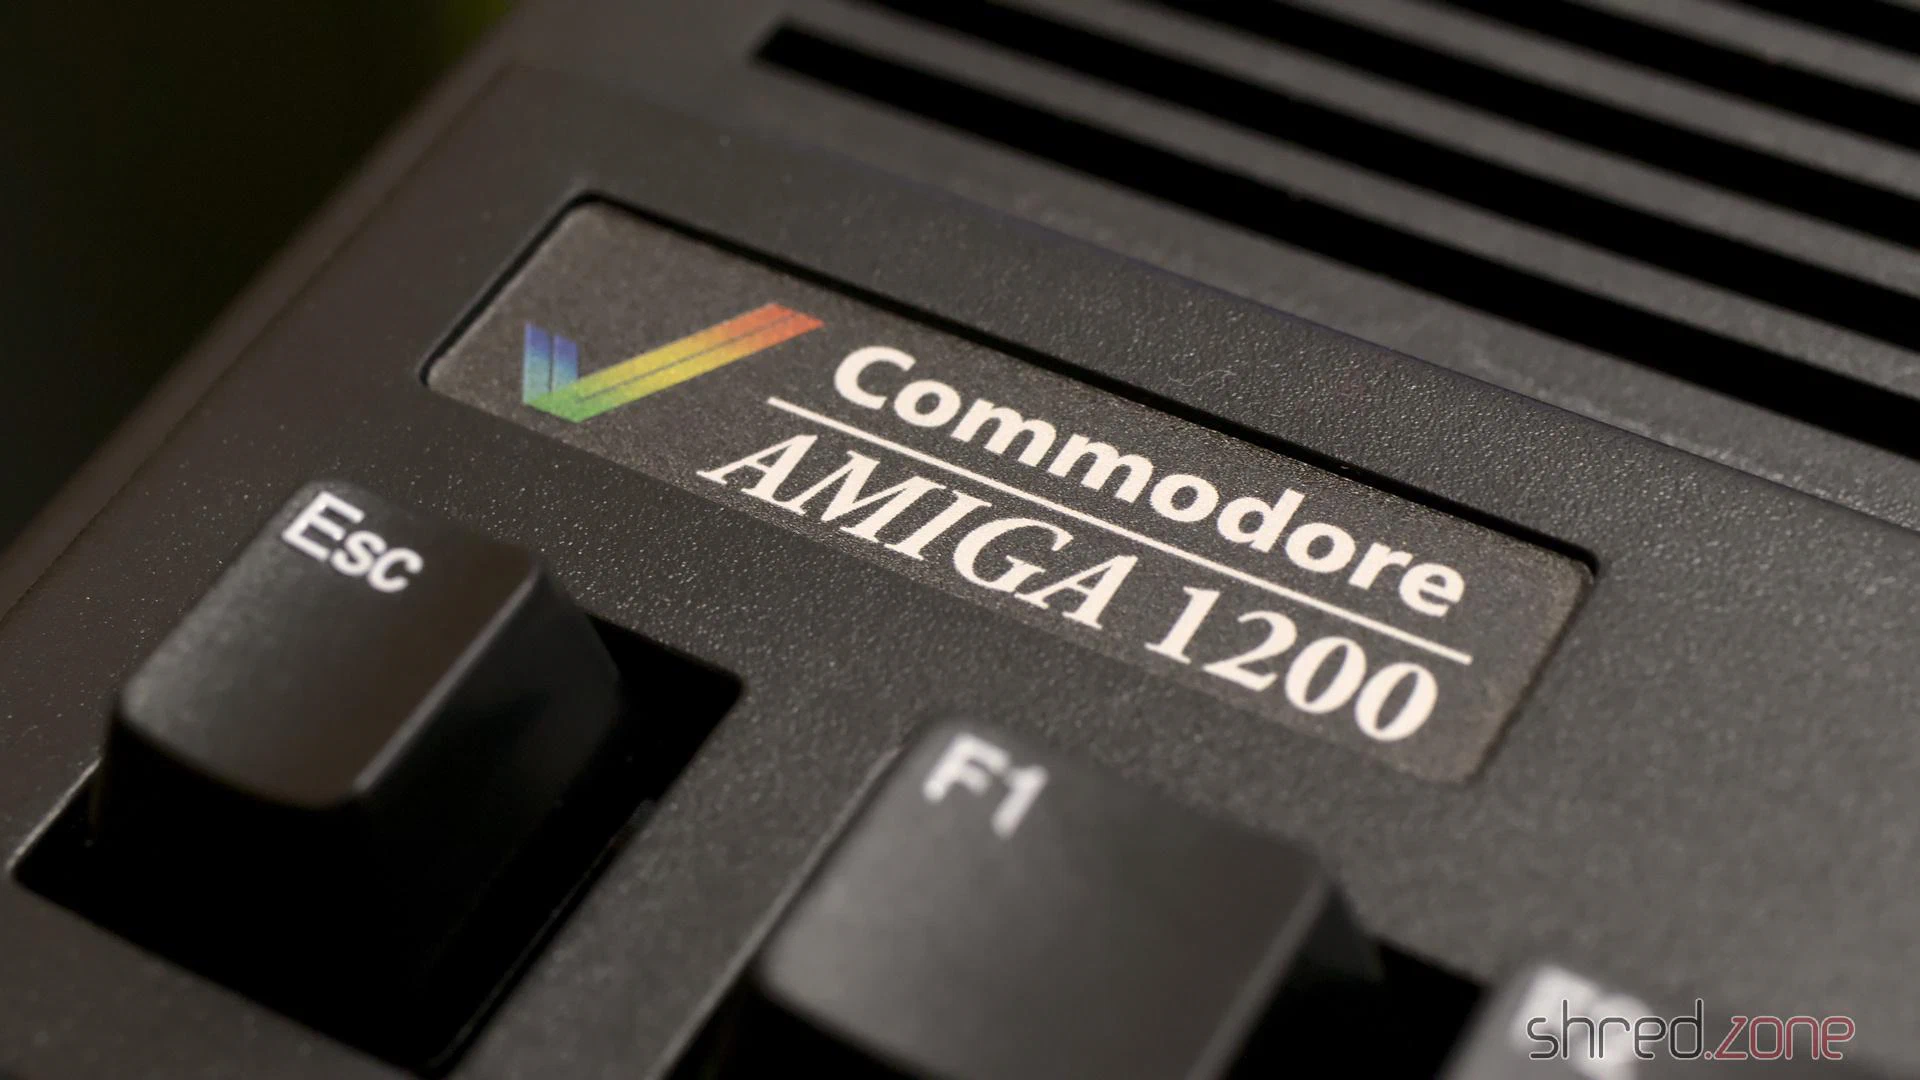
Unfortunately, a matching badge is not included with the black case, but Badgeman had something suitable in stock.
After that, the Amiga was ready for final assembly.
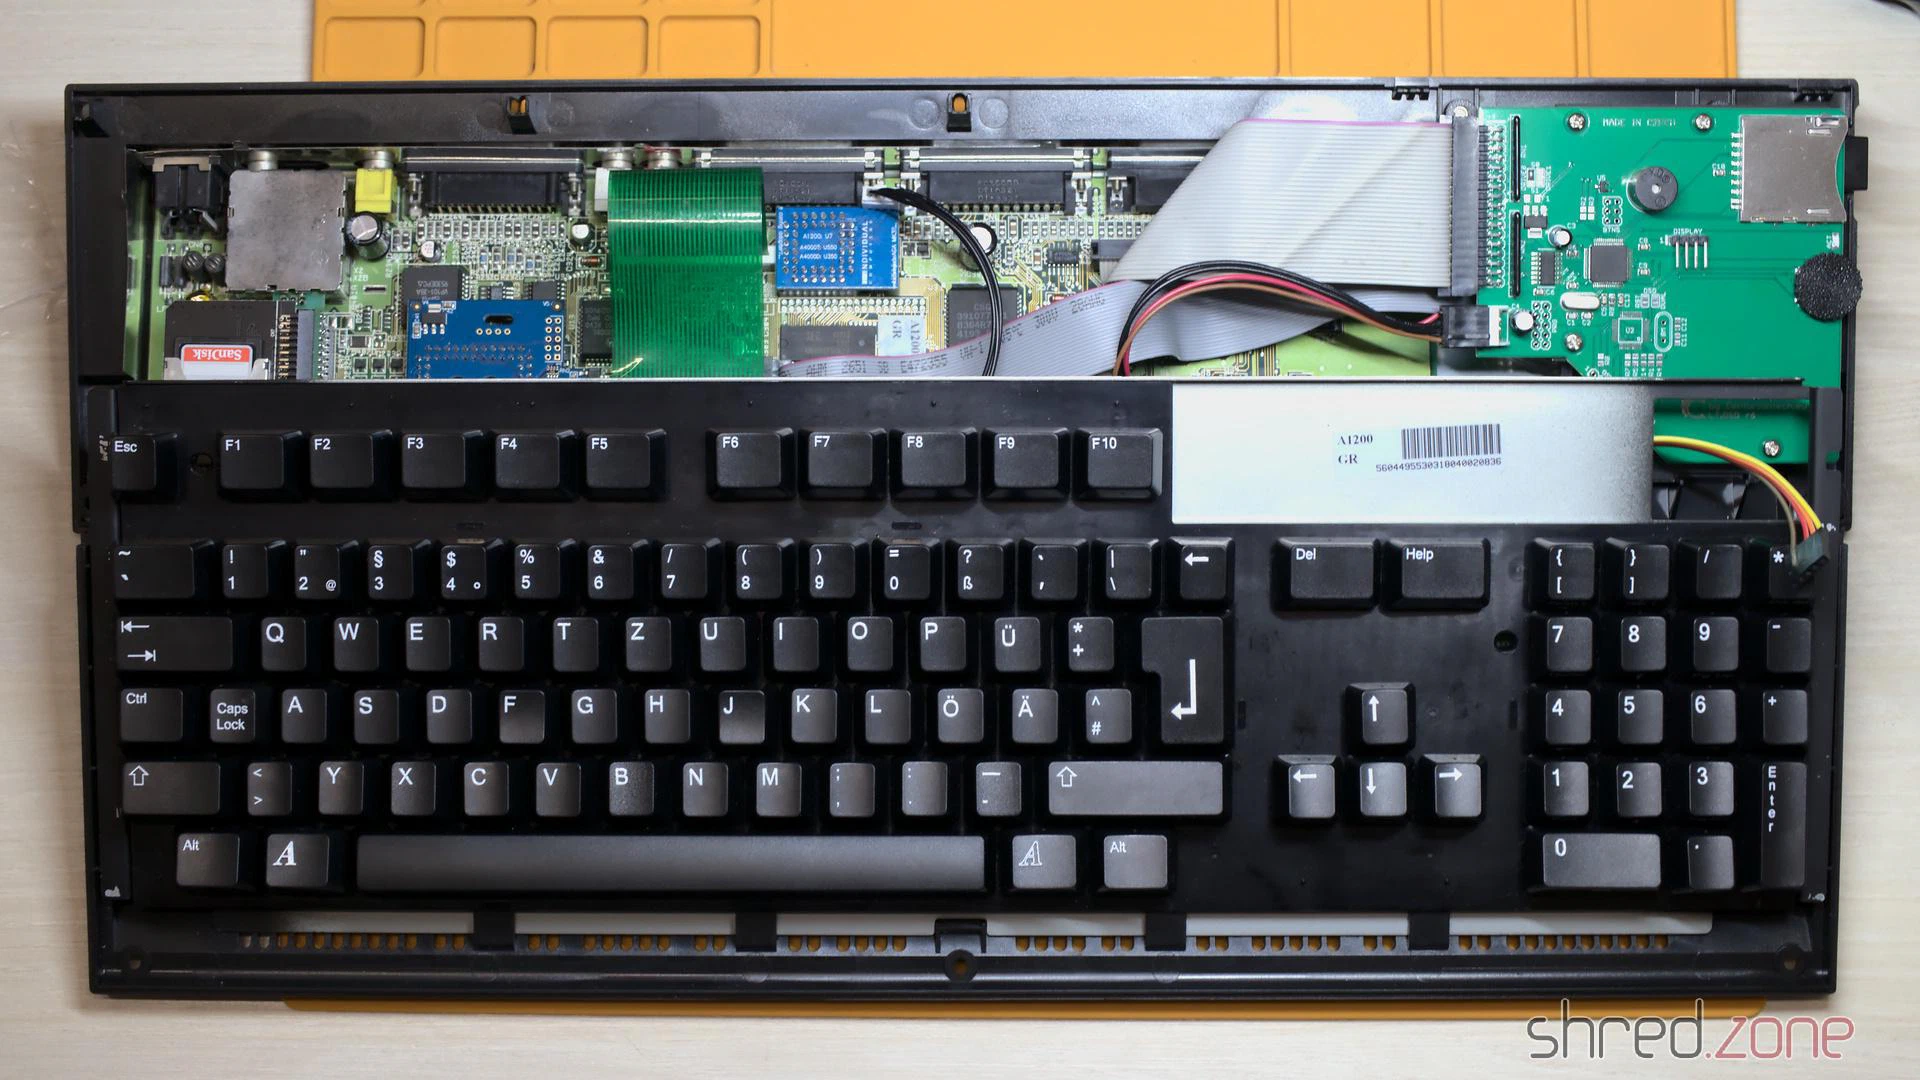
If Commodore had given us a choice of case colour back in the 1990s, I would have chosen a black Amiga. And now here it is, a completely black Amiga 1200 with a totally new exterior and a modernised interior.